
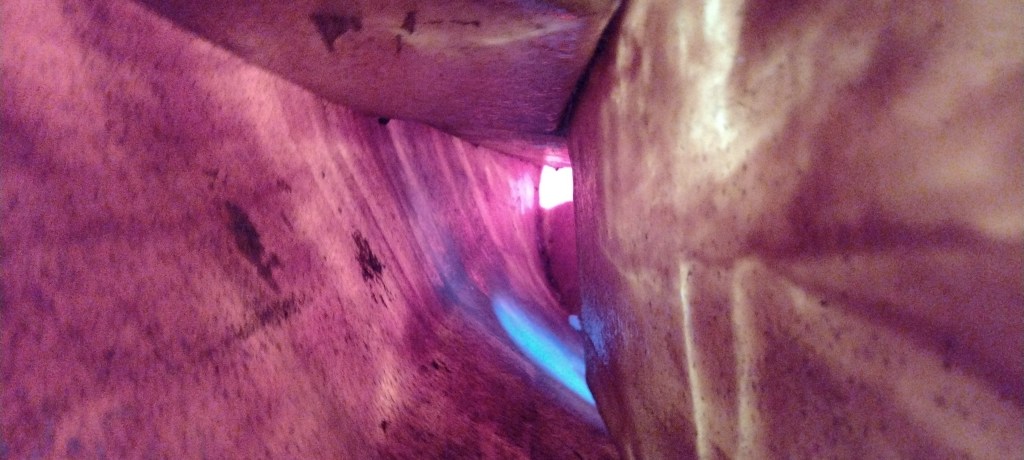
The neck and tail blocks were inset into the mold so I could glue the sides together around the mold. I held the blocks in place with dollups of hot-melt glue on the surface – hopefully this will come off ok. We’ll see.
Continue reading
The neck and tail blocks were inset into the mold so I could glue the sides together around the mold. I held the blocks in place with dollups of hot-melt glue on the surface – hopefully this will come off ok. We’ll see.
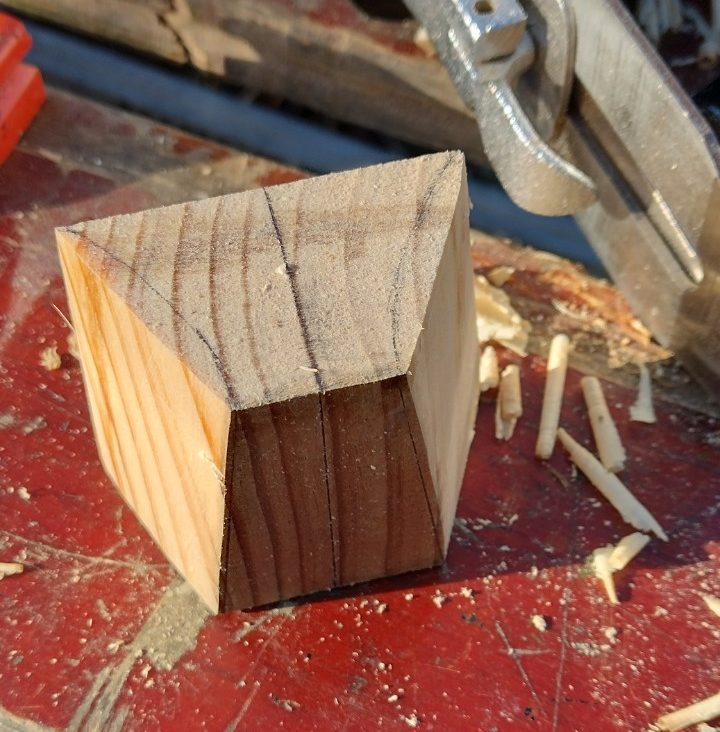
Continue readingGot the neck block shaped today. This was interesting to make as it has different shapes at top and bottom – both need to meet the sides in a complex curve.
I marked out the shapes on top and bottom, then connected the ends of the lines.
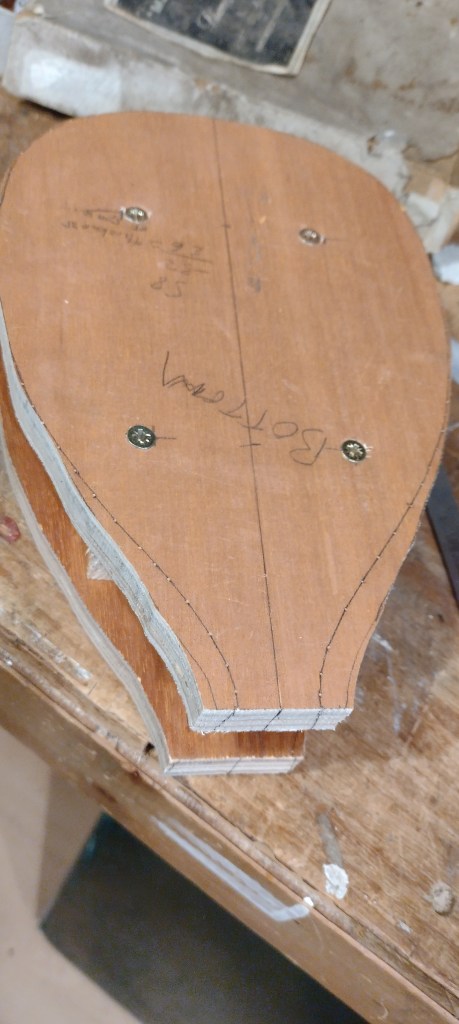
I’ve made a mold for the body from scrap plywood. It is slightly more complex than usual because the body sides are twisted near the neck – the top and bottom are different shapes. Hopefully the sides will blend into the neck.
Finally got the rubbing strip back on. All the existing screw holes were ok but I did buy new screws as the old ones were mashed up from rubbing on the ground.

One of the issues with leaky buoyancy compartments is that you need to bail them out from time to time. This is a real hassle when they are filled with 40-year-old expanded polystyrene – the water comes out with lots of plastic bobbles in it. These need to be removed before the water can go over the side.

I’ve made another front or back – will decide where to use the panels later. This one is a bit thinner – about 2mm – so maybe it would be a good front with the thicker panel for the back where the instrument is damped by the player’s body.
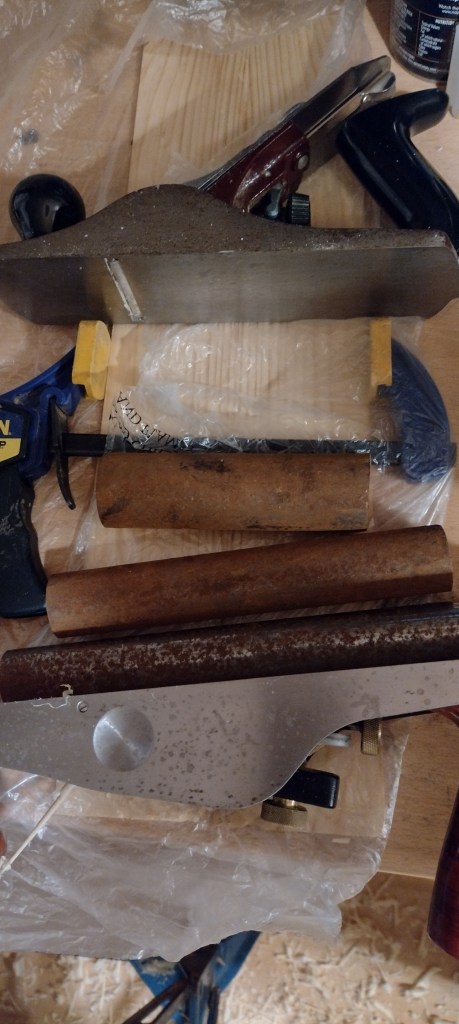
Thanks to Khai Nguyen on YouTube for the suggestion of using hair curling tongs for bending the sides.

I cut two more strips on the bandsaw and thinned them down. They were slightly too narrow to use for the bottom of the uke so I used them for the sides. Thinning the sides takes a while but gets there in the end. I’m aiming for 2mm thick.
Continue readingOk – there are lots of things I’m supposed to be doing but here’s another project just for fun. I’ve long wanted a Sopranino Ukulele but I can’t really afford one, plus it would be fun to have a go at making one.
A Sopranino is smaller than a Soprano Ukulele – the Soprano has a scale length of around 13″/330mm and the Sopranino has a scale length of around 12″/305mm. One big advantage of this size is that I can resaw the timber on my mini-bandsaw which has a capacity of around 75mm.
This is the concept I came up with:

Owl needs a new daggerboard. The current one is plywood and might be getting weak. Given I might need to stand on it to right Owl after a capsize this needs sorting.
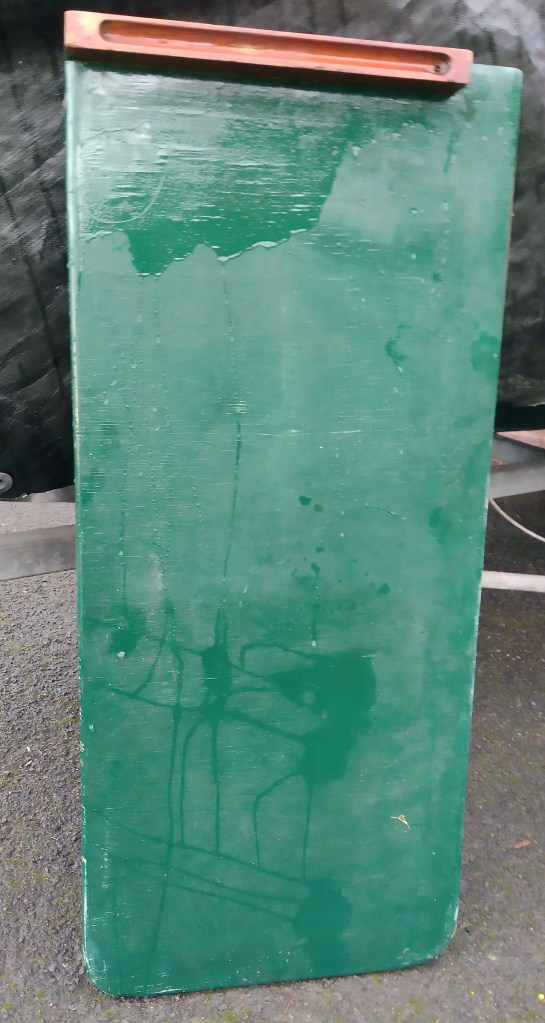
Plywood is generally a bad idea for centreboards, daggerboards and rudders on dinghies as half the wood grain is running in the wrong direction. Once the thin outer skin buckles there isn’t much strength left to hold it all together. In any case it looks like Owl’s daggerboard has the outer skin of the plywood running across the board rather than down it – unconventional although this might be deliberate to put the load into the thicker underlying plys.
The board is 16.6mm thick, 410mm wide and overall 912mm long including the handle on the top. The part within the boat (dagger board casing) is 345mm.
The daggerboard is currently too far aft. I don’t think this hull was ever really designed as such – the fact that the original rudder only just touched the water is a hint – and the daggerboard case is too far back. If I taper the back edge of the daggerboard somewhat this will help a bit. Making the daggerboard longer will help the aspect ratio but also making the board harder to handle. Still a bit longer should be ok.
Given how thin the board needs to be, the profile is going to have to be Neil Pollack’s design for a parallel sided foil. I’ve put this into a spreadsheet for ease of use.
I need to re-finish the woodwork – this was done in Woodskin so that shouldn’t be too hard once the weather warms up.
I would like to get more buoyancy into her – I don’t have a huge amount of confidence in the built-in buoyancy given the design standards of the rest of the boat – so a couple of buoyancy bags under the seats wouldn’t be a bad idea. I will need to mend one of the seat supports and make sure everything is strong enough to take the load.
