The neck and tail blocks were inset into the mold so I could glue the sides together around the mold. I held the blocks in place with dollups of hot-melt glue on the surface – hopefully this will come off ok. We’ll see.
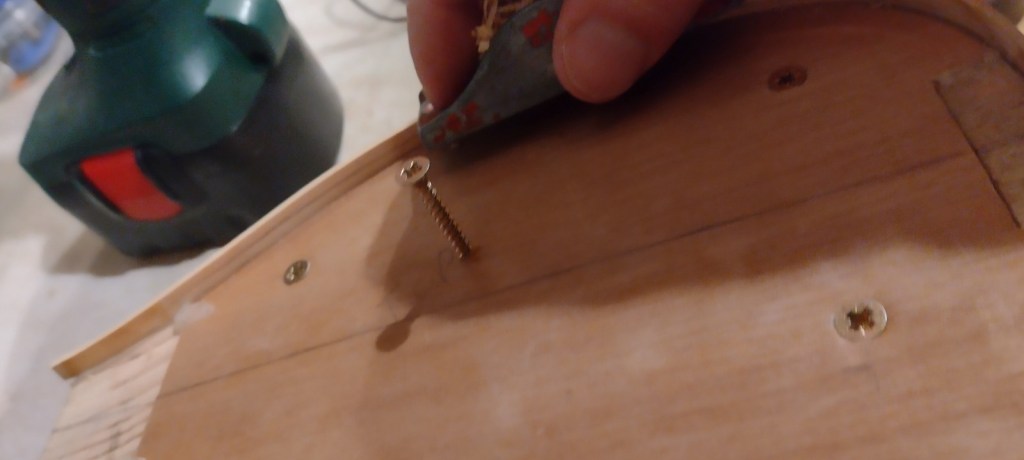
I trial assembled the sides using a cut-up bicycle inner tube to hold everything in place. I had to add screws to the top and bottom of the mold to stop the tube slipping.
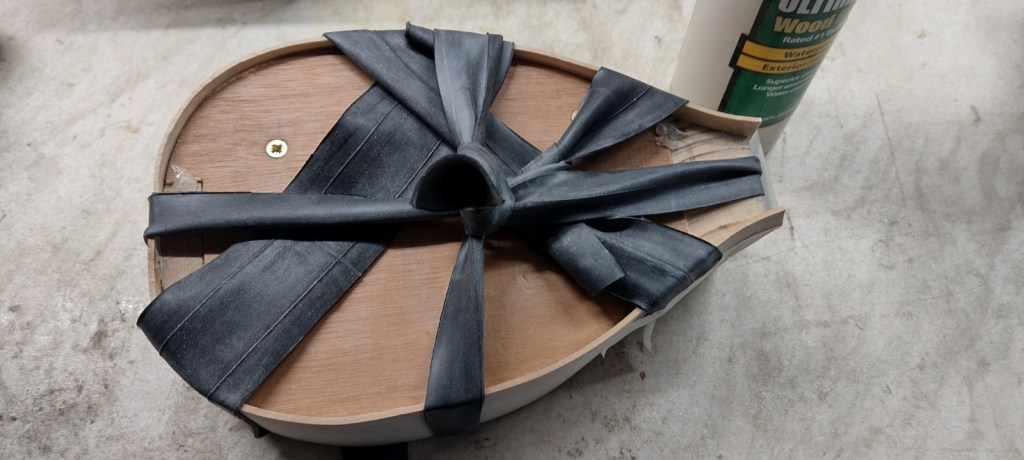
I found that the fit of the sides improved with a day or so under the pressure of the tube, so I didn’t need to tweak the fit of the sides.
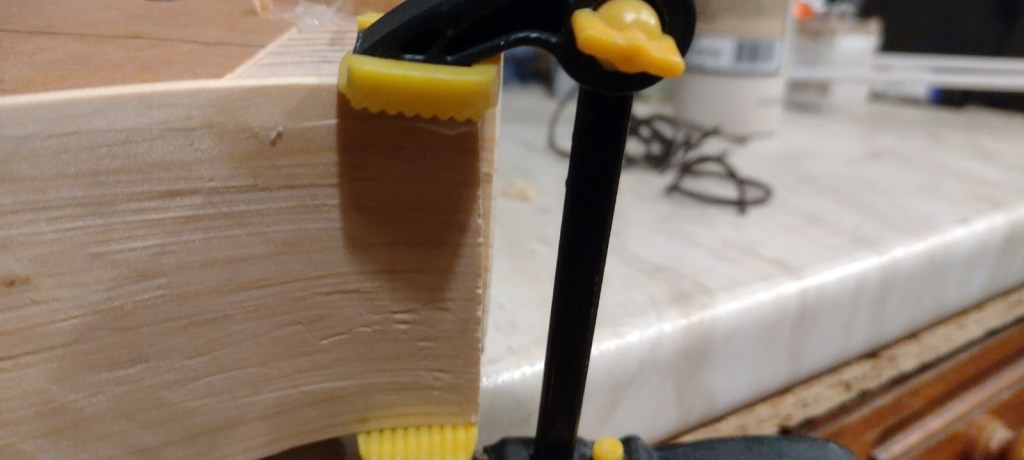
I glued the sides on cautiously – I didn’t want to get glue into the joint where the blocks meet the mold. Hopefully I’ve avoided that. Next time I’ll take more precautions against accidental gluing – e.g. using a wax finish on the mold.

I didn’t get the sides lined up quite right – there is a gap at the tail. I’ll have to make the gap bigger and put inlay in to hide the error.
I also cracked one side near the neck block under the pressure of the tube. This should glue ok.
Next job is getting the sides the right height. I’ll start by planing the sides down to the mold.
I’ve also found this cute cow named Ukulele so here’s a pic: