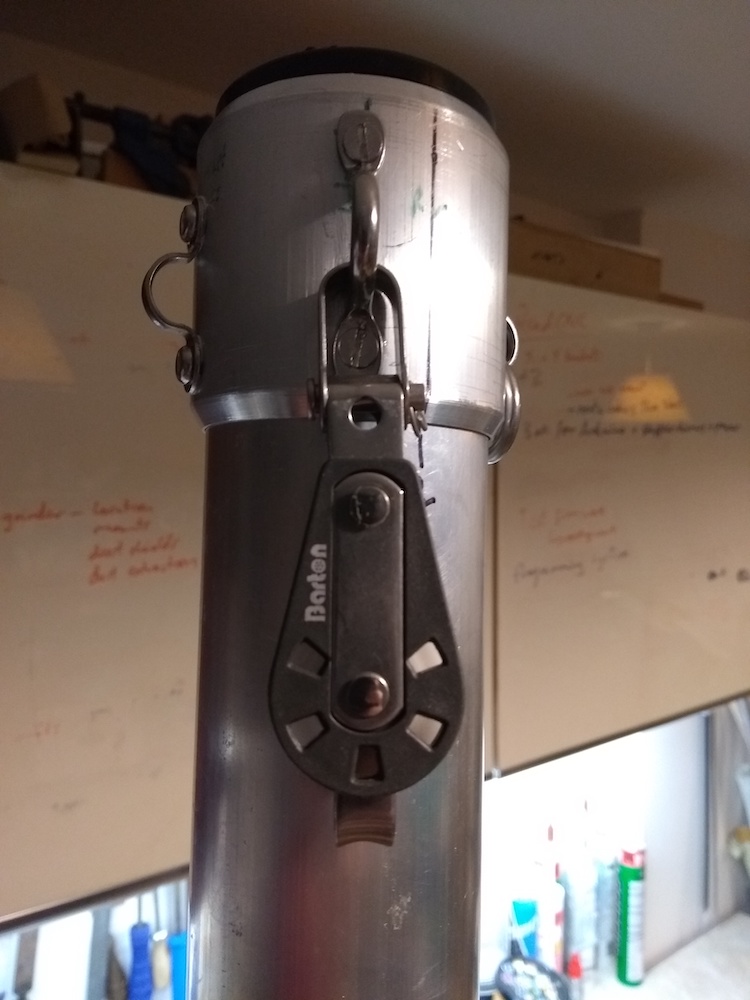
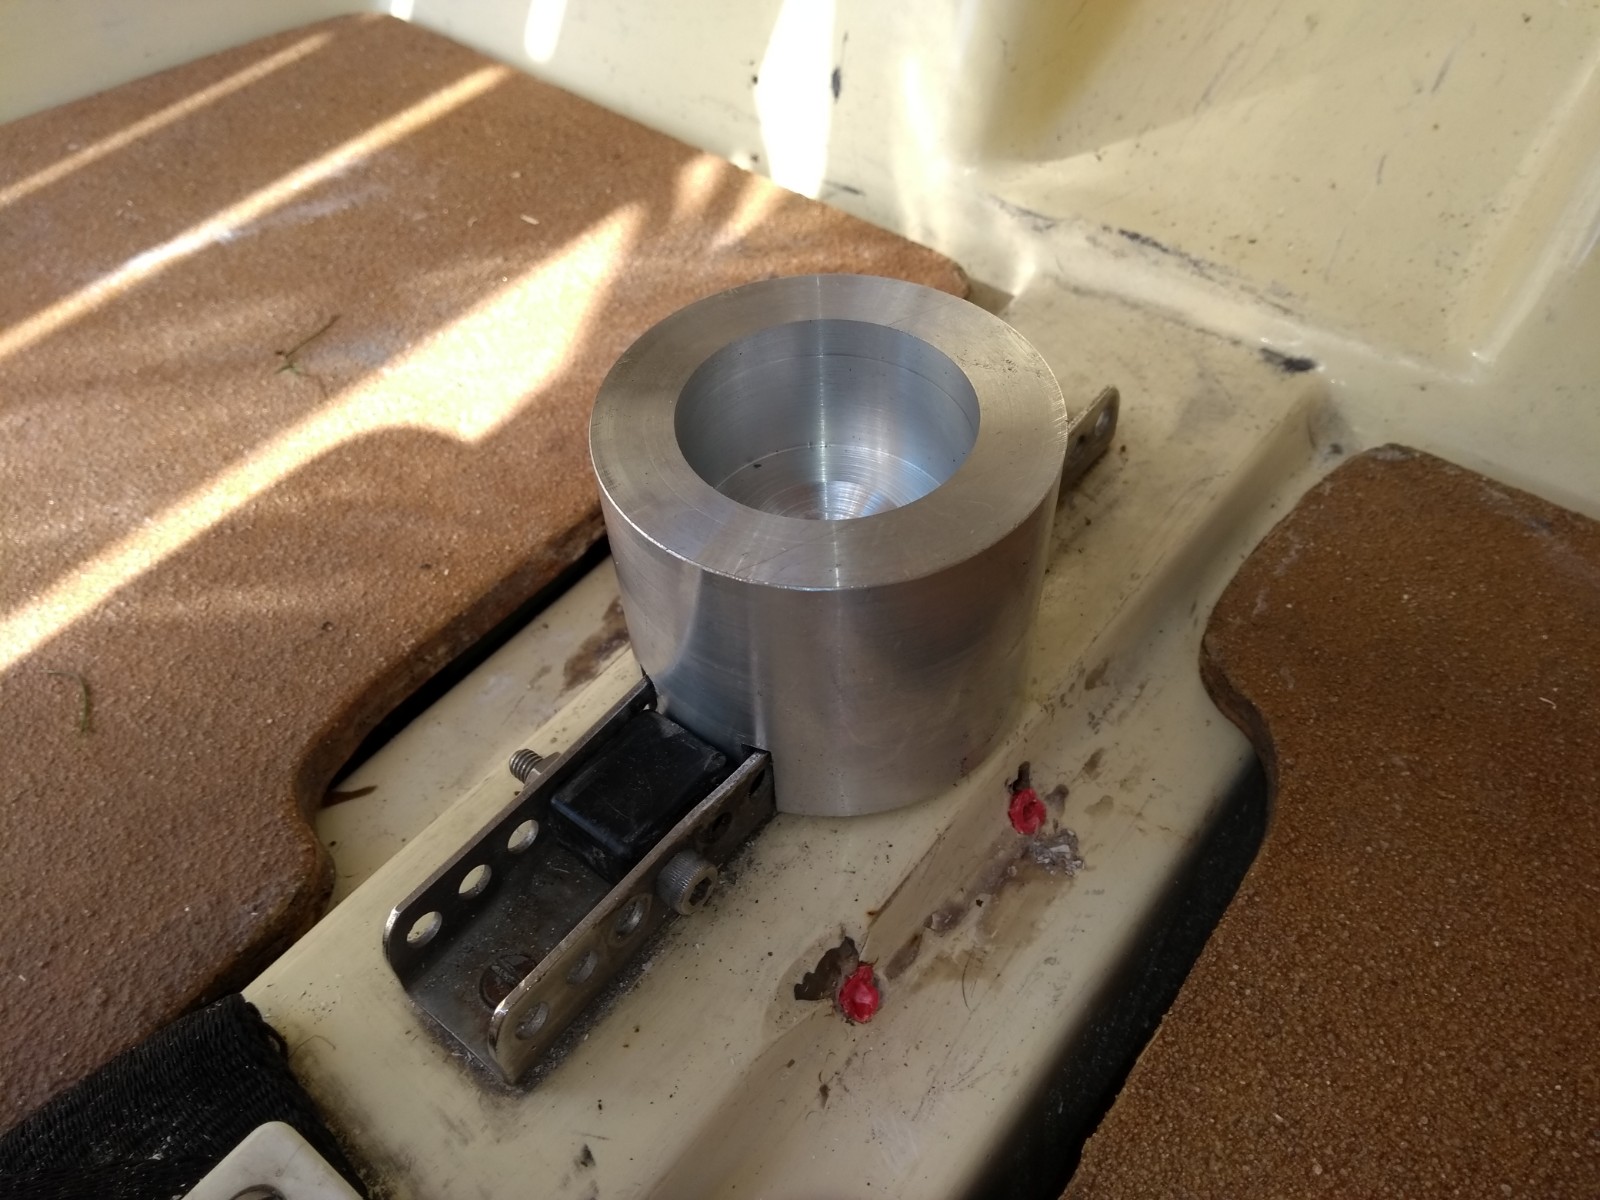
Made the turning block to redirect the lines from the mast back to the helm.

Obviously the screw heads need to be aligned, and I need to figure out how to attach it to the tabernacle. Otherwise very happy with this!

Made the turning block to redirect the lines from the mast back to the helm.
Obviously the screw heads need to be aligned, and I need to figure out how to attach it to the tabernacle. Otherwise very happy with this!
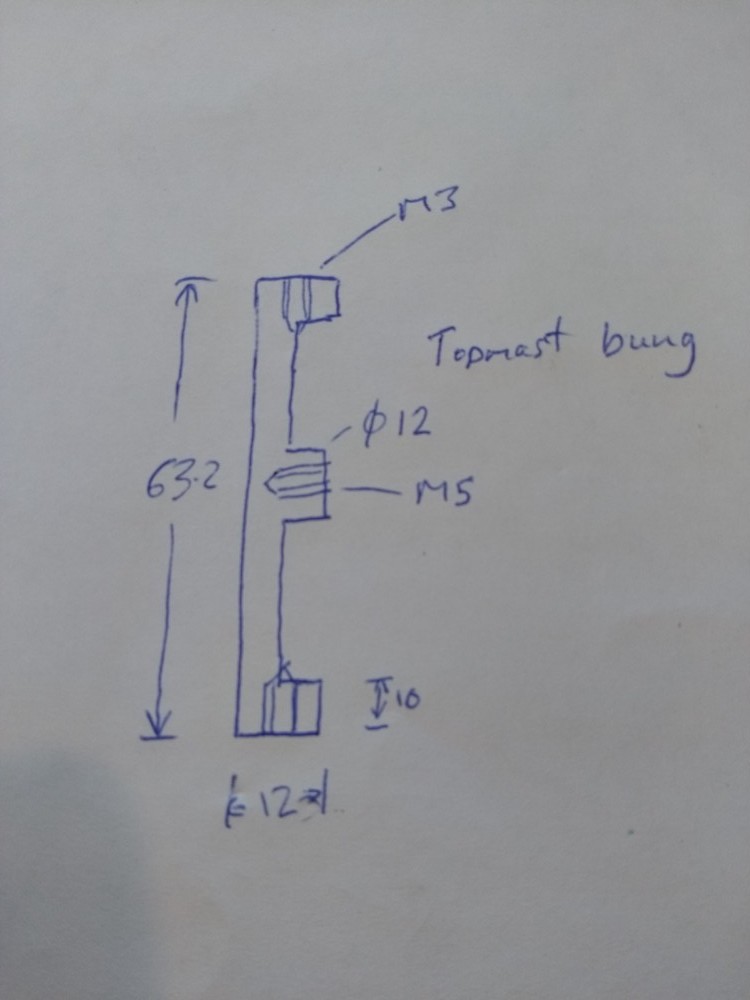
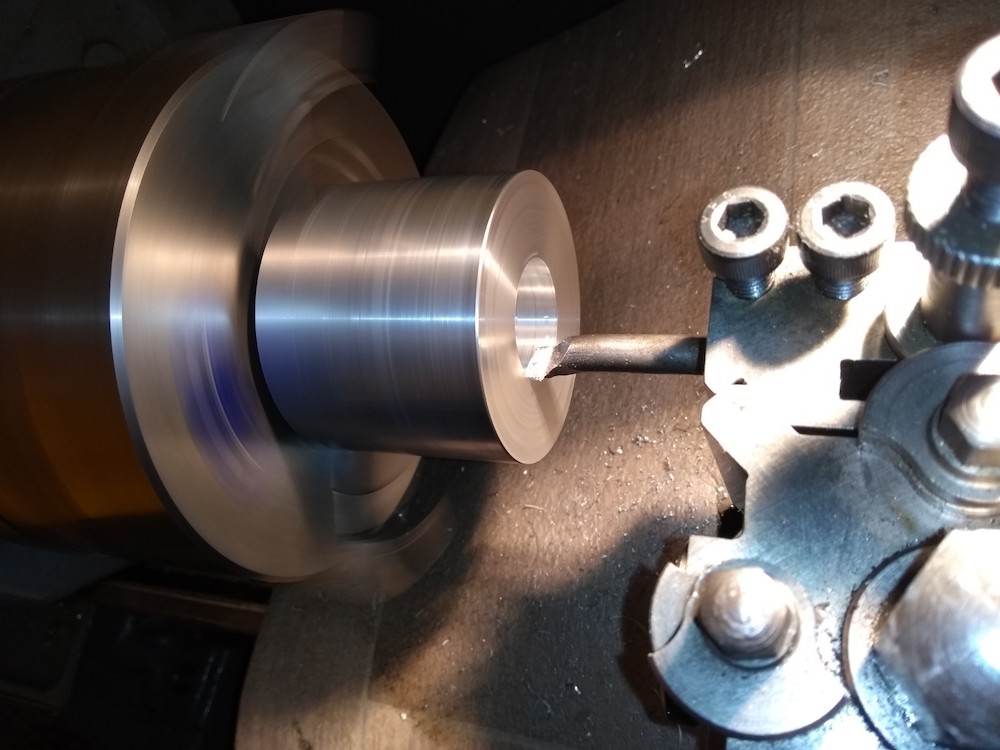
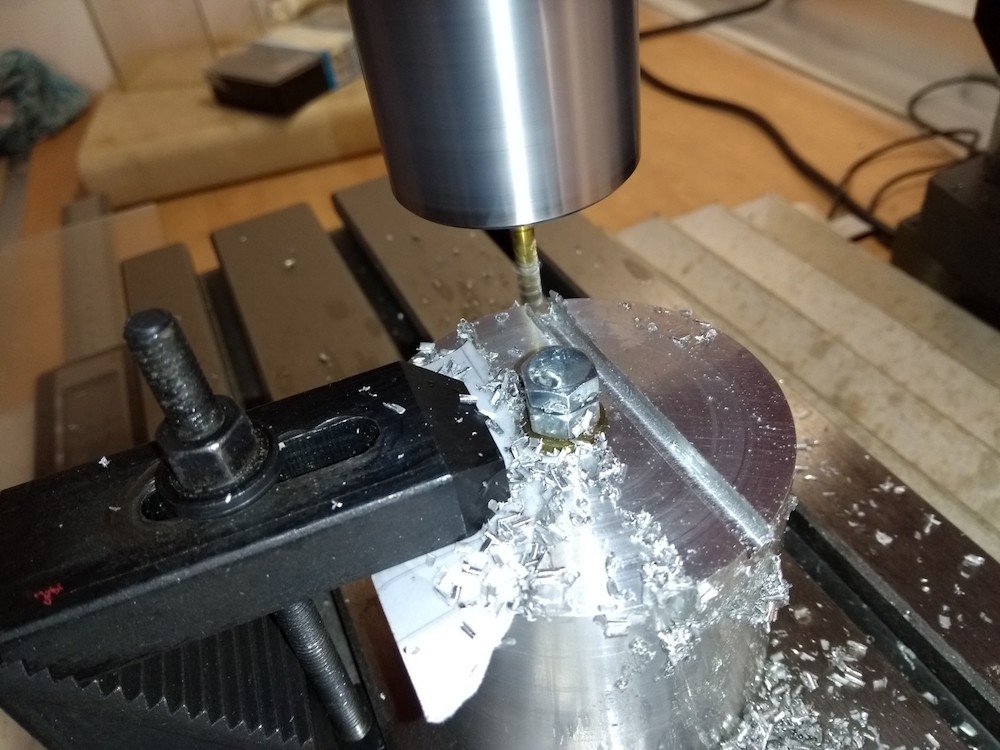
I’ve made some more bits for the mast:

I’ve started fitting the mast to the hull. First off the heel fitting.
Please note that the Wanderer hog probably isn’t strong enough to take the loads of a free-standing mast, and the consequences of failure could be extreme (death, severe injury). I’ve left this page here for historical interest, but please see my later pages for details on reinforcing the mast foot.
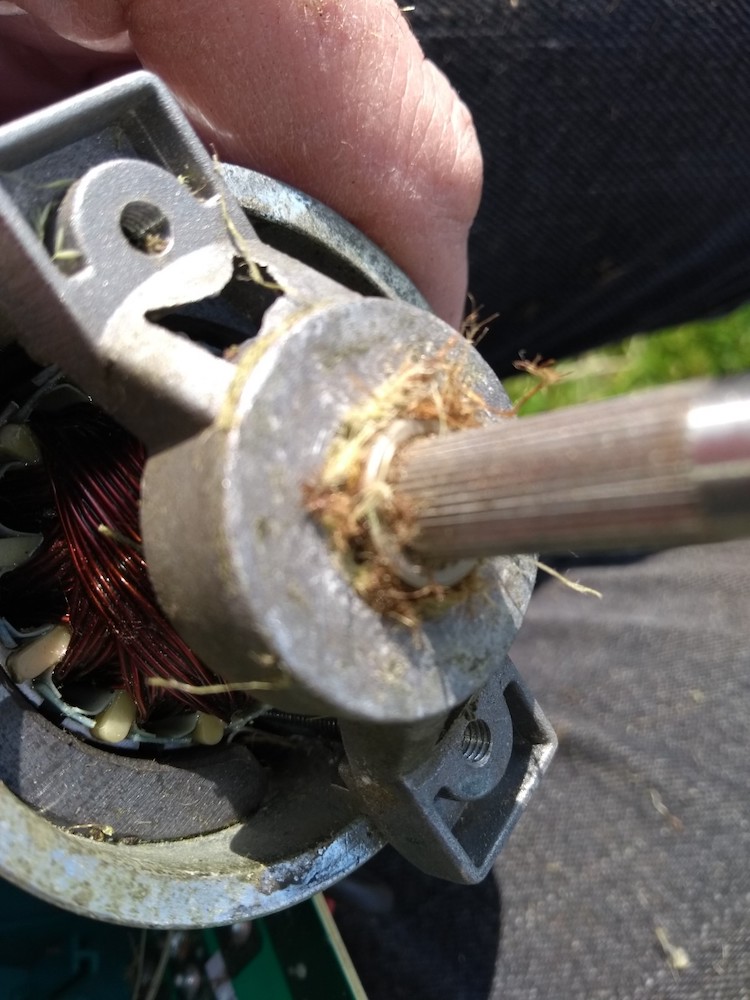
Continue readingHaven’t seen this before – something of a design problem with our 36V Li battery powered strimmer. It worked very well – sometimes lacking cutting ability on thicker stuff but overall much better than a petrol strimmer. Then it jammed solid.
Dismantling it found this:
The Wanderer, in common with most sailing boats, has a stayed mast. This means that there are wires that brace the mast to hold it vertical.
Note that this isn’t quite true. A careful look at the mast and wires shows that the section under the spreaders is unbraced by the wires. The shroud wires only really brace the top section above the spreaders. This suggests that the force of the sail in the lower section is actually taken by the mast pushing against the sides of the deck slot.
Larger boats normally have shrouds to triangulate the spreaders, then longer shrouds that pass through the spreader ends to the top of the mast. This boat, being a dinghy, doesn’t have this triangulation.
The deck seems fairly thick (around 6mm) presumably so it can take the weight of someone sitting on it.
All this implies that the existing deck slot is capable of taking substantial loads without modification. However, for peace-of-mind some strengthening is a good idea.
Continue readingRight – time for a deep breath. This is where the designs become reality. First stage is check the design to get it as good as possible.
The topmast tube needs to be extended a bit for the mast head fitting. The length for the stress calculations remains the same – 5.6m – but the overall length is a bit longer to allow for the masthead bung and the loops for the masthead blocks
The main 2 3/4″ x 10swg tube is heavy when 5m long. To make the mast lighter where it counts I tweaked the topmast length and made it a bit longer and the main tube shorter. The trade off is that this reduces the strength at the base of the topmast. This should be ok as some of the load is distributed over the length of the mast plus as soon as the sail is reefed the load in the topmast decreases dramatically.
I’ve tweaked the design of the foot. The main tube (2 3/4″ x 10swg) will go all the way down to the heel fitting. The strengthener will stop a bit above the heel fitting. Theoretically the strengthener could stop at 395mm above the heel, but in practice I’m going to take it down to 100mm above the heel. The primary reason is that I want lots of strength at the mast pivot point.
The Wanderer features a tabernacle with a pivot that makes putting the mast up much easier – a one-person job. Given that it will just be me on my own putting the mast up it makes sense to keep this feature. The similar GP14 without a pivot requires two people to put the mast up safely.
The issue is where to put the pivot on the mast tube. Drilling a hole through the tube is by far the simplest route but will weaken the mast in a highly stressed location. Ideally the pivot should be clamped to the mast but this raises other issues:
I’m going to reinforce the mast at the pivot point with some internal Scots Pine. This shouldn’t be too hard to do and means if I need to drill right through it should be strong enough. I need to have a play with a section of tube in the boat to find out how it will all fit together.
Continue readingI’ve been giving some thought to how to attach the mast to the boat. There are a number of objectives: