Moving ahead with the sides and front.
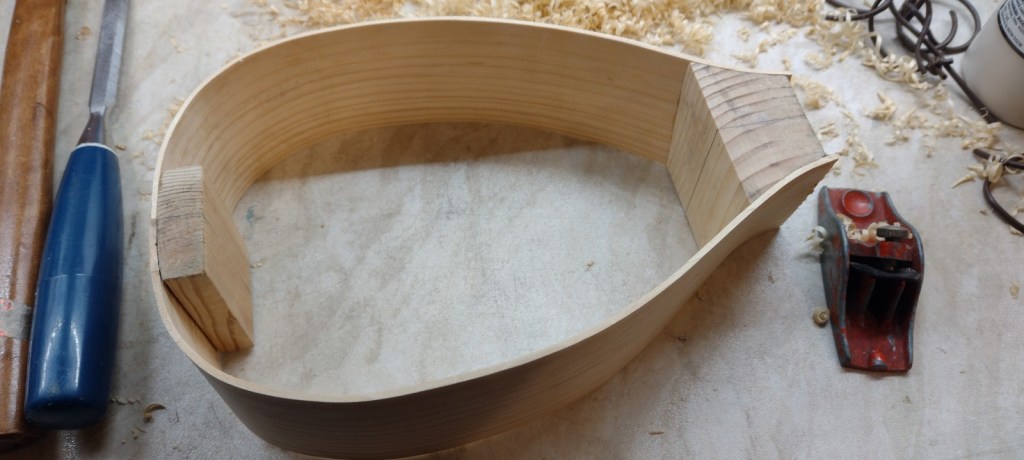
Got the join where the sides meet at the tail fixed with an inlay of walnut (bit of parquet floor tile).


Moving ahead with the sides and front.
Got the join where the sides meet at the tail fixed with an inlay of walnut (bit of parquet floor tile).
I’ve got the kerfed linings in.
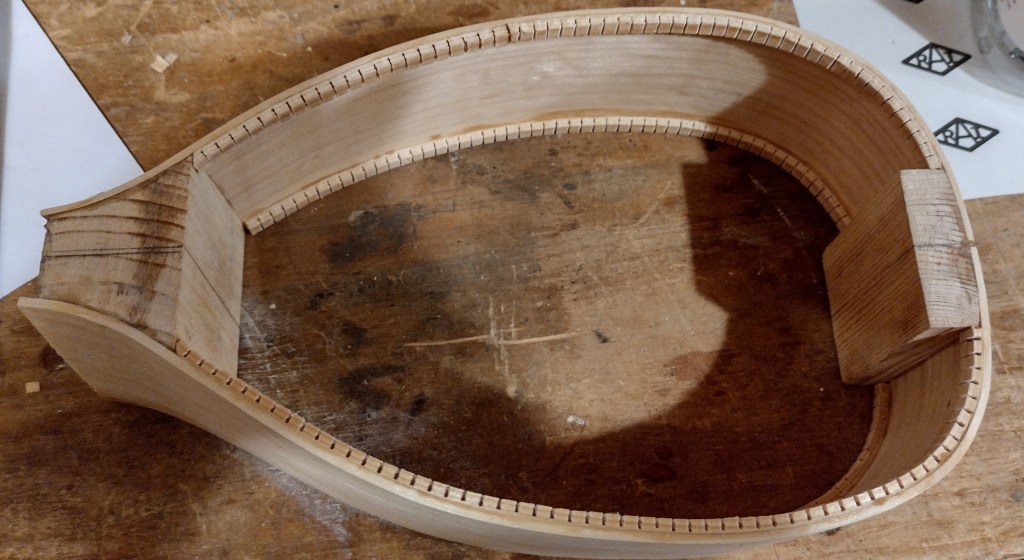
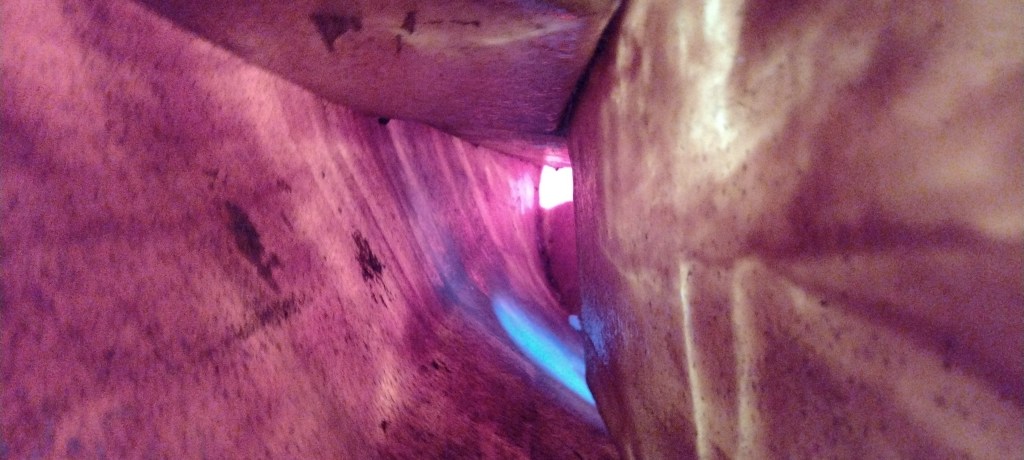
The sides ring nicely when tapped 🙂
Continue readingMore general prep on the sides. I’ve got the sides planed down to thr right height.

The neck and tail blocks were inset into the mold so I could glue the sides together around the mold. I held the blocks in place with dollups of hot-melt glue on the surface – hopefully this will come off ok. We’ll see.
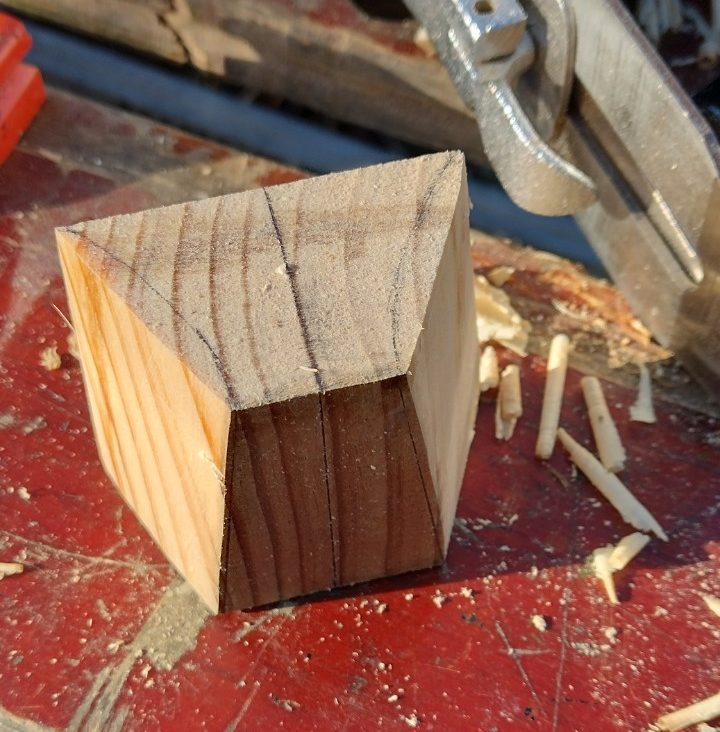
Continue readingGot the neck block shaped today. This was interesting to make as it has different shapes at top and bottom – both need to meet the sides in a complex curve.
I marked out the shapes on top and bottom, then connected the ends of the lines.
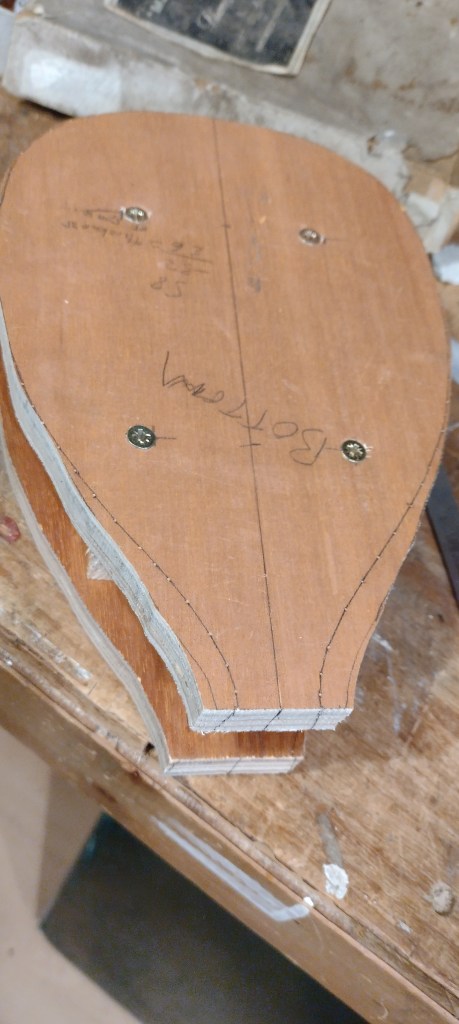
I’ve made a mold for the body from scrap plywood. It is slightly more complex than usual because the body sides are twisted near the neck – the top and bottom are different shapes. Hopefully the sides will blend into the neck.
Finally got the rubbing strip back on. All the existing screw holes were ok but I did buy new screws as the old ones were mashed up from rubbing on the ground.

One of the issues with leaky buoyancy compartments is that you need to bail them out from time to time. This is a real hassle when they are filled with 40-year-old expanded polystyrene – the water comes out with lots of plastic bobbles in it. These need to be removed before the water can go over the side.

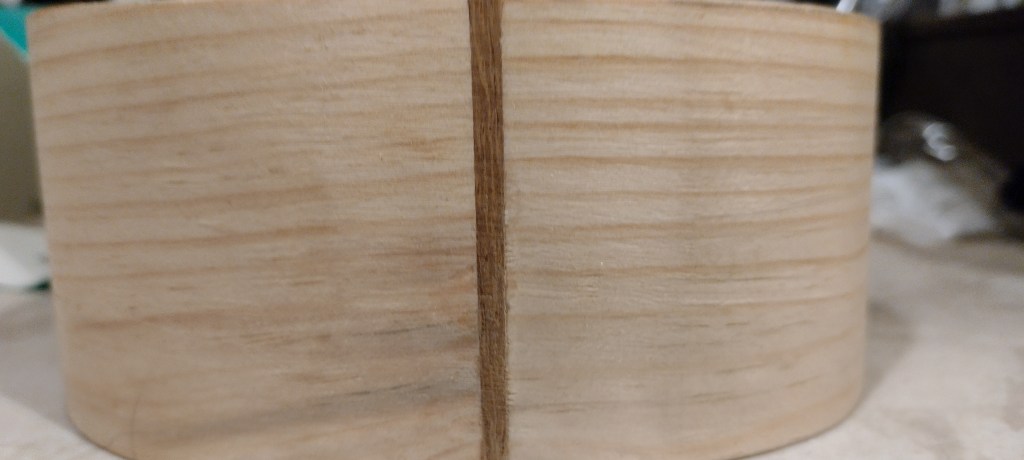
I’ve made another front or back – will decide where to use the panels later. This one is a bit thinner – about 2mm – so maybe it would be a good front with the thicker panel for the back where the instrument is damped by the player’s body.