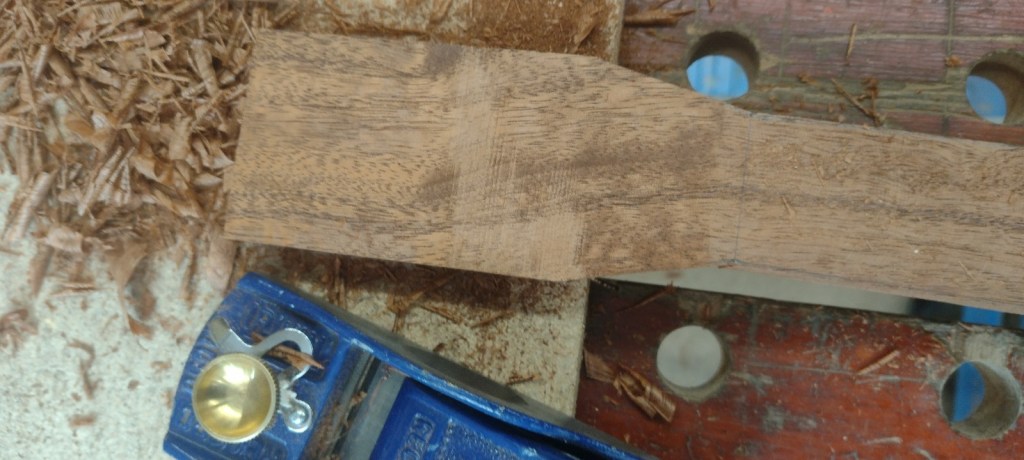
Got the fret slots cut. This is always a scary job since one slip wrecks the piece.
This is my process – I’m sure there are better ones. But this works for me for now.

Got the fret slots cut. This is always a scary job since one slip wrecks the piece.
This is my process – I’m sure there are better ones. But this works for me for now.
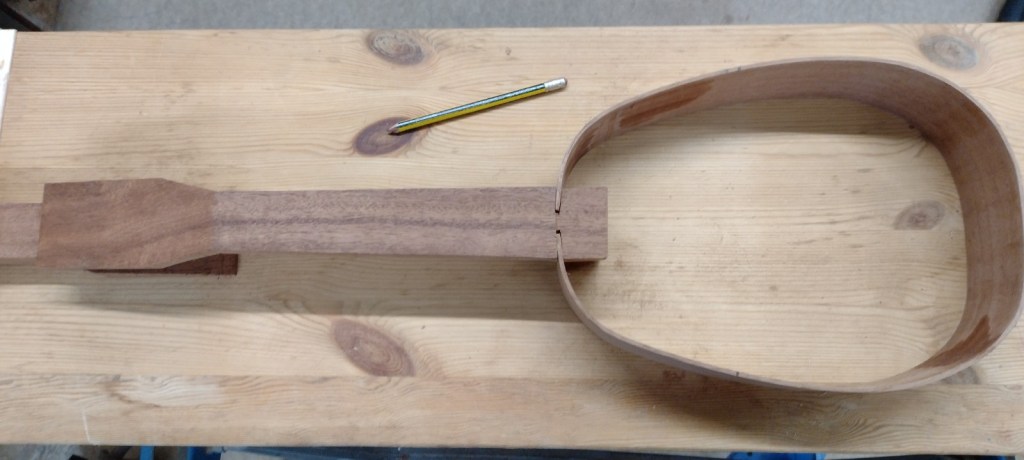
Lots of progress on this project recently. The sides have been glued into the slots into the neck.
I made the kerfing from some straight grained quarter sawn spruce (construction lumber). They were about 6mm (1/4″) square, cut through to leave around 1mm thickness.
Continue readingTLDR: It is playing and sounds good.
Now for the details…
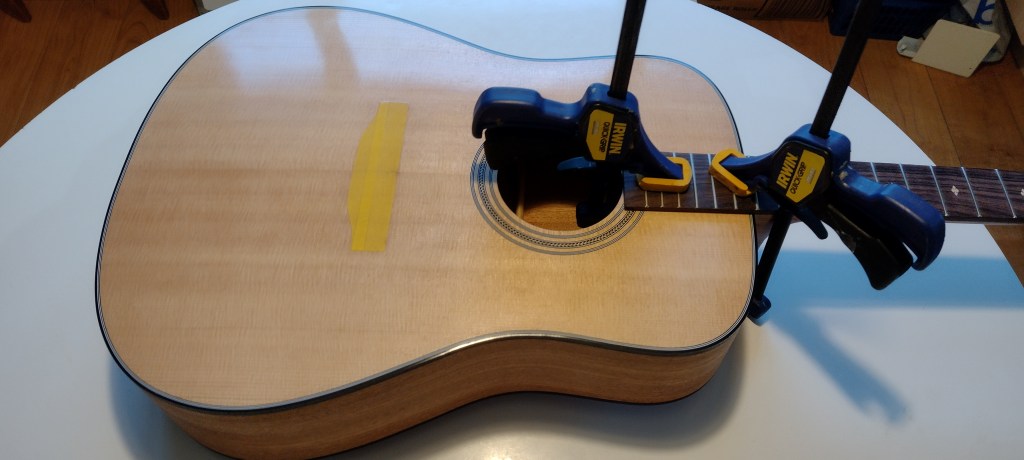
This went on easily enough. I didn’t bother with cauls – there didn’t seem to be a need. I did this in the house as the workshop was too cold for the glue to set properly. Note the masking for the bridge – more on this later…
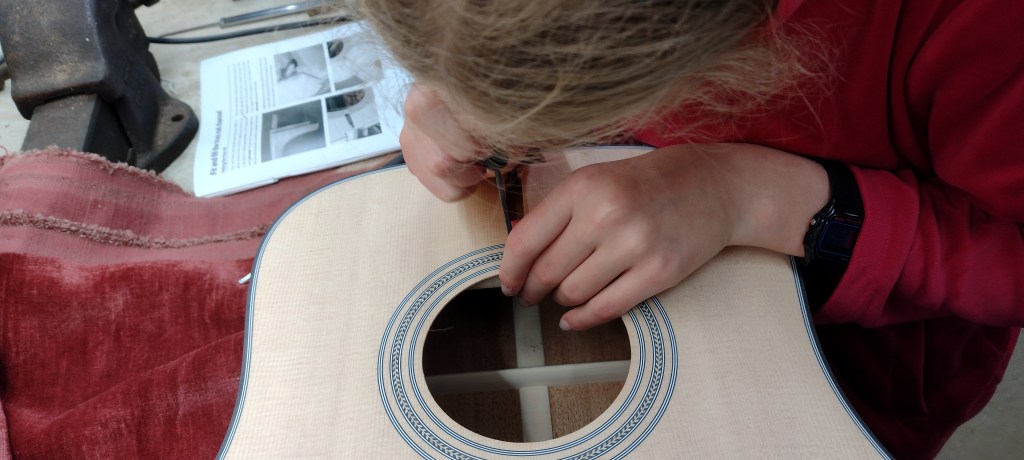
Continue readingWith the fretboard on it was time to final fit the neck. This required gluing in a couple of shims into the neck mortice. The shim veneer is supplied.

We had to enlarge the holes in the peghead to take the machine heads. This is properly done with a tapered reamer. I bought a StewMac reamer for the pegs that hold the strings to the bridge and started enlarging the holes with that, but it wasn’t big enough to finish the job.
The reason for using a reamer is that it is less likely to split the wood than a drill. Eventually I realised that a tapered hole drill would do the job, so we set to work.
Once the outside of the hole was the right size it was simple to use a normal drill to enlarge the hole to the right depth without splitting anything.
Continue readingHmm. Just like buses – projects all come along at once. I was looking for a new guitar for my daughter. StewMac have a kit where the body is already built – the remaining work is pretty straightforward. Plus it is fairly cheap, even including postage and import taxes. Plus the reviews say it sounds excellent. So a good summer project for me and my daughter – she’ll get to say that she made her own guitar!

We haven’t got very far yet – just the first couple of steps. These are to do with fitting the truss rod into the neck.
Oh no – not another uke!
I’ve sold the Mostics 3018 CNC – it was just far too unreliable. It broke my heart everytime it went wrong and chewed up hours of work. So I’m not working on the Archtop Pineapple Uke at the moment.
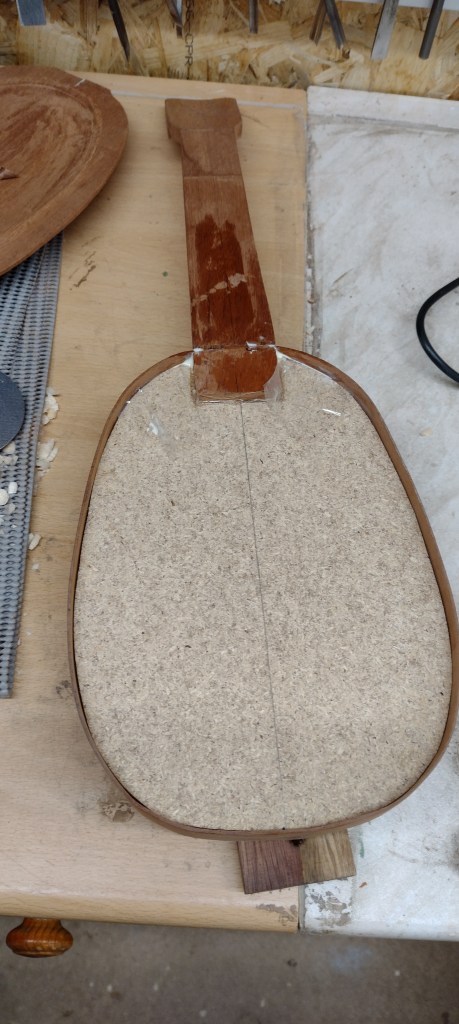
Instead I’m making a conventional ukulele – flat top with braces – from reclaimed wood from an old desk. The draw sides and bottoms are make of some of the finest cedar that I’ve ever seen – lovely stuff. This will be used for the soundboard. The rest of the uke is made from mahogany – some from the desk, some from a chest of drawers and some from some wood my dad gave me.


As you can see from the last photo, the back and sides are fitted inside the sides of the uke rather than being glued on top of the sides. This is basically because I think it will look nice and it means I won’t have to bind the edges. However, it isn’t easy to do – the bending of the sides is far more visible and getting the back and front to fit exactly is tricky. Going ok so far – the photo above shows the back.
Continue reading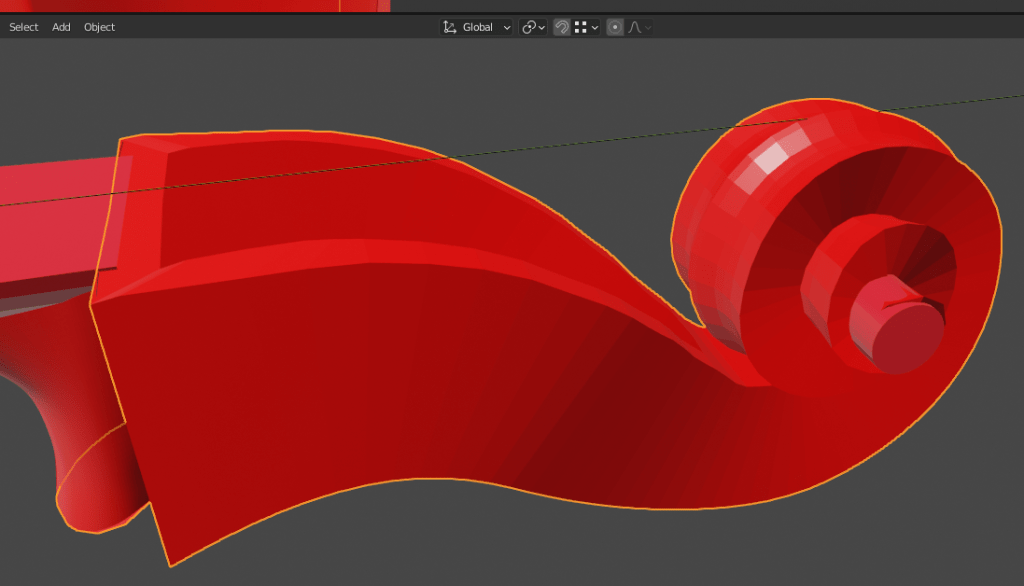
I’ve been using Blender to play with CNC. Blender isn’t normally recommended for CNC design but in the case of classical string instruments it is pretty good – the shapes are all curved surfaces.
One of the trickiest elements of a classical string instrument is the scroll. This was intended to provide a place for the instrument maker to show off their carving skills. It took me a while to figure out how to do this in Blender so I thought I’d share it here. I’m not a Blender expert so maybe there is a better way; however this works for me.
Continue readingSome of the literature on violins suggests that the shape of the cross-section of the top and back is based on cycloids. Whether this is actually true is a matter for debate. Certainly much of the shape of a violin can be generated from circles so it is certainly possible that the masters based the shape on a cycloid which is generated from circular geometry. However, some modern makers say that they shape the top until it looks right rather than until it matches a template, so requiring the shape to fit precise geometry is probably requiring too much precision from the process.
Regardless, here is a script to generate the shape of the top of an arch-top string instrument using curate cycloids. I’ve written it in Python. I’m not experienced in Python so please excuse any errors and let me know how it could be better in the comments below.
The script takes in a PNG file that holds the shape of the long-arch down the centre of the instrument, plus the shape of the edges of the curved section. Using a PNG to hold this information means you can generate these curves however you like.
Continue readingSome steps forwards and some steps back.
I destroyed the 3018 CNC router by trying to fit a more concentric collet chuck to the spindle. This moved the motor bearings. Given how problematic this thing has been I’m reluctant to spend more money on it.
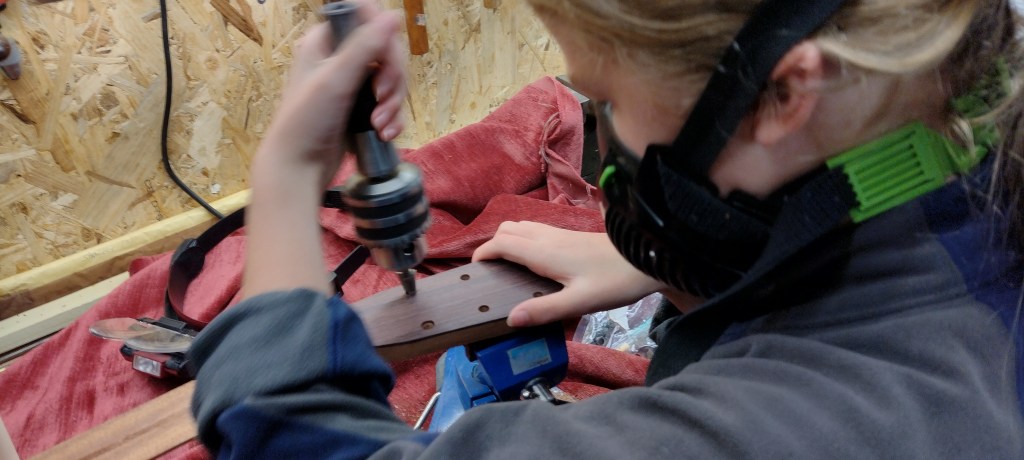
So I’ve been trying to do the plates by hand. On the whole this has been more successful than using the CNC, given the CNC’s habbit of self destruction taking the wood with it. By hand is almost as fast and less liable to destroy the workpiece. I’ve been using a large gouge bought second hand on EBay plus a plane I made myself.
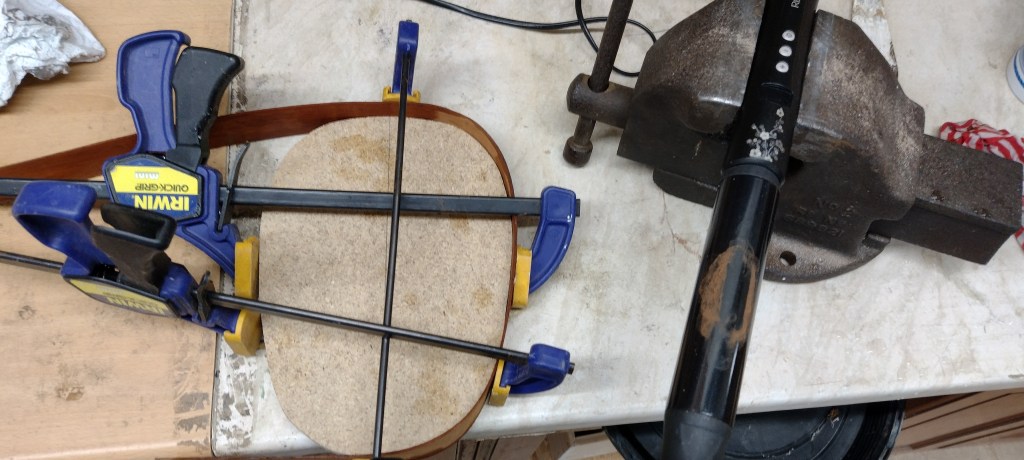
I’ve bent the sides round the mold – this was easy enough. Hair curlers work very well! I did it in two sections, leaving it overnight clamped to the mold to dry out.
Continue reading