
I’ve been using Blender to play with CNC. Blender isn’t normally recommended for CNC design but in the case of classical string instruments it is pretty good – the shapes are all curved surfaces.
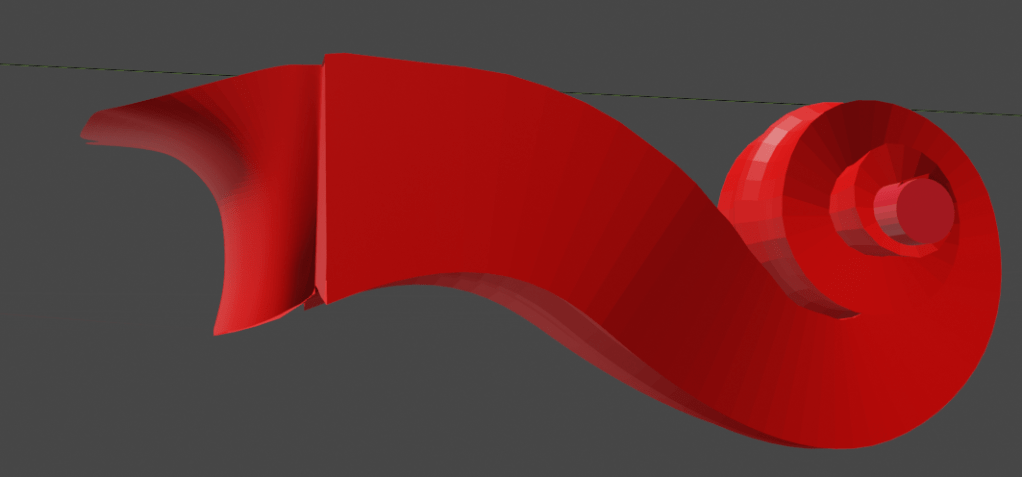
One of the trickiest elements of a classical string instrument is the scroll. This was intended to provide a place for the instrument maker to show off their carving skills. It took me a while to figure out how to do this in Blender so I thought I’d share it here. I’m not a Blender expert so maybe there is a better way; however this works for me.
Note that I’m modelling this for CNC – it doesn’t need to be good enough for rendering or 3D printing. I’m also designing on the basis that the instrument will be hand finished – the CNC just needs to get me to about 1mm from the final shape. However, I do want to be able to adjust the design without major issues.
The key is Blender’s Modifier stack.
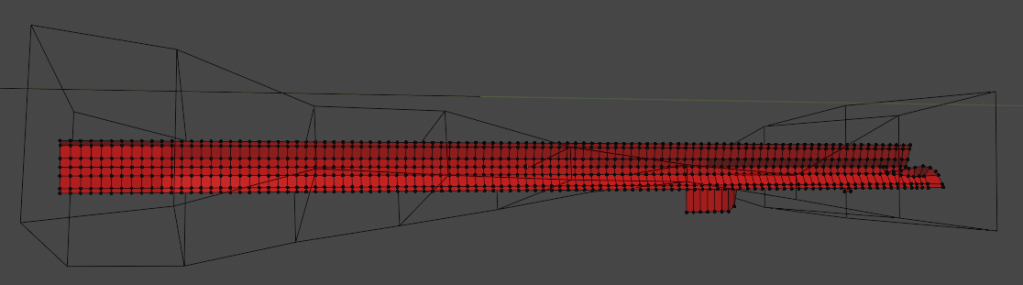
I started with a plane, tweaked to provide the right shape across the surface of the scroll. This is half the width of the scroll – it will be mirrored later.

The plane is rolled up using a Bezier curve and the Curve Modifier. This was the hardest bit of the process – the Curve Modifier doesn’t always work in an obvious way. In the end the easiest option was to move the surface around until everything looked right.
To get the change in width of the scroll I used a Lattice and Lattice Modifier.
The edges of the plane were extruded to provide the sides of the scroll and the top surface around the pegbox.

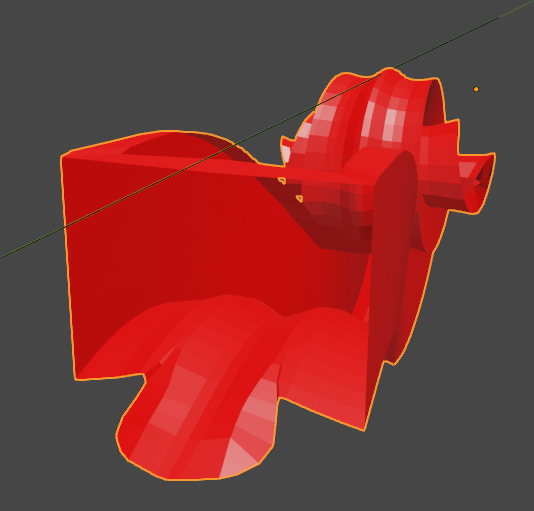
Rolled up along the curve it looks like this:
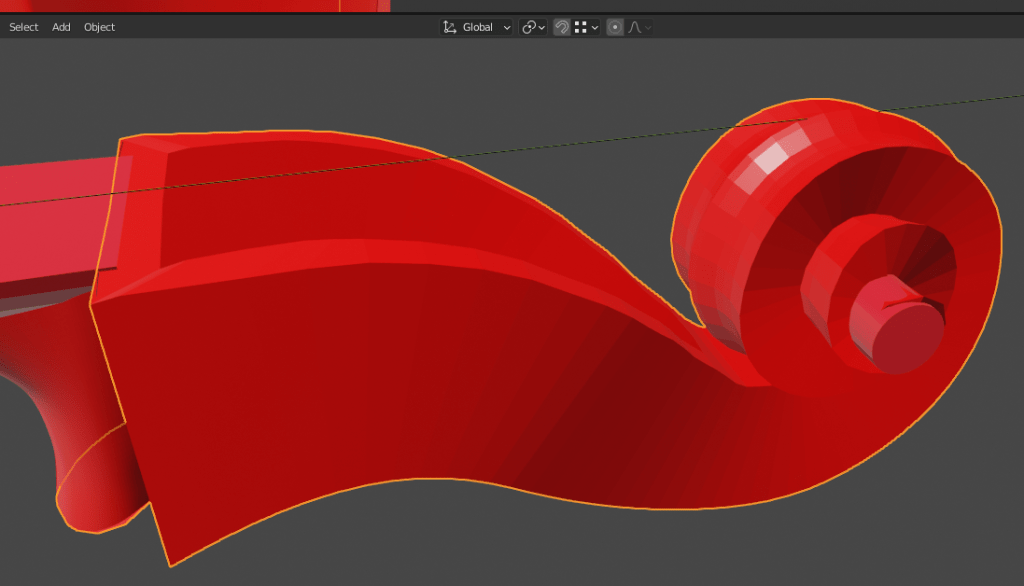
The centre of the scroll is a bit messy so I’ve hidden it with a cylinder. I’ve also added a separate mesh to provide the join with the neck.
This is as far as I’ve got. I could Apply the Curve and Lattice modifiers and then tidy up the mesh but leaving as-is makes it much easier to edit, so I’ll put up with the untidiness for now.
