The oars supplied with the Wanderer (Custard) are 6′ long. Much too short for good rowing but easy to stow and thus fast to access. As described elsewhere fast access turns out to be the most important requirement for oars – for fendering off and close manoeuvering when things go wrong.
I have another set of oars supplied with the green boat (Owl). These are 6′ 6″ but I haven’t used them much:
They are too long for the low gunnels and high thwart of Owl – it is hard to get the blades out of the water.
The handle of one is damaged.
However they are a very good fit into Custard and the extra 6″ will help with rowing. So a bit of tidying up was in order.
I got a bit of a shock when I tried to renew the insurance for Custard – my junk rigged Wanderer. Insurance was refused. The boat isn’t worth much but third-party insurance is essential for my sailing club and many other places. The reason is simple – insurance is calculated by computers and something that isn’t in the computer is unknown.
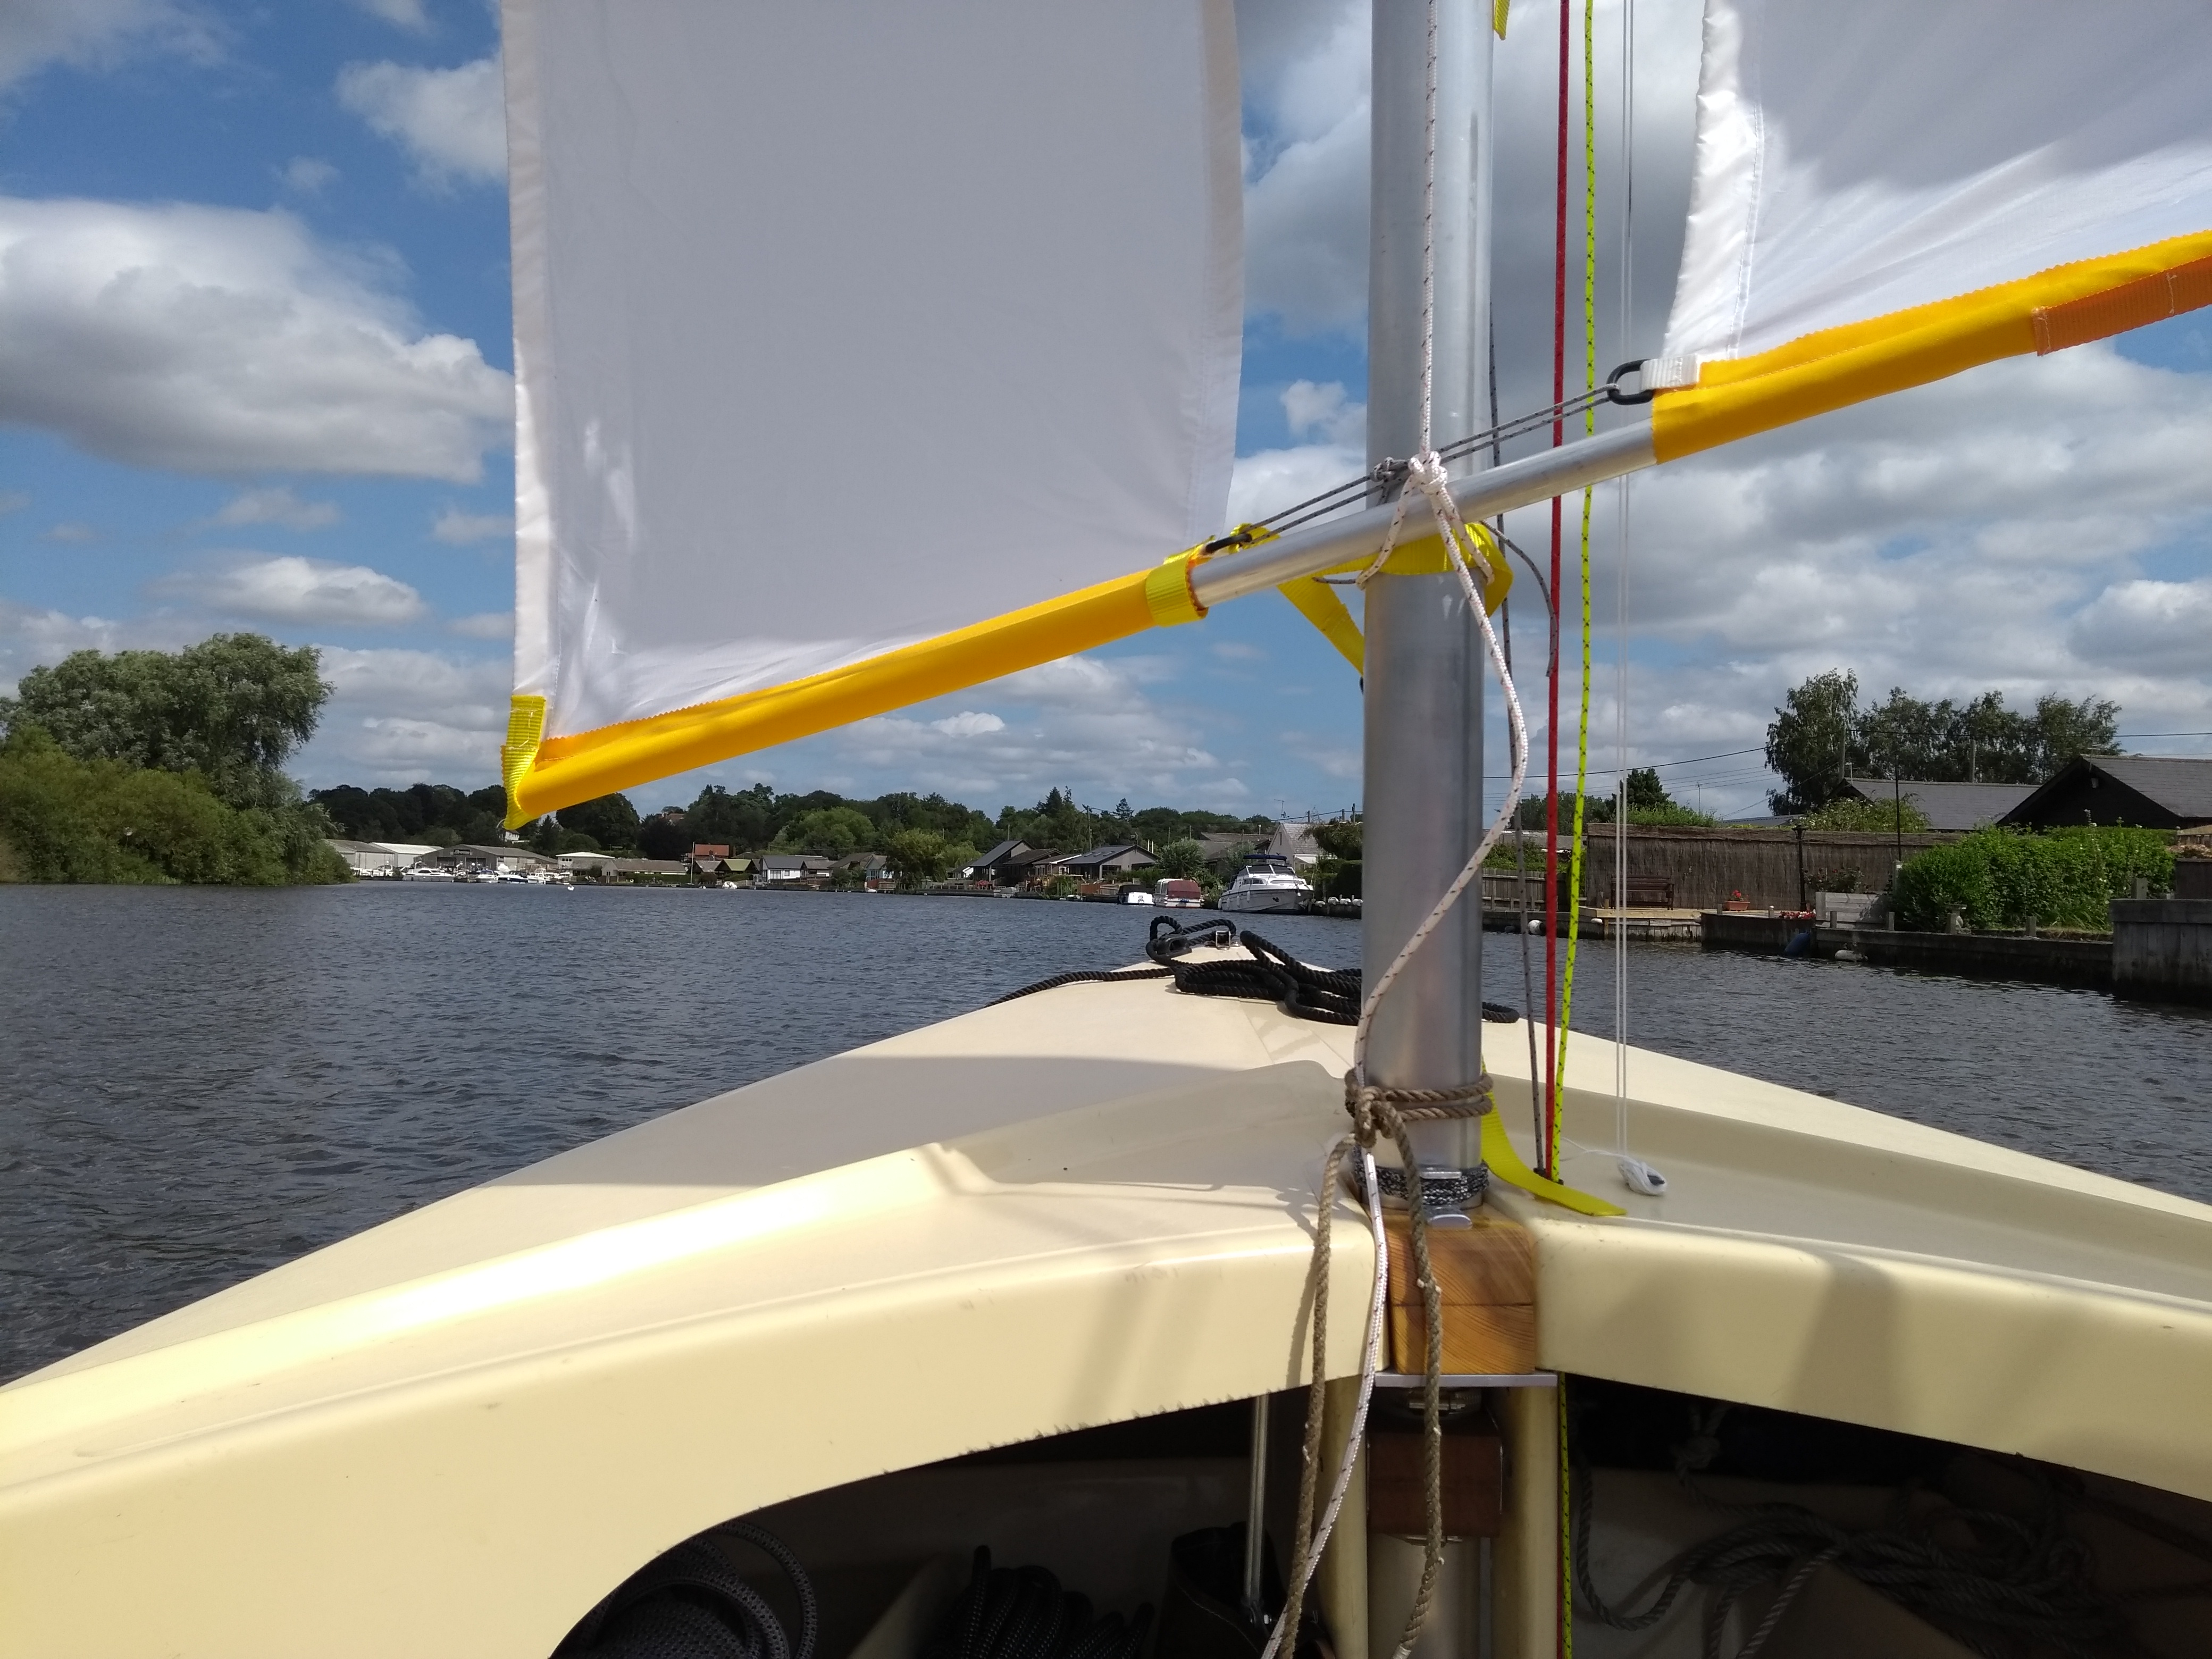
Custard running down the river The yellow jiblet takes the force of the Throat Hauling Parrel so is creased and doesn’t have any camber. Otherwise the jiblets take a good shape.Continue reading →
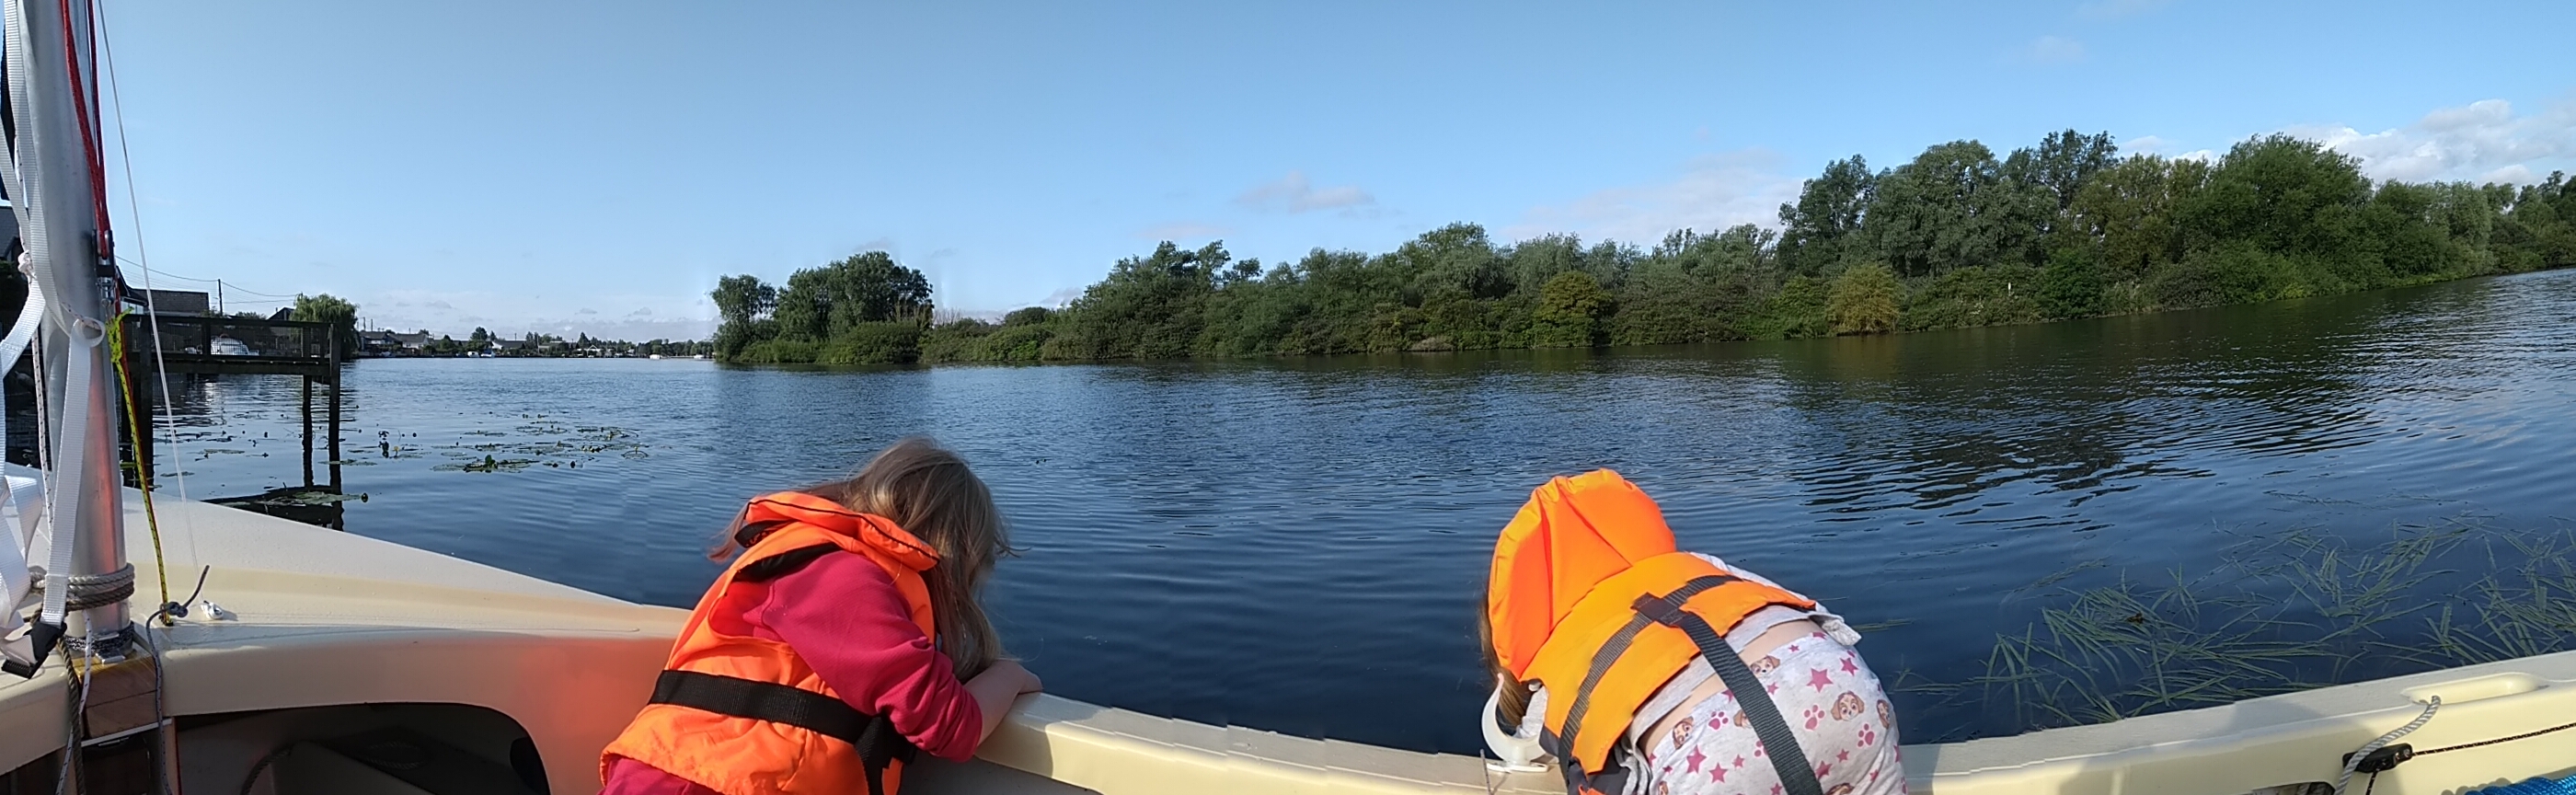
We’ve just returned from a holiday on the Norfolk Broads with the boat. Had a really lovely time – highly recommended if you are into sailing and / or boats. Having the boat moored at the bottom of the garden on a river, with a pub 1/2 mile down the river plus channels and lakes to explore, is a lovely way to holiday.
Sailing downwind back to our houseFishing from the boat
I finally got the topmast plug out! Phew. Method was:
One. Buy a big drill from Screwfix.
25mm drill
Two: abuse my power drill and drill a hole through the middle of the plug.
Three: use an original 1980’s hot air paint stripper to push air through the plug as often as possible.
After a few days the plug came out. It is now fitted properly.
I also added a burgee halyard cleat:
Burgee halyard cleat. Might catch on lines – we’ll see.
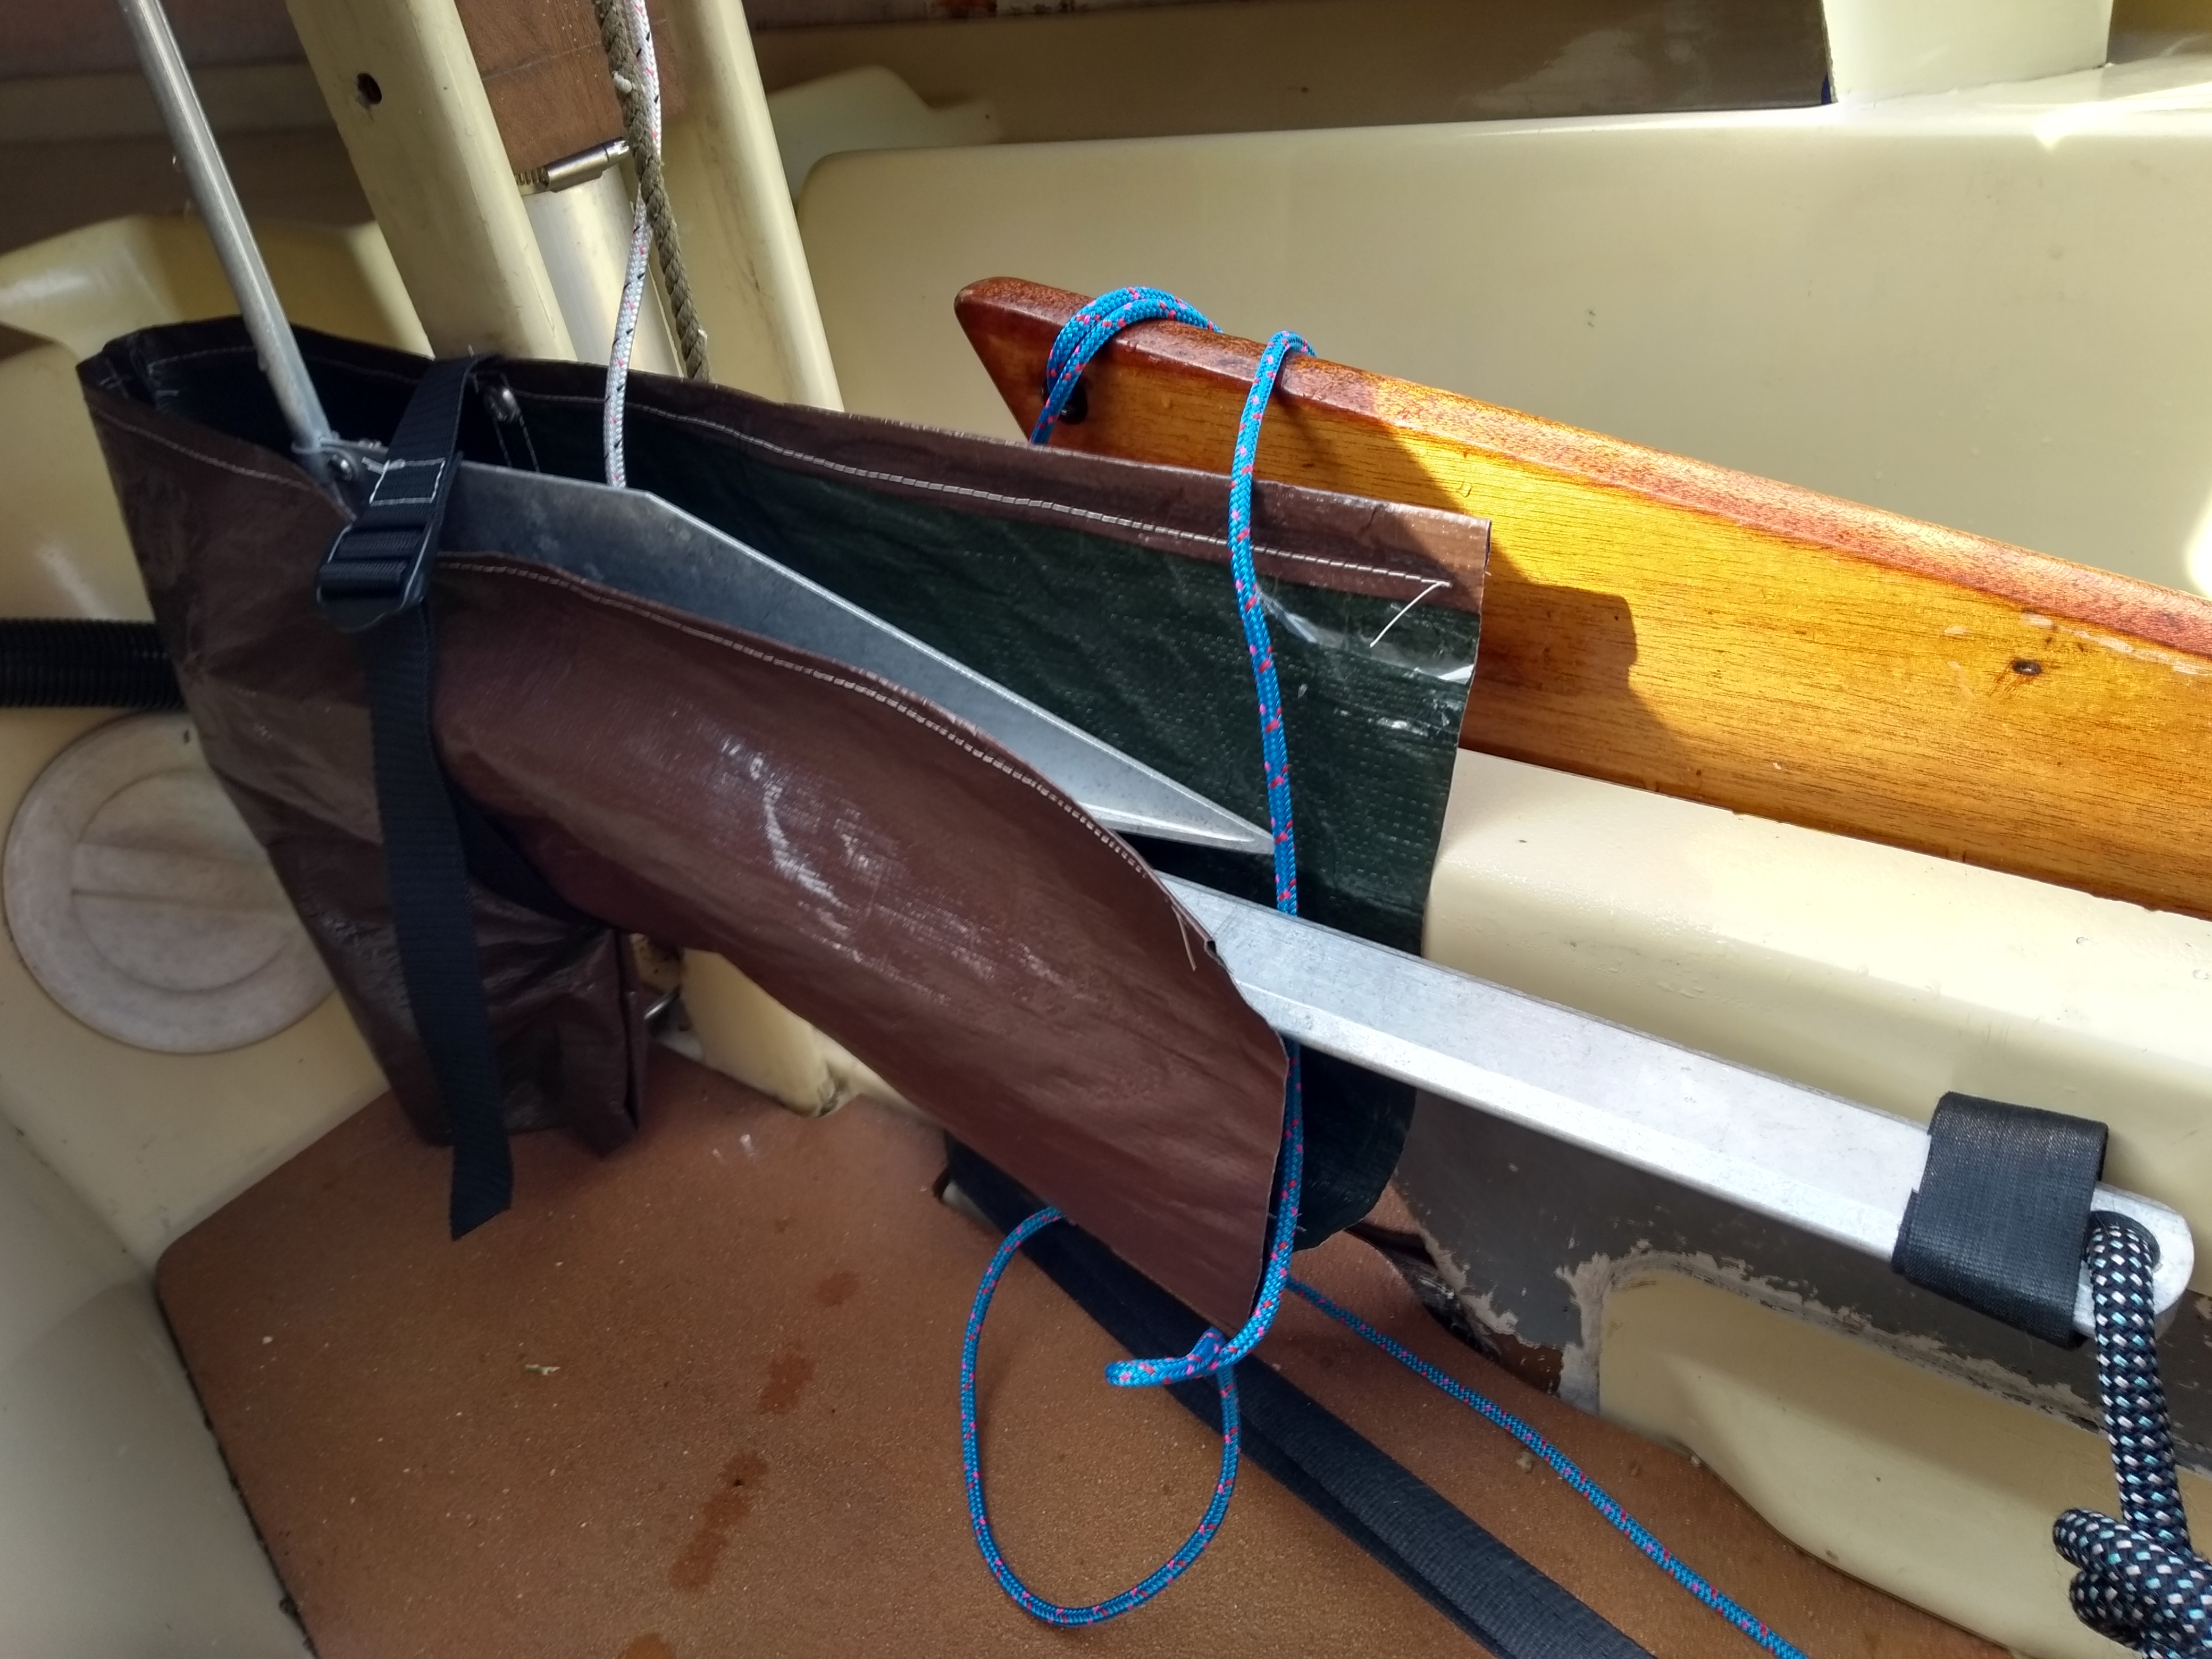
Plus I’ve made a tarpaulin pocket to hold the anchor so it is ready for use next to the tapernacle.
Update: here’s the picture:
Anchor mount
The anchor is a Guardian – a cheaper version of the aluminium Fortress. It was bought for a 21′ 1100kg boat so is a bit oversized for the Wanderer. However it is very light and I own it so that’s what I’m using. I use old climbing rope for the warp as (a) I’ve got 300′ of it and (b) it is very stretchy. The mount works nicely. I didn’t get the shank mount in quite the right place but it fits ok.
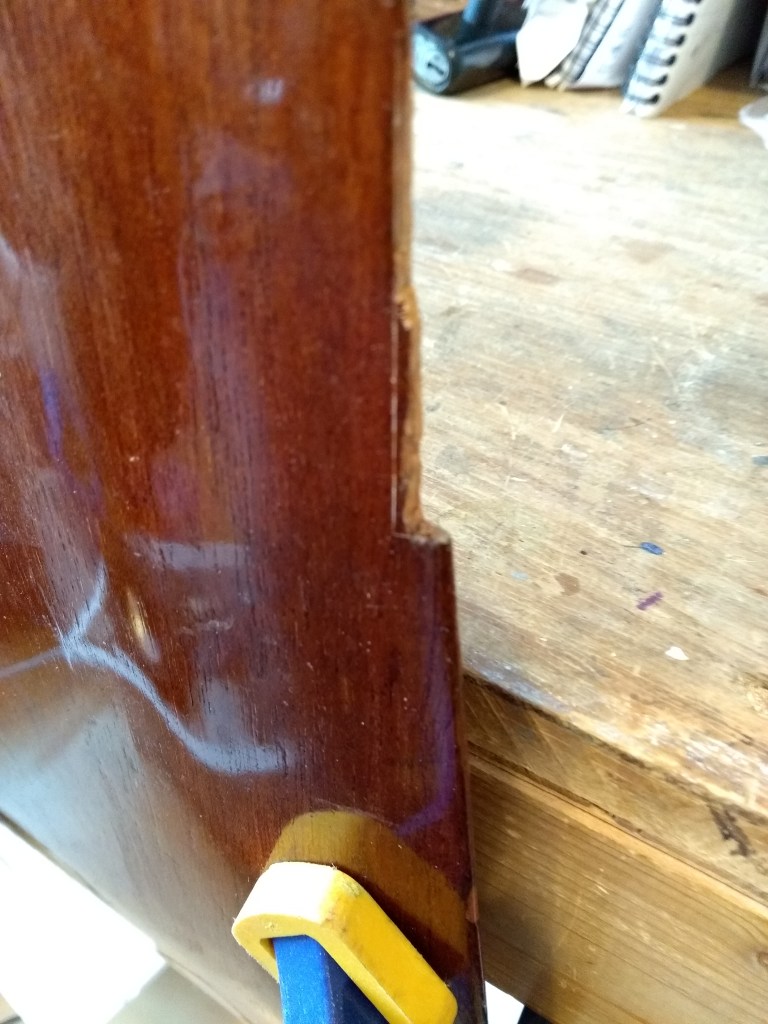
Gluing the wooden plug inside a tube ended up with the tube jammed inside the tube. I had to cut it out. I suspect that if I had left it long enough it would have slid out again.
Jammed plug (again)
This is a stupid one. Having got the wooden plug stuck in a tube, I then got it jammed inside the bottom of the real topmast. I figured that I could put some wood preserver on it and tap it into place before it swelled up. I was wrong – it is very well jammed now 😦
It is slowly shrinking down again as the wood preserver dries out, but the bit inside the tube isn’t shrinking quickly enough to meet the deadline.
If it doesn’t show signs of shifting in the next few days I’ll have to cut the end off, then cut out the wood from inside the topmast tube (very carefully!) and make a new one.
DIY surgery
Really stupid time – I was cutting the end off a pipe for the bilge pump and the knife slipped. Ended up in my stomach. Fortunately:
The NHS is fantastic – the ambulance and A&E did a great job of looking after me and stitching me back together;
I have enough of a spare tire to prevent the blade going all the way through so stitches were all that was needed.
It is healing up fine. Main lesson is that never do DIY when tired – I hadn’t slept much the night before.
There is a stress concentration in the topmast tube where it leaves the main mast tube. This wouldn’t matter, except:
The topmast is thin aluminium so isn’t particularly robust;
There are scratches in the aluminium at the critical point from when I made the mast;
The topmast is already a bit over stressed in this design so as to reduce the weight at the top of the mast.
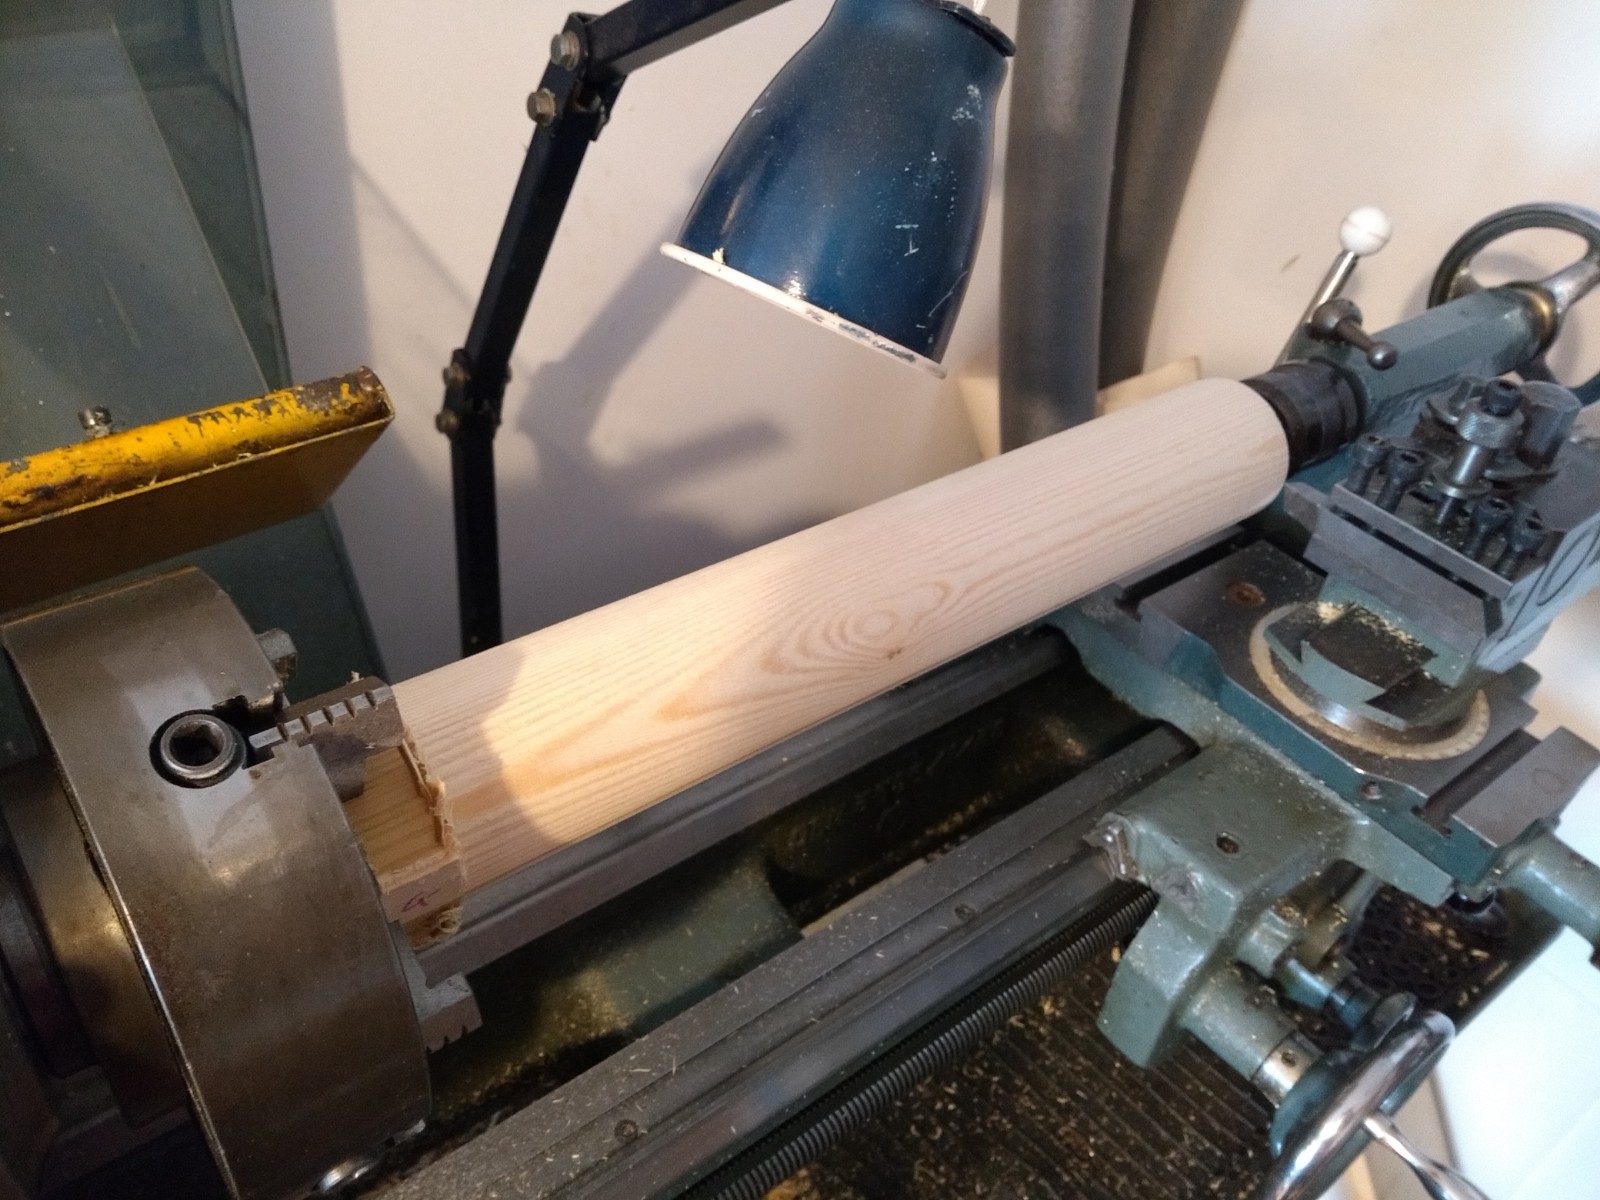
To stop the topmast buckling I’m making a wooden plug for the critical section from my last piece of decent Douglas Fir. The plug is in two halves glued together which allows the middle to be hollowed out. To allow initial working I screwed the two halves together.
After considering my options I made this on my metalwork lathe. This made it easy to get the outside to the right size along the whole length. I used metal-cutting tools – not elegant but gets the top done.
Cutting the outside of the plug
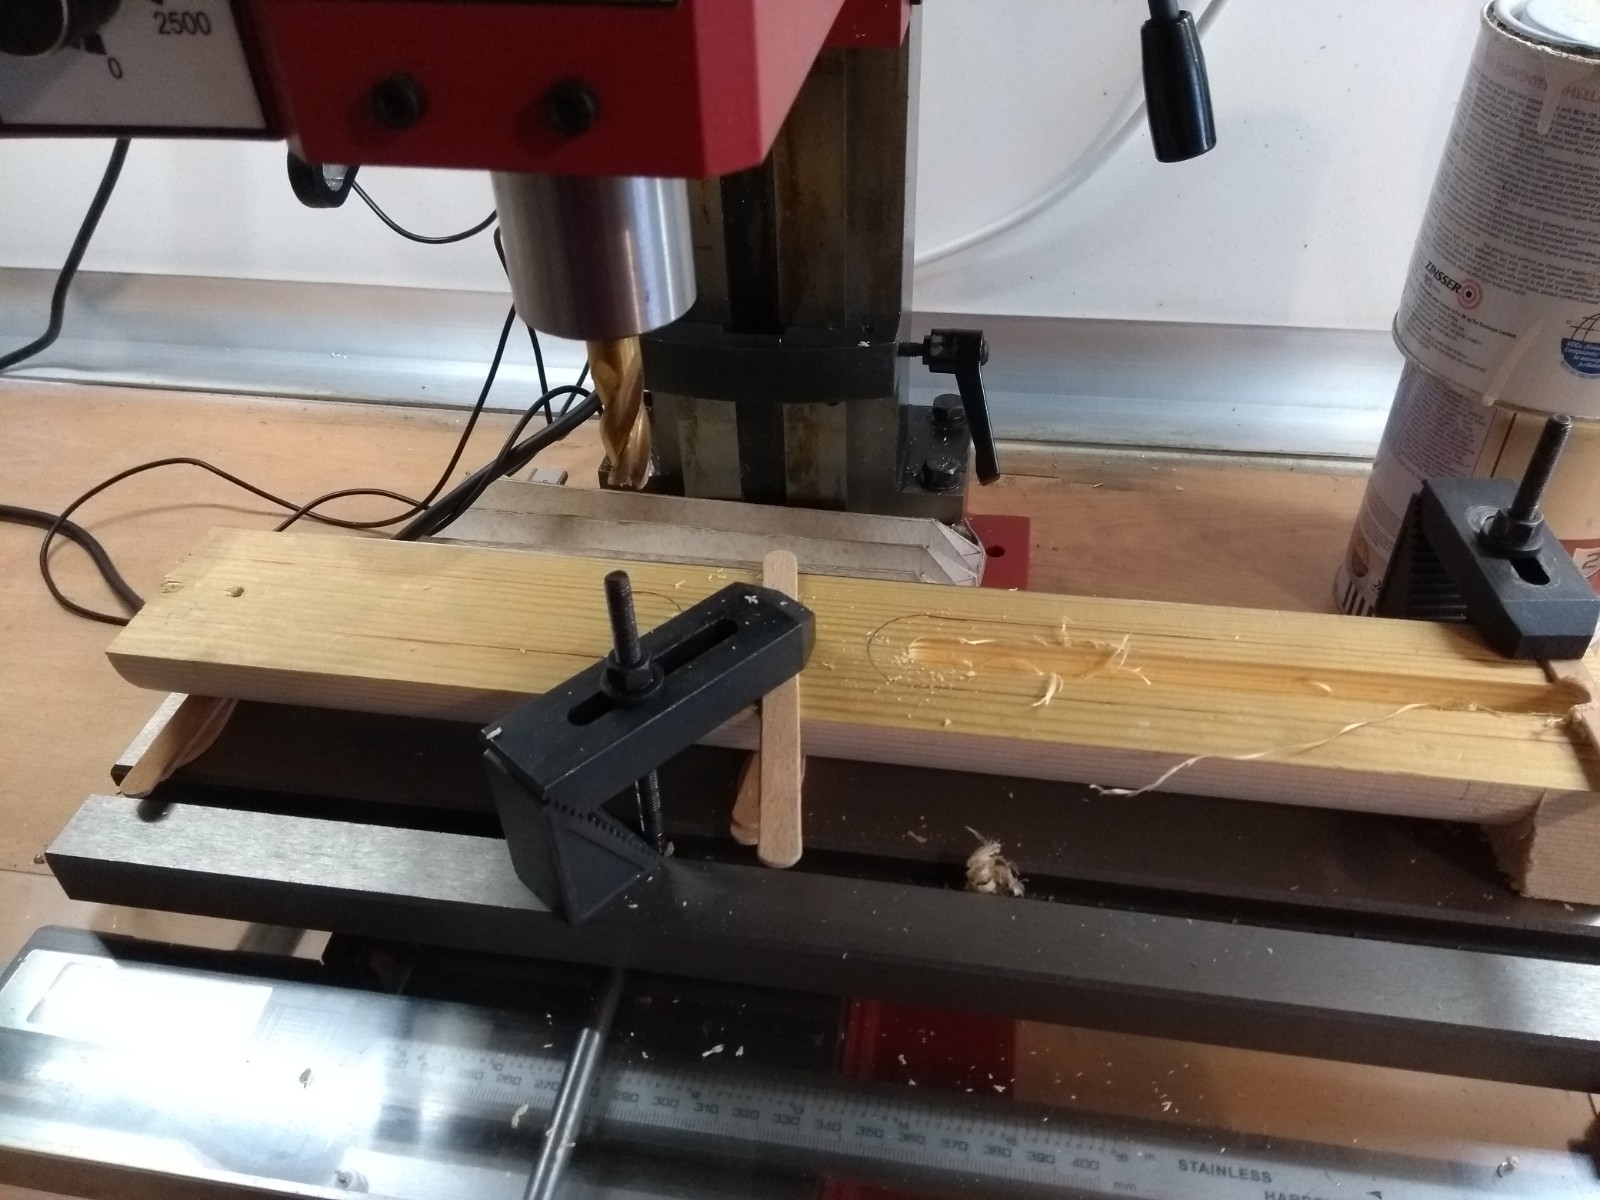
Next stage was hollowing out the middle. For reasons of speed I used my milling machine.
Cutting out the centre with a milling machine
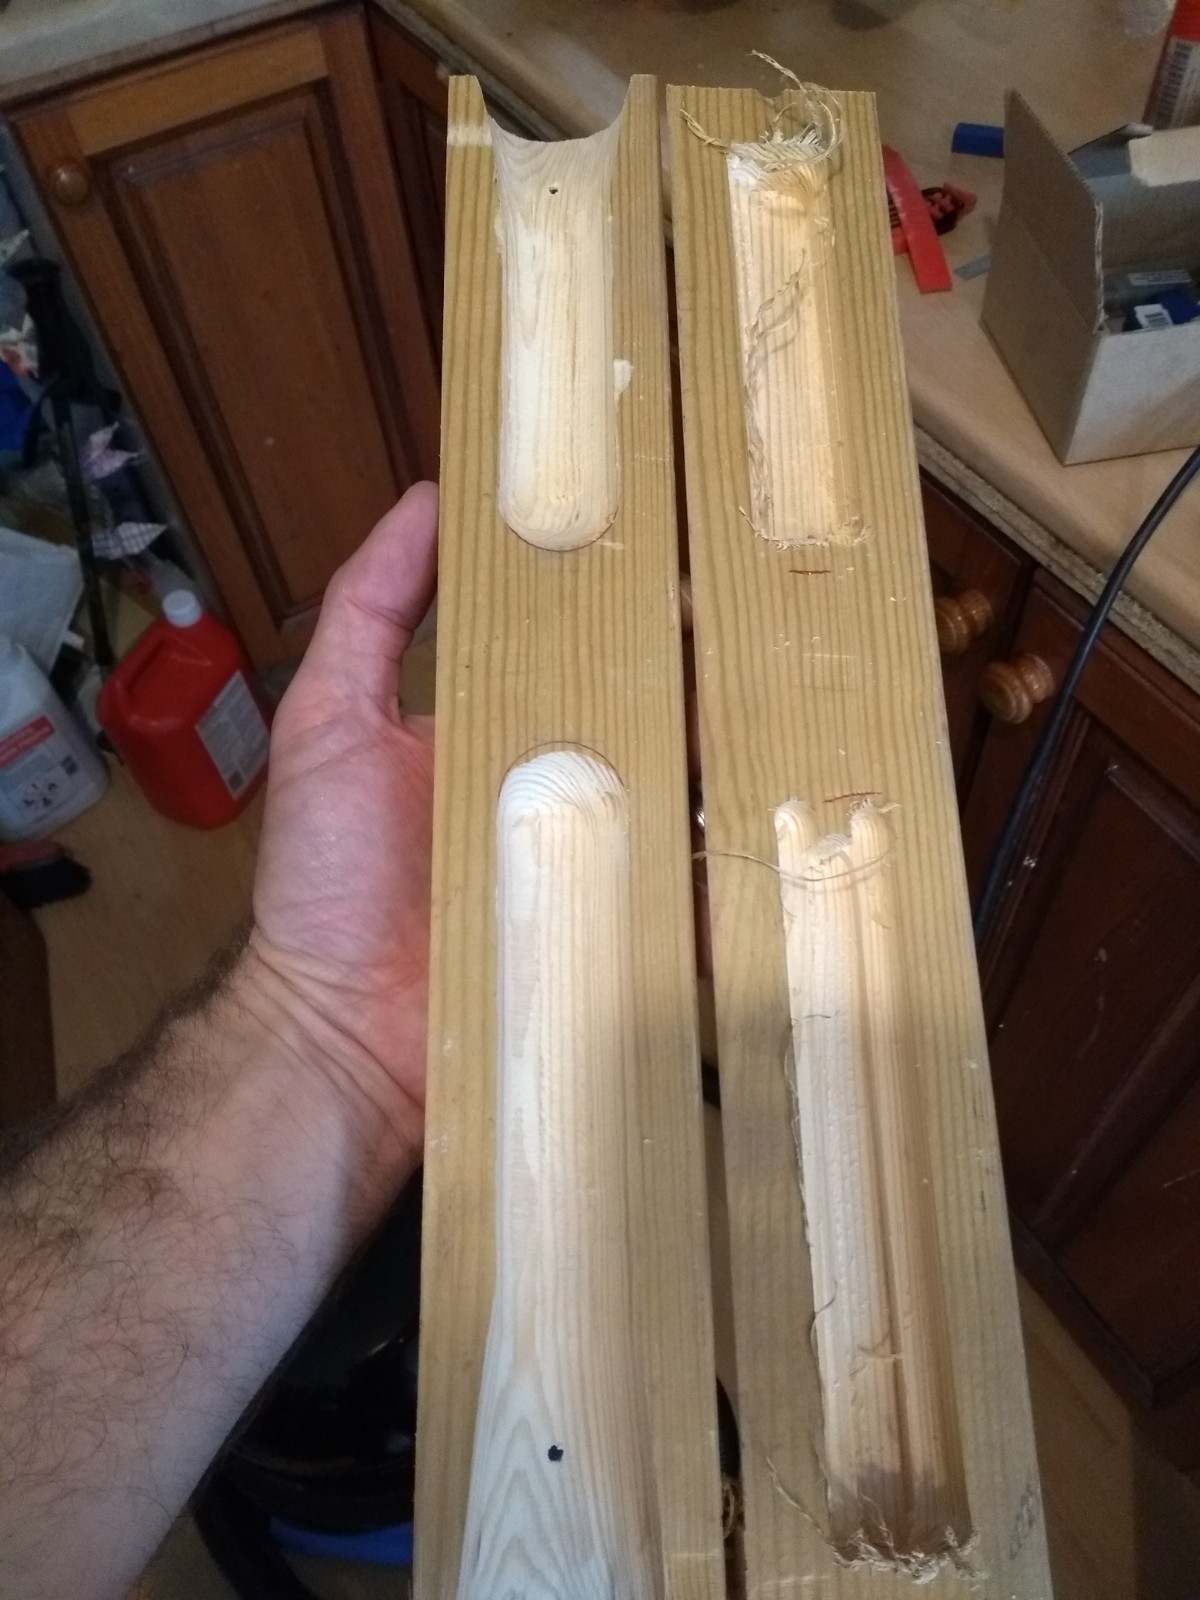
Then finished off with a powerfile / mini belt sander.
One sanded, one to go
The mini-belt-sander is a very useful tool – I wish I had bought one years ago. Mine is Silverline – one of the cheapest – as it was light and compact for getting into awkward corners inside the boat. It has been excellent – highly recommended.
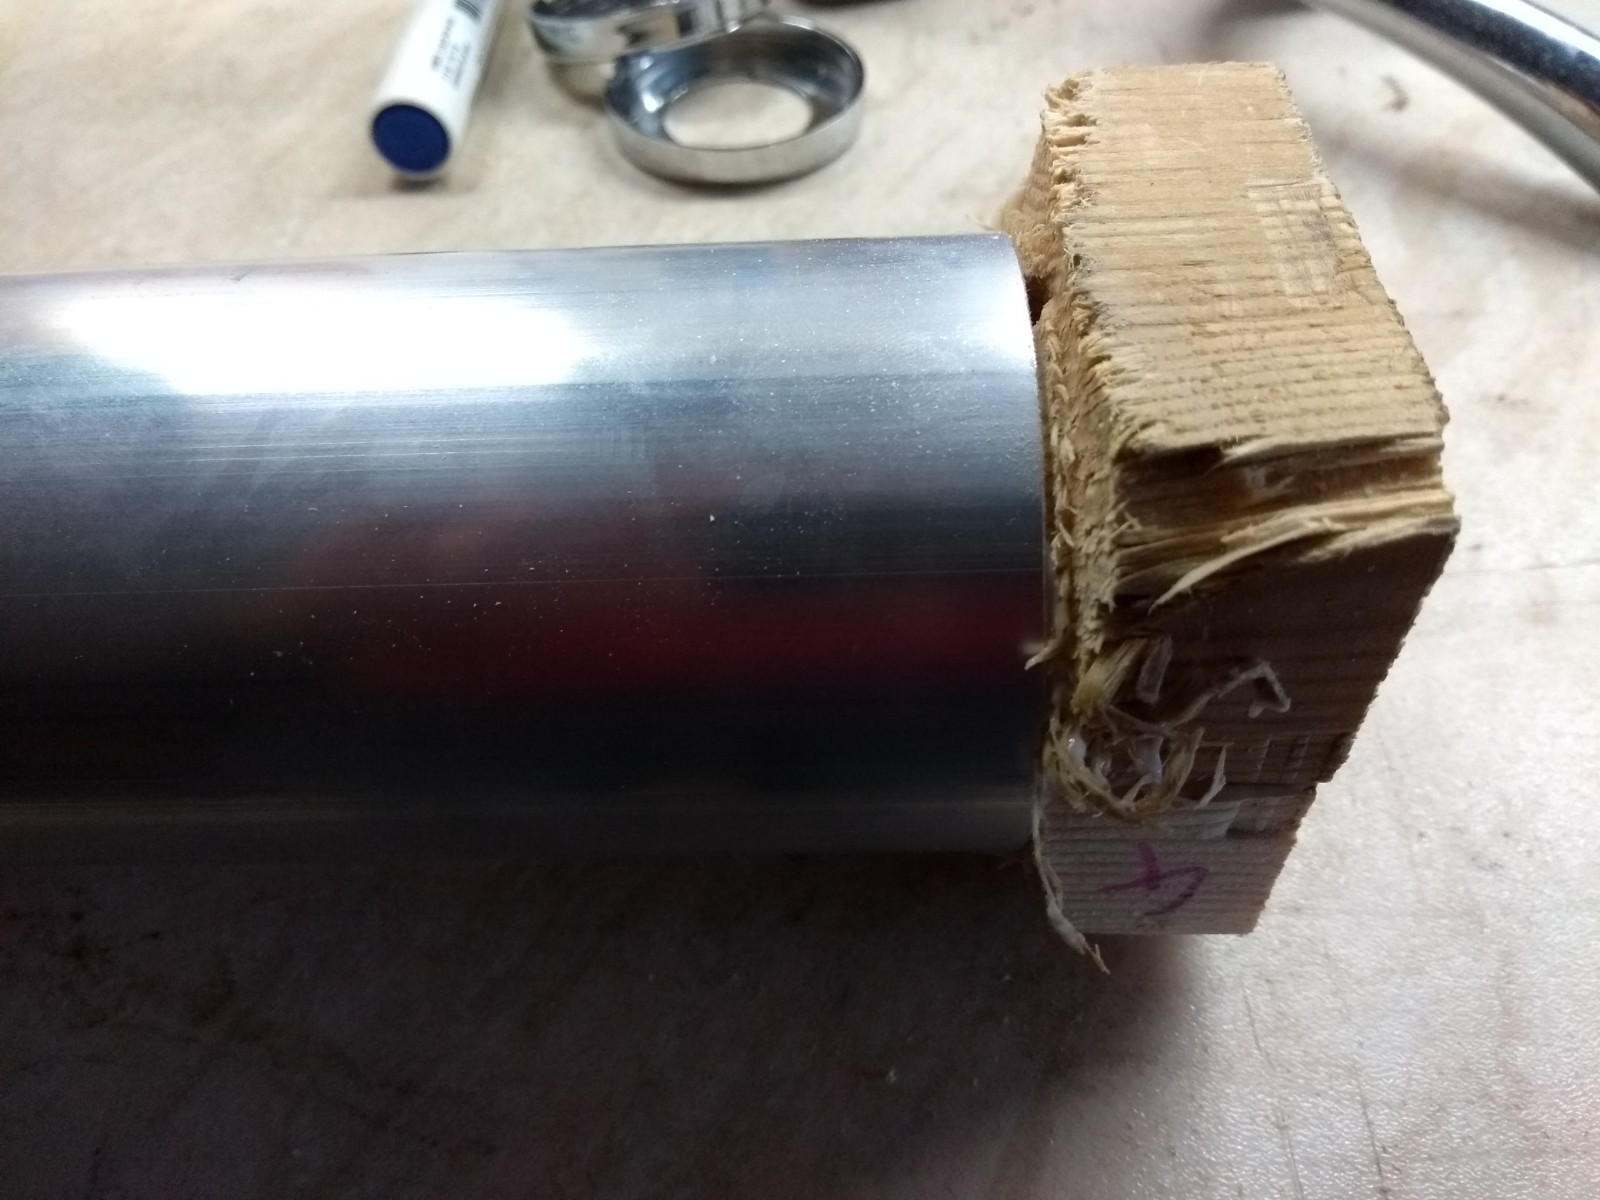
I’ve glued the two halves together inside a spare tube so it all lines up. I used Tightbond (waterproof PVA-type glue) as this should be fine in the conditions, is nice to work with and won’t stick to the spare tube (I hope!).
Gluing inside a spare bit of topmast tube
Once the glue has dried I’ll cut the square end off, neaten up the insides as far as possible and then put some wood preserver on it. It can then be inserted into the topmast.
Hopefully Custard will then be good for high-speed full-sail surfing!
Getting the sail finished was a bit frustrating but I got it done. The main cause of frustration was that I needed to have the boat ready for a family holiday in August and there wouldn’t be any time to test it unless I got it all done last week. However, it all got done in the end — phew!