
Getting the sail finished was a bit frustrating but I got it done. The main cause of frustration was that I needed to have the boat ready for a family holiday in August and there wouldn’t be any time to test it unless I got it all done last week. However, it all got done in the end — phew!
Templates
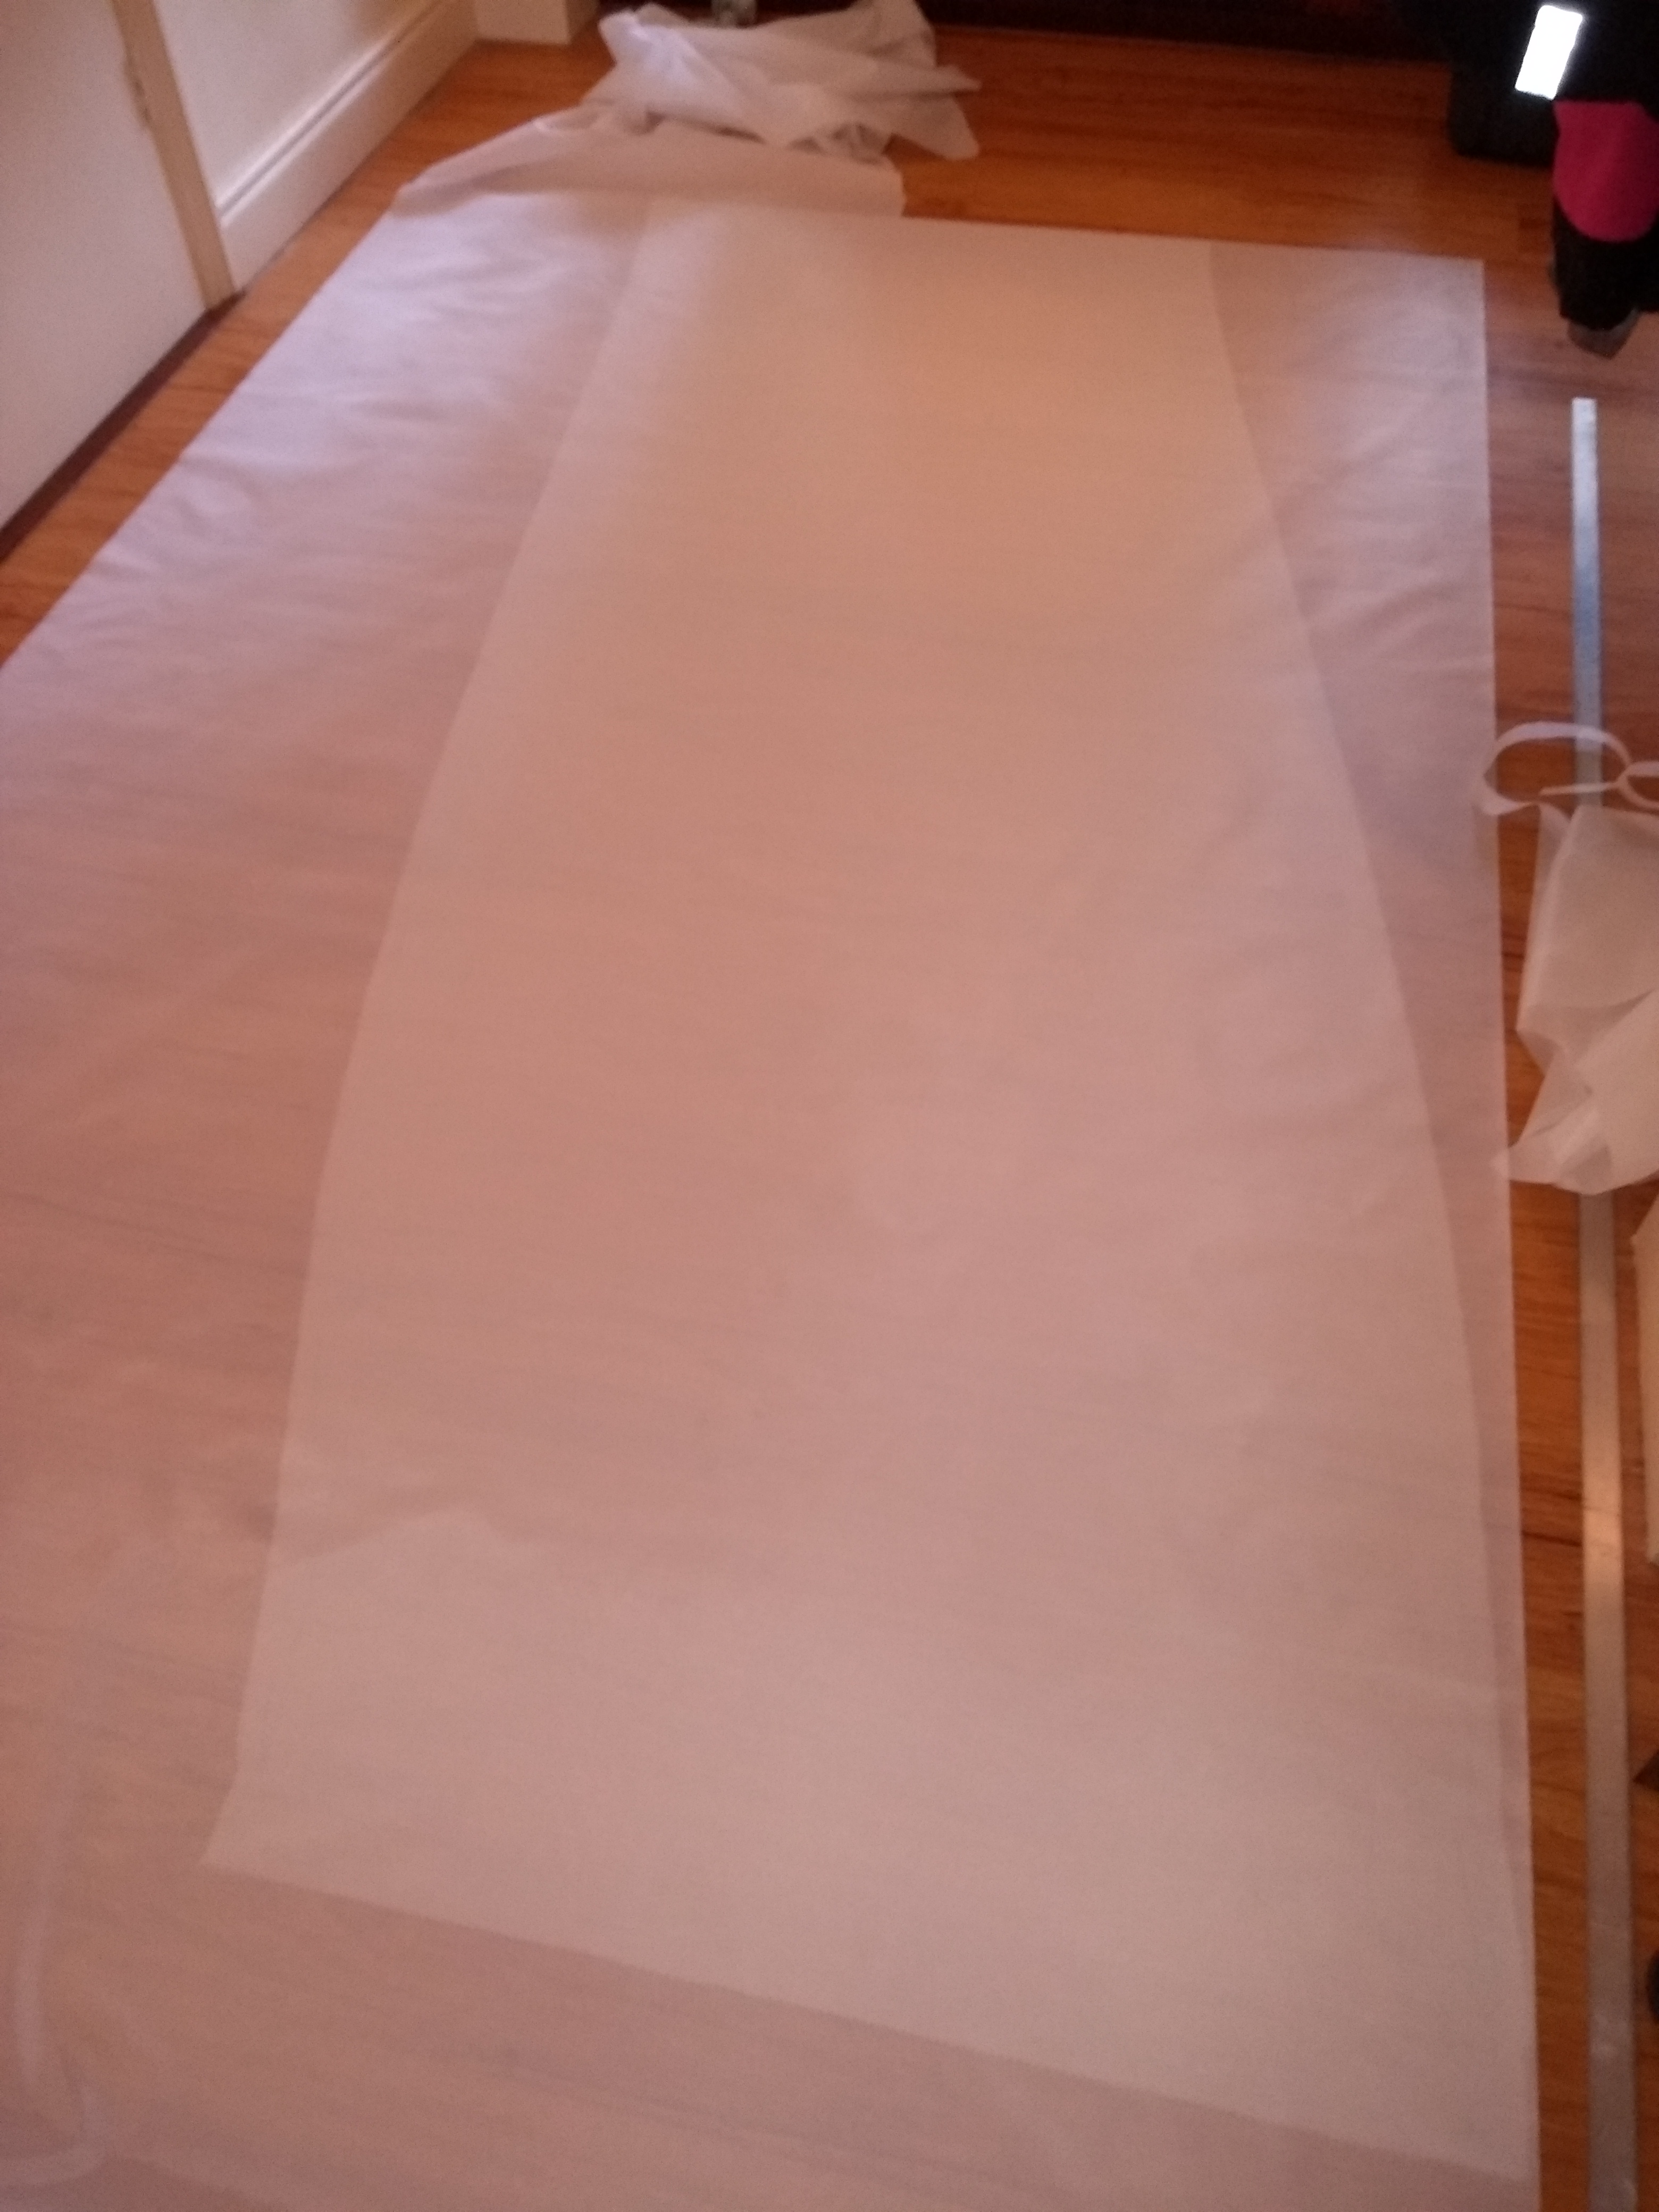
I created paper templates for the jiblets.

I didn’t have enough paper left over for the mainlets so I just created a template for the camber curve and added that to the lines drawn directly on the sailcloth. The cloth is translucent so once I had made one mainlet I could trace that for the others.
Hemming allowance
I used 15mm on the top and bottom of each panel. The jiblets had 30mm front and rear but this wasn’t enough to wrap up the luff and leach tape, so the mainlets have 60mm hemming allowance front and rear.
Holding the battens in
The battens are held in place by sewing up the front and rear of each batten pocket. The battens can then be inserted by sliding the jiblets on from the front and the mainlets on from the back. I did need to adjust the lengths of the battens individually to get everything to line up.
The yard is screwed to the batten using 4mm CSK stainless machine screws and nyloc nuts, with cup washers.
Yard and battens are sealed with push-in end caps to try to get some flotation in the event of a capsize.
Parrels, downhauls, YHP, THP and frustration
I spent a lot of time trying to figure this out. Initially nothing seemed to work. Eventually I went for:
- Yard Hauling Parrel (YHP). Traditional. Doesn’t do much when the sail is fully raised but probably more useful when reefed in stronger winds.
- Throat Hauling Parrel (THP). I used on of these on Owl and it peaks up the yard nicely, providing easy adjustment of the yard angle and hence allowing the panel camber to form correctly. There is some creasing of the top two jiblets as a result but I can live with that.
- Luff Hauling Parrel on the boom. Stops the sail swinging back.
- Ultra-short batten parrels. These are looped through plastic D-rings on the mainlet luff and go diagonally around the joint between the batten and mast. Very crude but seem to work ok. If too tight they stop the sail dropping properly. Using slippery polyester tape probably helps.

As with the Owl I used rucksack-style plastic D-rings, clips and buckles. These seem robust, are light and make the sail easy to rig.
Sheets
I had a bit of an ooops moment with the sheets when I realised that I couldn’t fit them into the gap between the back of the sail and the back of the boat. Fortunately the Ah-Sup sheeting system is more forgiving. Following the instructions in JRA Issue 73 I fabricated the necessary bits from D-rings and tape to try it out.

It worked well, although adjusting this version after reefing is a bit fiddly. I particularly like the anti-twist built into this system – the leach stays absolutely straight.
I’ve now got some proper blocks and better (more flexible) line on order to make an improved version, although this version sufficed to get me sailing.
Topping lifts / lazy jacks
The lower section of the topping lifts are made from polyester tape. This is hopefully a bit gentler on the sailcloth than rope. It also means I can use rucksack clips to connect it up and adjust it when rigging. This works well, although I need a way to secure the hanging ends which are a bit untidy.
The mast lift is rope – with the Split Junk Rig it doesn’t touch the sailcloth.

Pingback: Problems pulling the sail up | Martin's Blog