Guitar Build – StewMac Premium Body-Built Acoustic Guitar Kit

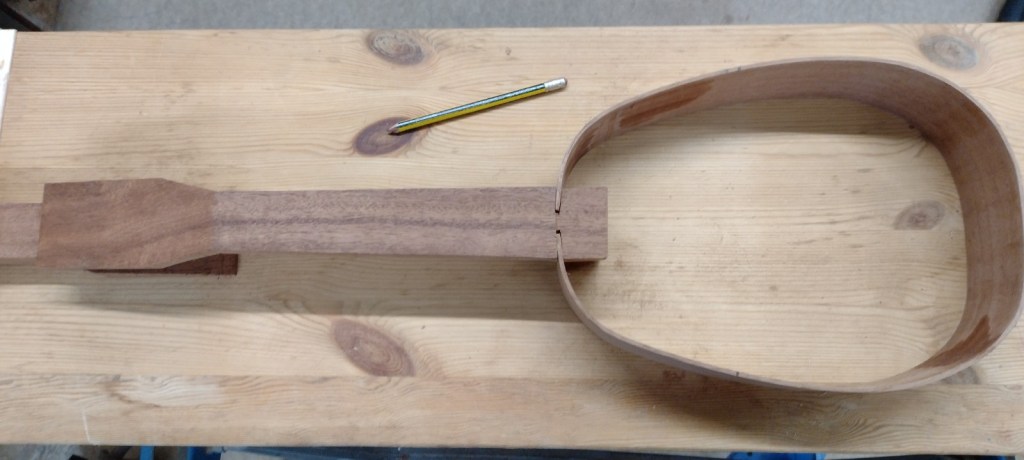
Hmm. Just like buses – projects all come along at once. I was looking for a new guitar for my daughter. StewMac have a kit where the body is already built – the remaining work is pretty straightforward. Plus it is fairly cheap, even including postage and import taxes. Plus the reviews say it sounds excellent. So a good summer project for me and my daughter – she’ll get to say that she made her own guitar!

The kit as it arrived – looking good

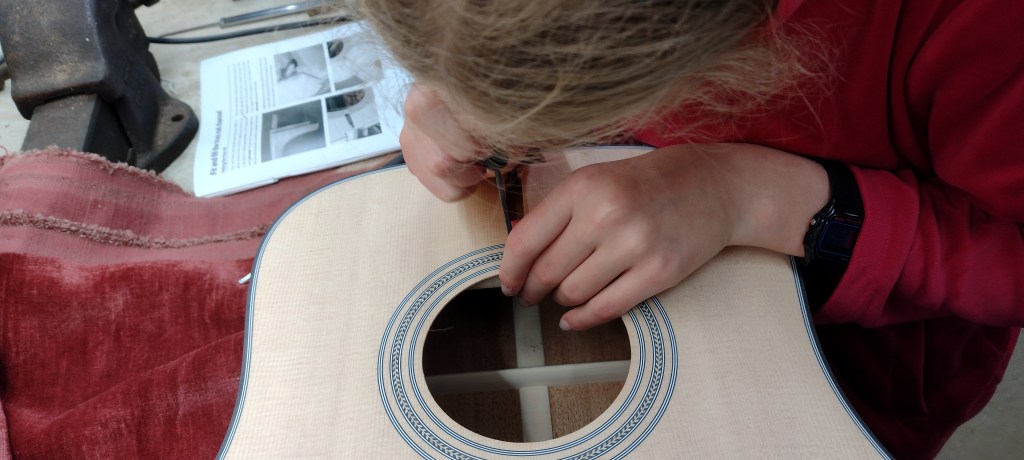
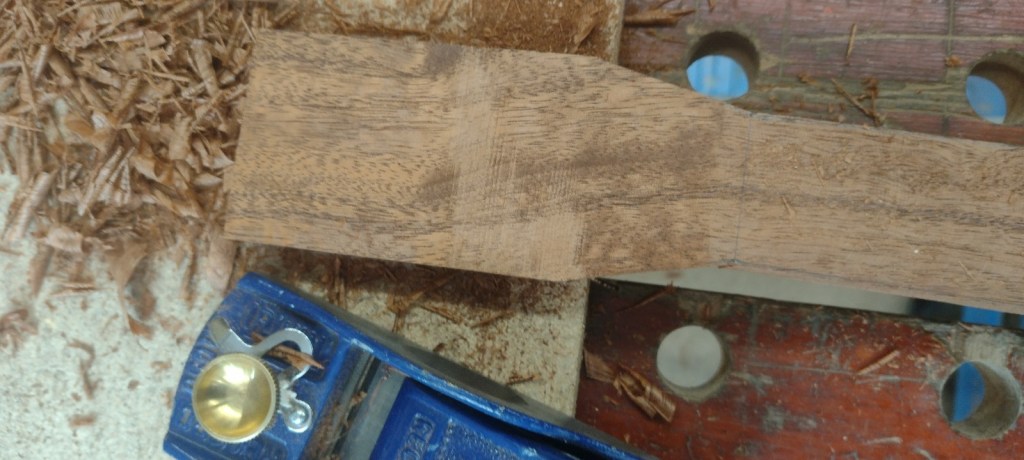
We haven’t got very far yet – just the first couple of steps. These are to do with fitting the truss rod into the neck.

Squaring the end of the truss rod slot
Continue reading

DIY Pineapple Concert Ukulele

Oh no – not another uke!

I’ve sold the Mostics 3018 CNC – it was just far too unreliable. It broke my heart everytime it went wrong and chewed up hours of work. So I’m not working on the Archtop Pineapple Uke at the moment.

Instead I’m making a conventional ukulele – flat top with braces – from reclaimed wood from an old desk. The draw sides and bottoms are make of some of the finest cedar that I’ve ever seen – lovely stuff. This will be used for the soundboard. The rest of the uke is made from mahogany – some from the desk, some from a chest of drawers and some from some wood my dad gave me.

Cutting the neck
Flattening the peghead
Carving the heel. The sides fit into the grooves in the neck – this is how classical guitars are made.
Widening the slots in the neck for the sides. This is a lolly stick with sandpaper glued to it. I couldn’t find a better way to do this easily.
Bending the sides round the mold using my hair curler 🙂
Spot the dovetail ends of the wood for the sides – this was part of a drawer.
The sides fitted into the neck
The back and front are going to fit inside the sides rather than on top.

As you can see from the last photo, the back and sides are fitted inside the sides of the uke rather than being glued on top of the sides. This is basically because I think it will look nice and it means I won’t have to bind the edges. However, it isn’t easy to do – the bending of the sides is far more visible and getting the back and front to fit exactly is tricky. Going ok so far – the photo above shows the back.

Continue reading