
Got the soundboard and fretboard glued on.
I had to make clamps for the soundboard from threaded rod and bits of wood.
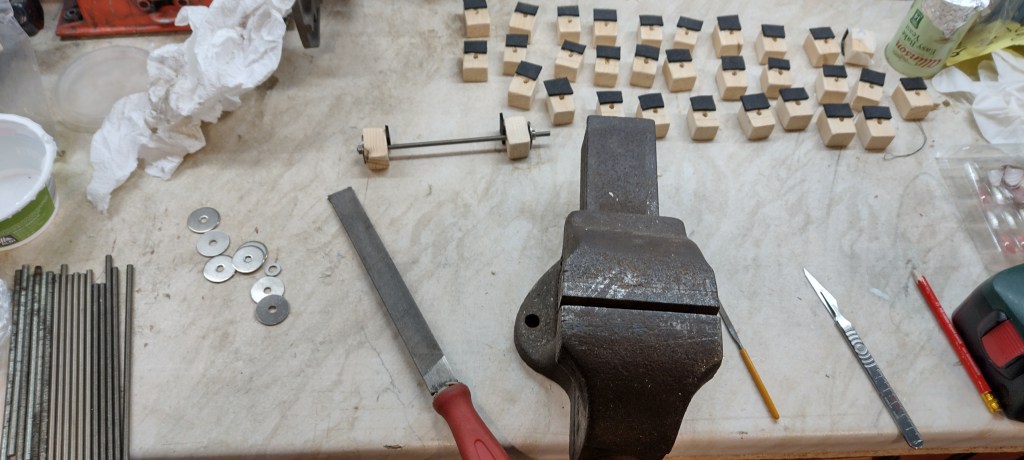
Making the clamps took longer than anticipated due to the number of them but they seem to work ok. I drilled the wooden bits at a very slight angle so they apply the force at the tip rather than near the threaded rod. Padding was via neoprene sheet glued on with Titebond – I’ve got a big sheet of the stuff left over from boat window gaskets and it works well.

I then glued the fretboard on.
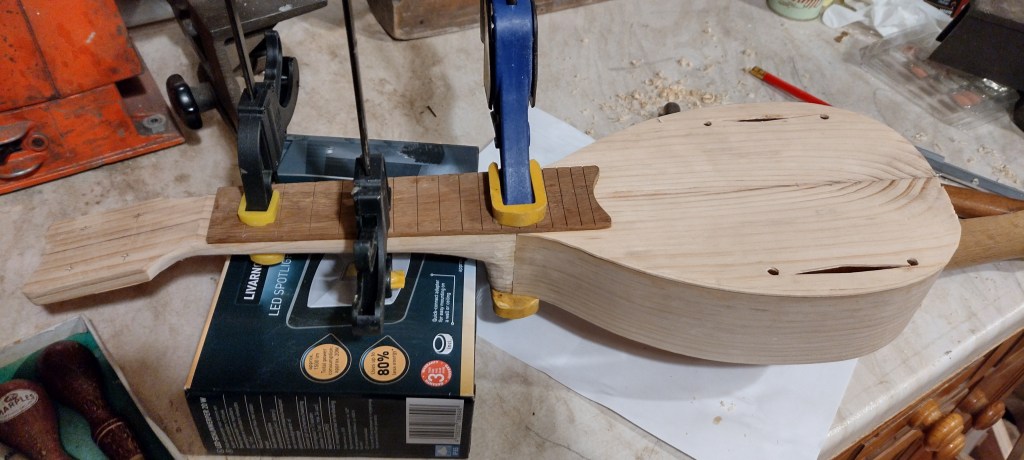
I used the method suggested by Jerry Rosa from the Rosa String Works channel on YouTube – drive a couple of small nails into the neck and cut the heads off very short, line up the fretboard & tap it, then drill the nail indents so the fretboard can lie flush. That all worked very well. The bit that didn’t work so well was that the fretboard warped with the water in the glue (Titebond Original).
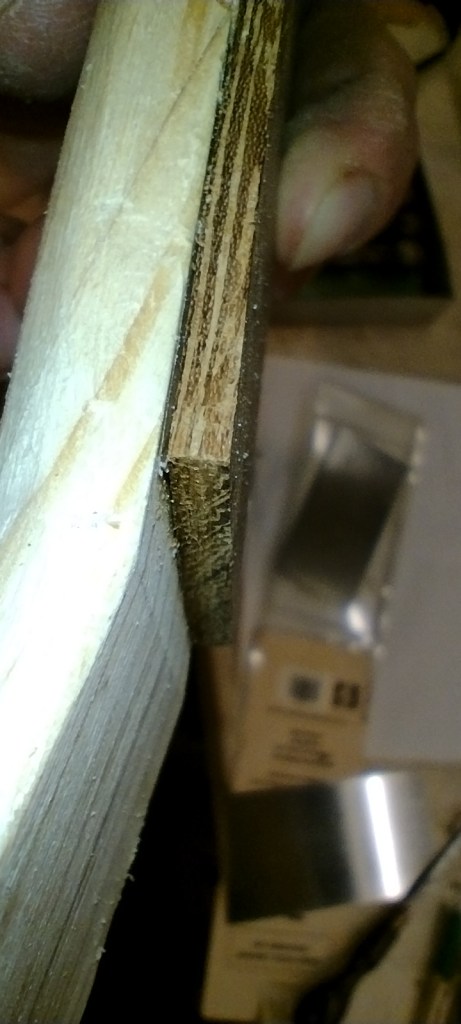
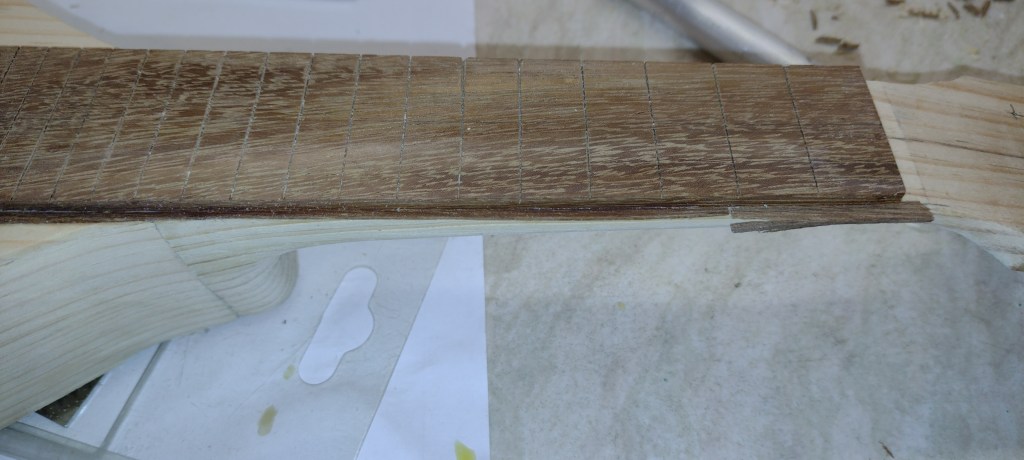
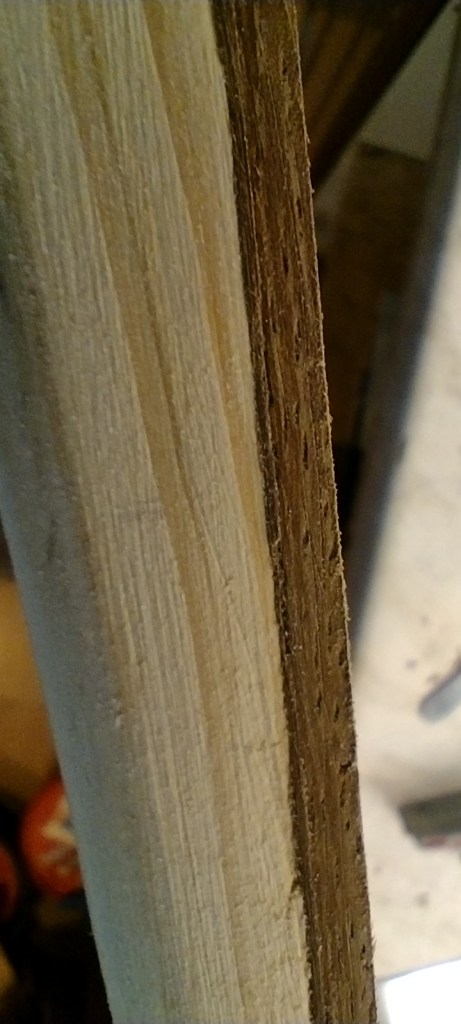
This was my fault for trying to use wild-grain wood for a fretboard. Anyway, I’ve flattened the top again and added a sliver of wood down the side to fill in the gap at the edge – we’ll just have to see if this works.
I had a play with making inlay for the logo. It wasn’t too hard and looks ok but this one is a bit big for the space available.
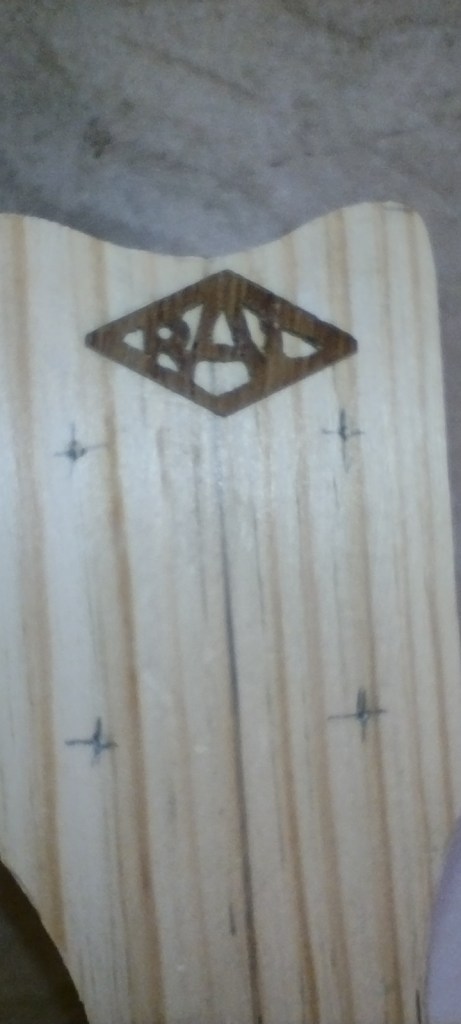
I might have a go at making a smaller version.
I wanted to see what would happen if I vibrated the soundboard at different frequencies. I hooked up my computer to the amp and connected an old TV loudspeaker to the speaker cable, then tried driving the speaker at different frequencies.

Nothing unpleasant happened (no rattles or buzzing) but I don’t think I learned anything useful – it is hard to hear what is going on. Interesting to try though.
Lots more finishing to do. The neck is reasonably well blended into the sides and fretboard but it could be better. The pegboard needs finishing. All the frets need to go in. I need to make and fit the bridge. Then the back can go on and I can apply some kind of finish – maybe Danish Oil.
