
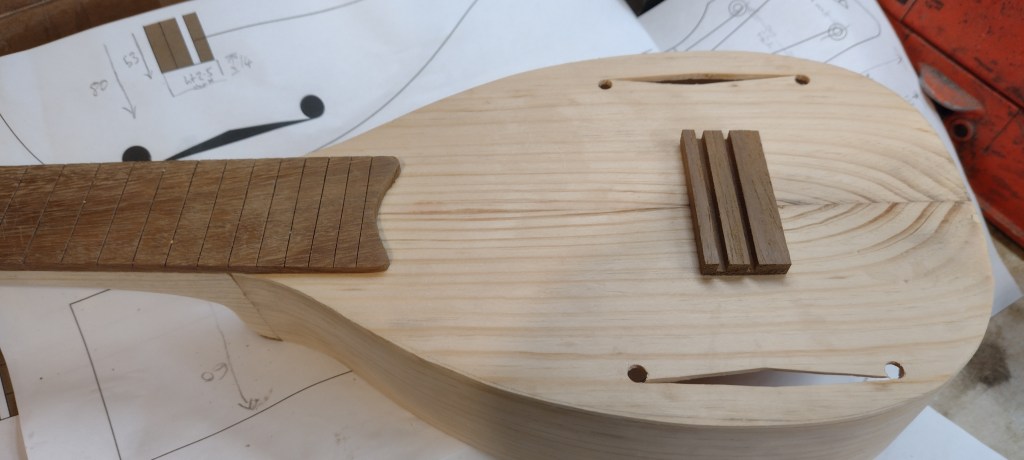
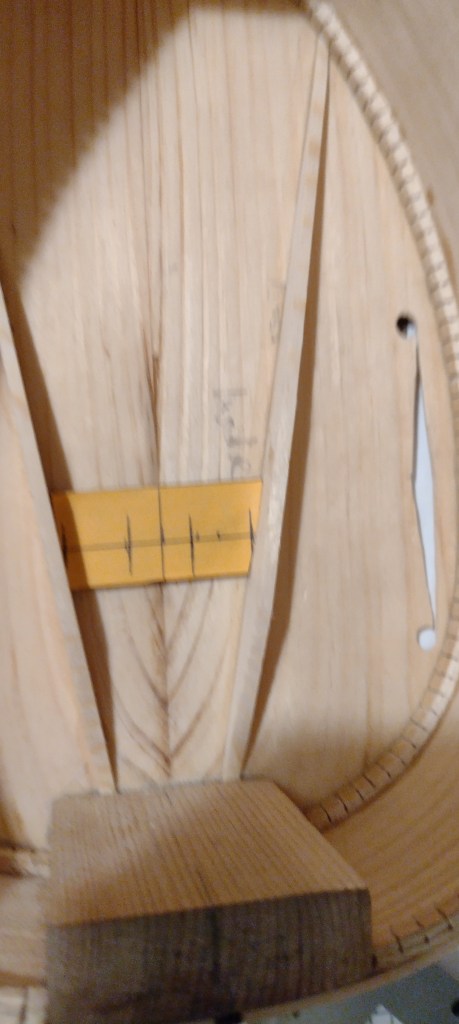
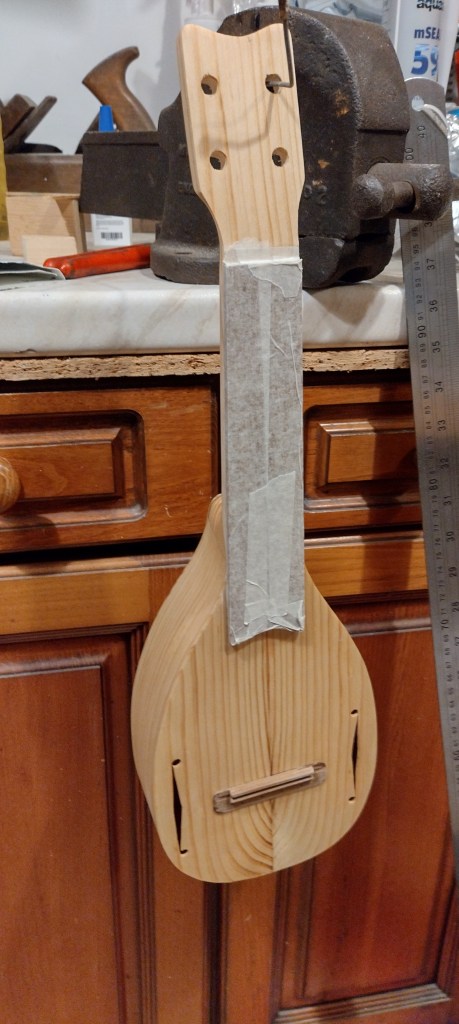
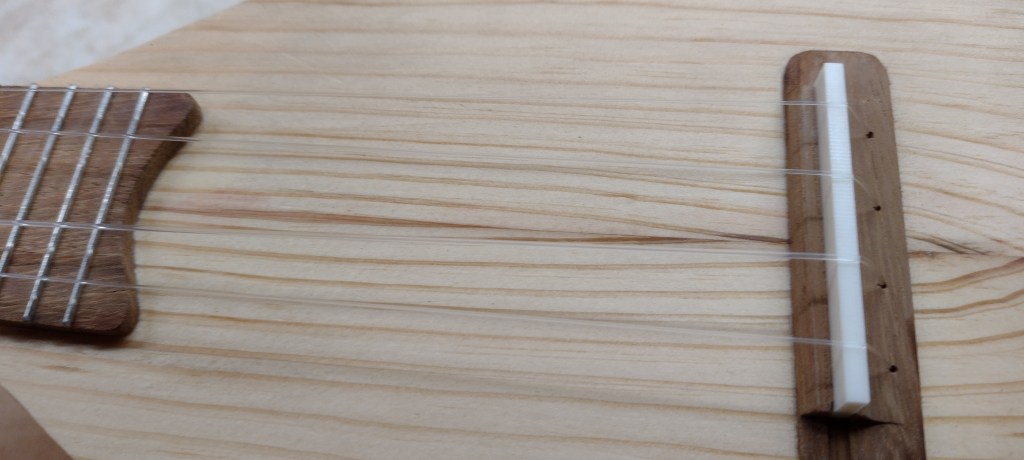
I was worried that attempt number 2 wouldn’t have a big enough angle over the saddle so I changed my mind and have drilled holes in the soundboard to take the strings. The strings are threaded through, pulled through a sound hole and have a knot tied in the end, then pulled back. Fiddly but not impossible.
This arrangement has two advantages:
- There is a big angle over the saddle which should result in good sound transfer from the string to the soundboard;
- It looks much neater – this is a small instrument and having a small bridge helps the appearance.
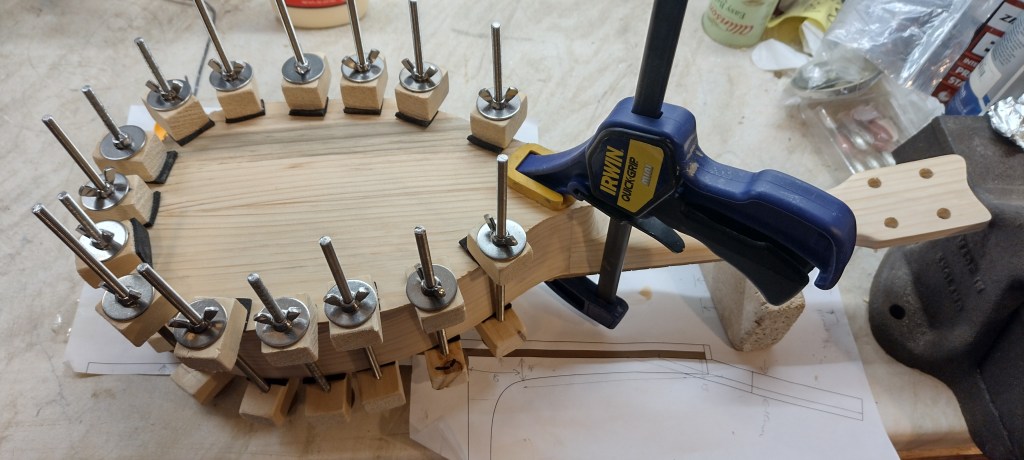
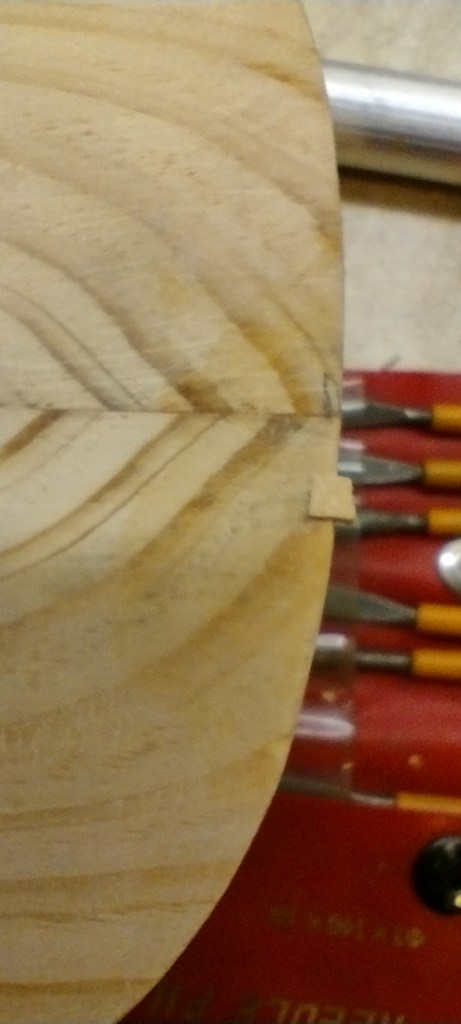
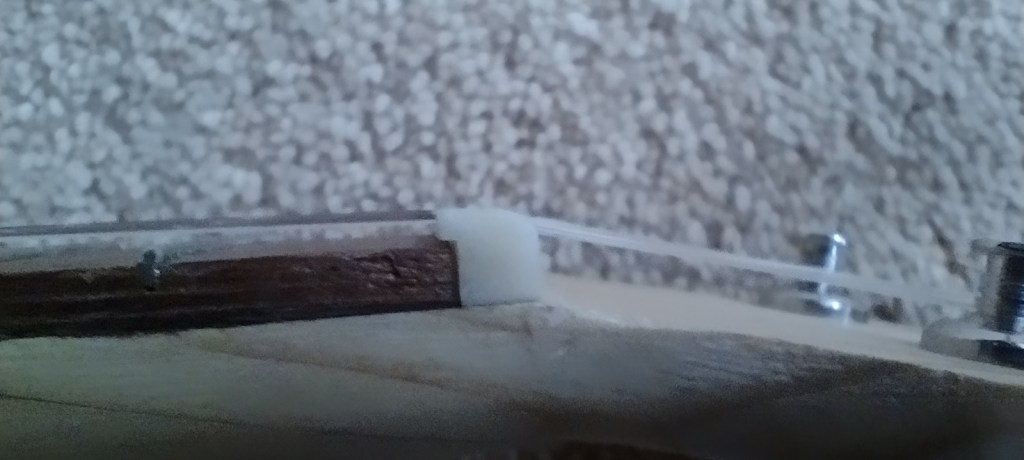
The walnut at the heel of the neck is there to fill a gap – the neck wasn’t tall enough to match the sides plus top.
I finished the uke with boiled linseed oil. This wasn’t the right choice – oil can deaden the sound. However I had some and it is easy to apply. I don’t like the yellow colour much – hopefully it will dull down a bit over time.
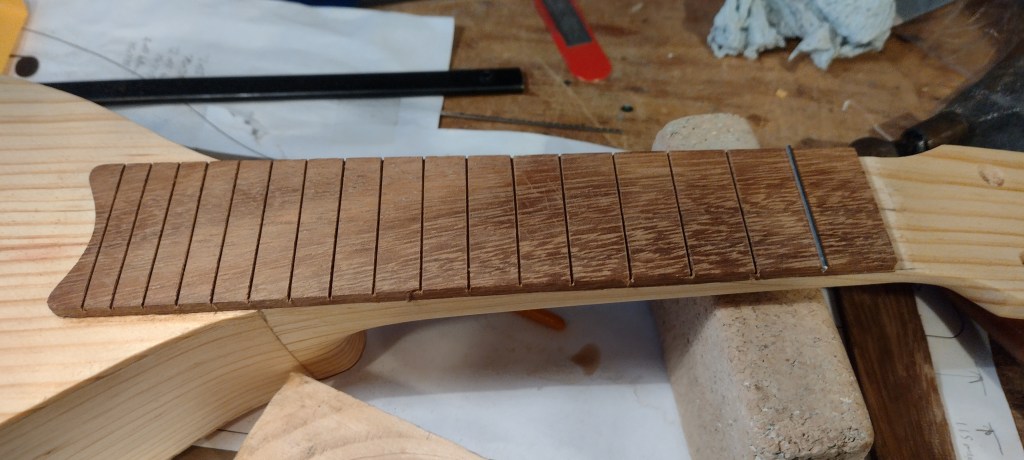
I bought my only project-specific tool for the frets – a fret slot saw. The Japanese saw I was using make slots that were too narrow. The saw I got is a standard one and works ok – the teeth are rather course compared to the Japanese saw which resulted in a bit of tearout.
Frets were easy enough to put in once I figured out that the slots needed to be much deeper than I though they did.
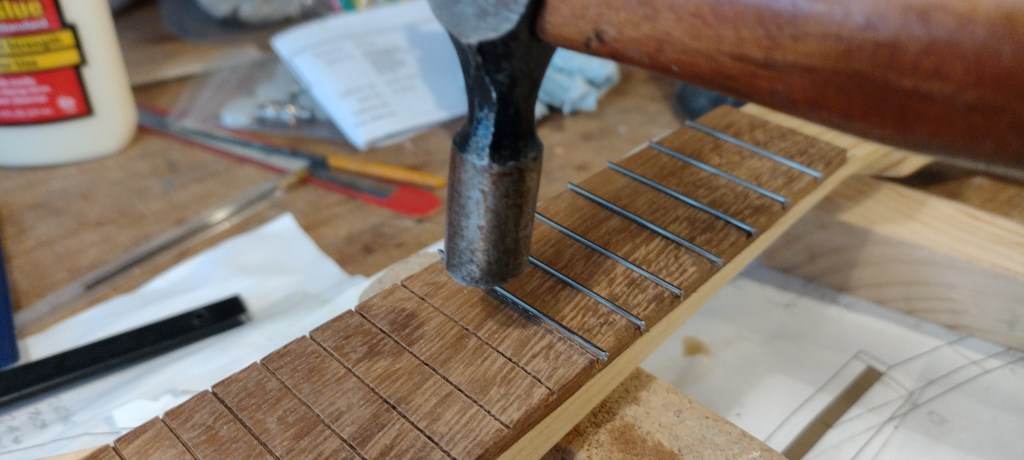
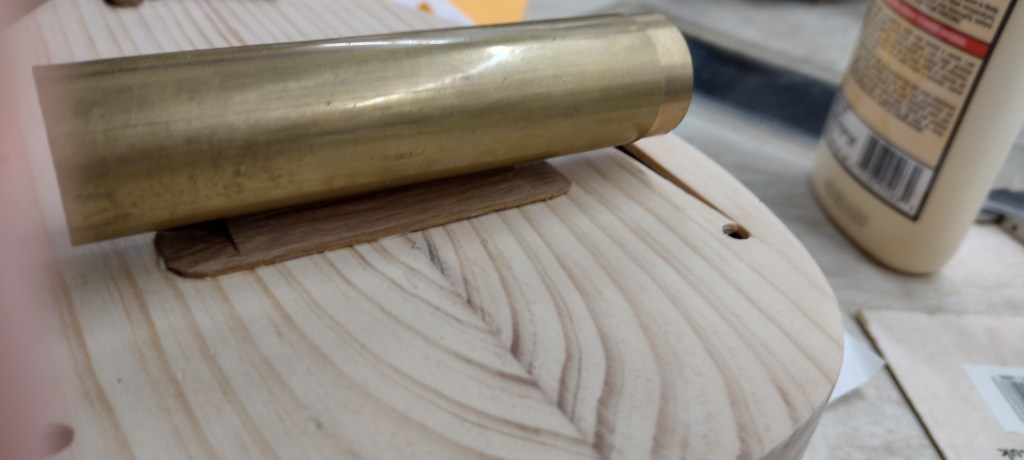
I shouldn’t have been using that hammer but it worked ok and didn’t mark the frets. I do have a brass hammer but it is too big for this job.
The ends of the frets were filed down with needle files – a bit nerve wracking but ok. They are still a bit sharp so I need to file them some more.
I flattened the frets with sandpaper on a bubble level.
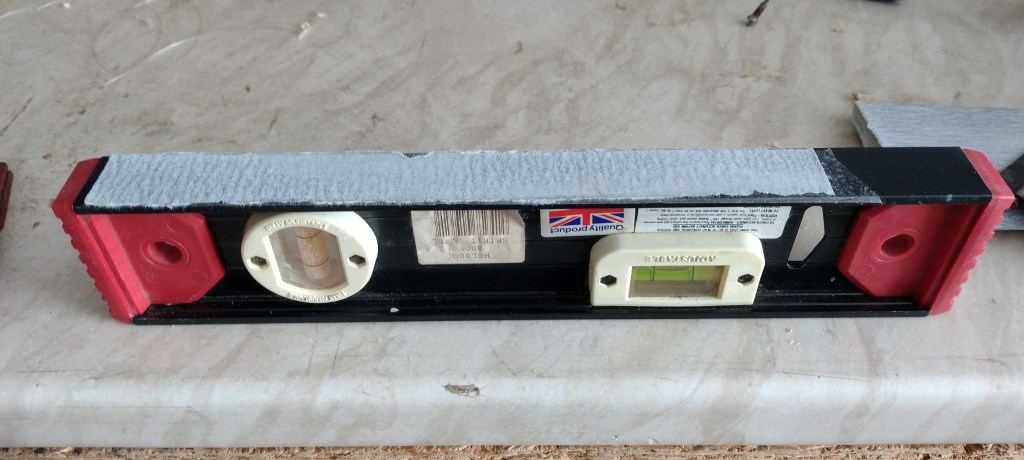
The frets seemed to be pretty level and didn’t need much taking off. Since very little needed to come off I didn’t bother re-crowning the frets. They could do with a polish though.
Finally I could get the strings in place and have a look at the action. The strings were ok to get in with the help of a bit of bent wire.
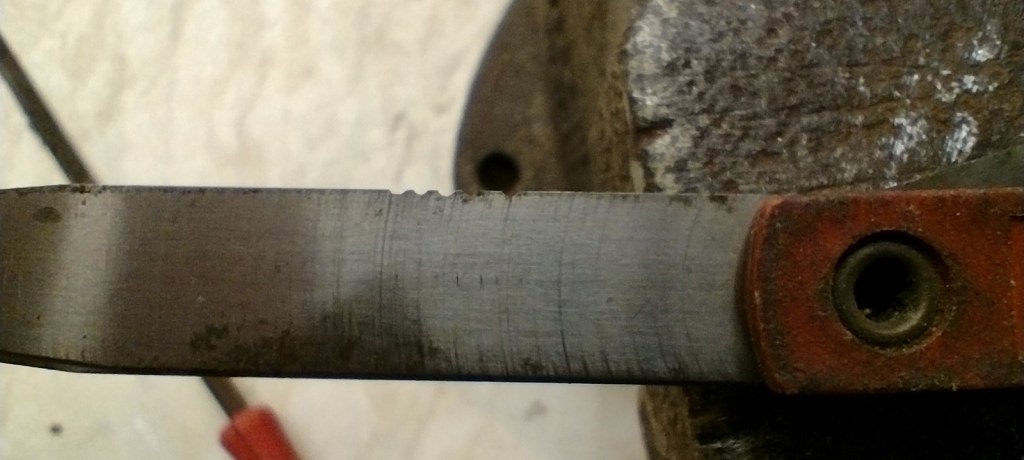
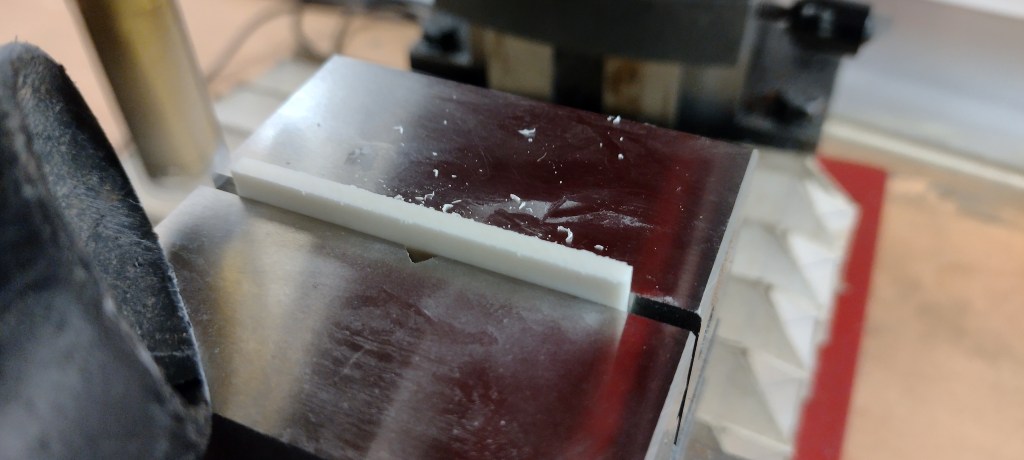
I got the bit of bone for the nut to the right size on the milling machine and then cut slots for the strings – starting with the Japanese saw and getting them to the right width with home-made nut files.
The action at the nut is still a bit high but better too high than too low.
With the nut sorted I measured the action at the 12th fret, deducted 2.5mm desired height and doubled the answer to give me the amount to take off the saddle.
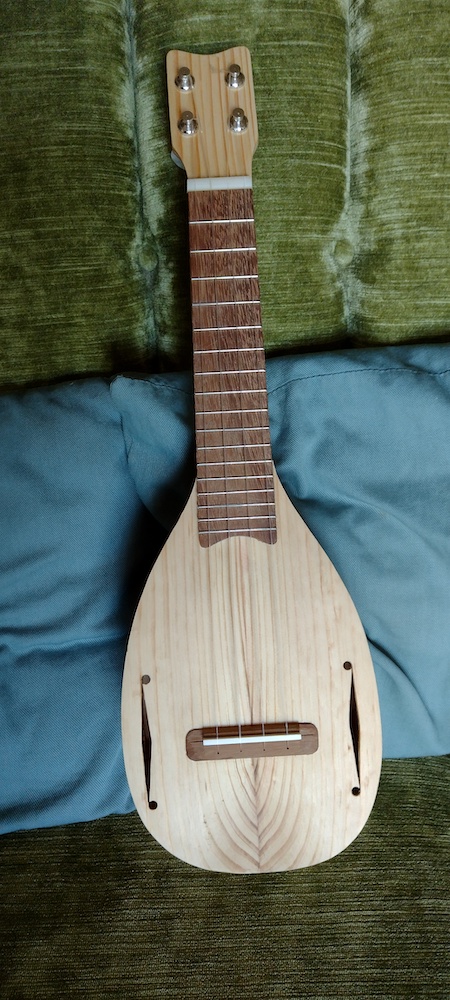
I’ve got it tuned to standard soprano pitch (gCEA) with Martin strings. It seems happy at that pitch – I was going to go up a tone but keeping it standard makes things simpler.
What is it like to play?
Tone is somewhat banjo like. Sustain is very good – far better than I was expecting. The fourth string (re-entrant G) seems louder than usual which, combined with the sustain, means that the vibration must be manually damped at the end of each note. It seems loud – the cat runs away when I play it!
The frets need more filing – strumming over the end of the fretboard is a bit too abrasive on the fingertips at the moment.
I’m calling this the Onion Ukulele. Almost 100 years ago Sam Kamaka invented the Pineapple Ukulele in Hawaii; now we have the Onion. It brings tears to my eyes 🙂 Alternatively it could be described as a flat-top Mandolele but really it is that shape because I like that shape.
Overall very happy 🙂
Update 2022-03-07: I’ve tweaked the nut to improve the intonation. The open string was much flatter than the fretted notes so the nut is now stepped to sit around 1.2mm further down the fretboard.
I assume this was necessary as the strings are not stopped at the exact centre of the frets – probably a mm or so closer to the bridge. This effect plus the short scale length made the open strings very out of tune.
Testing with a tuner indicates that all the frets are bang-on accurate now and it sounds much better 🙂 I’m still very happy with the sound and this instrument is now my preferred ukulele.
