
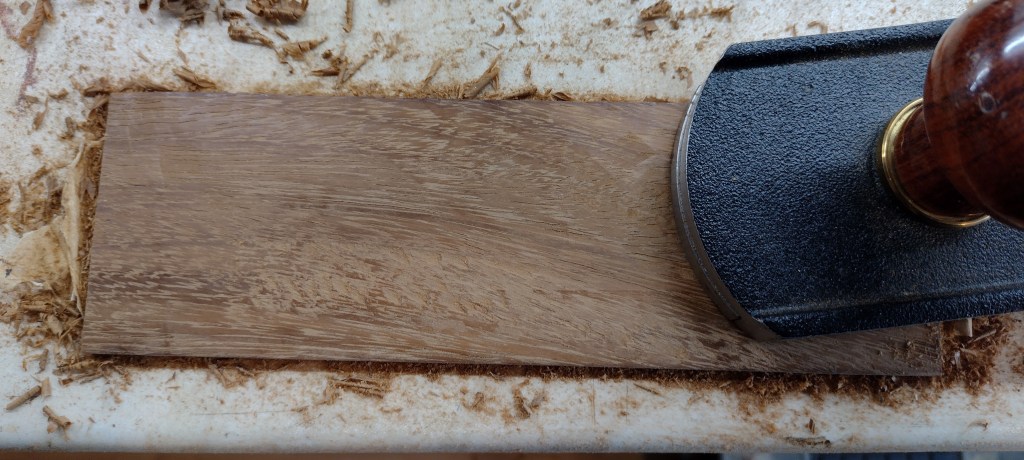
I’m reusing a reclaimed parquet floor tile for the fretboard and other fittings. I think it might be walnut – not sure. What I do know is that the grain is very wavy and horrible to work – tear out is hard to avoid. I also found out what happens if you use hand tools to plane down the top surface of a used parquet floor tile – it took me a long time to work out why the tools became blunt almost instantly. I assume that bits of grit had become embedded in the top surface. Memo to self – saw off the top of the next tile!

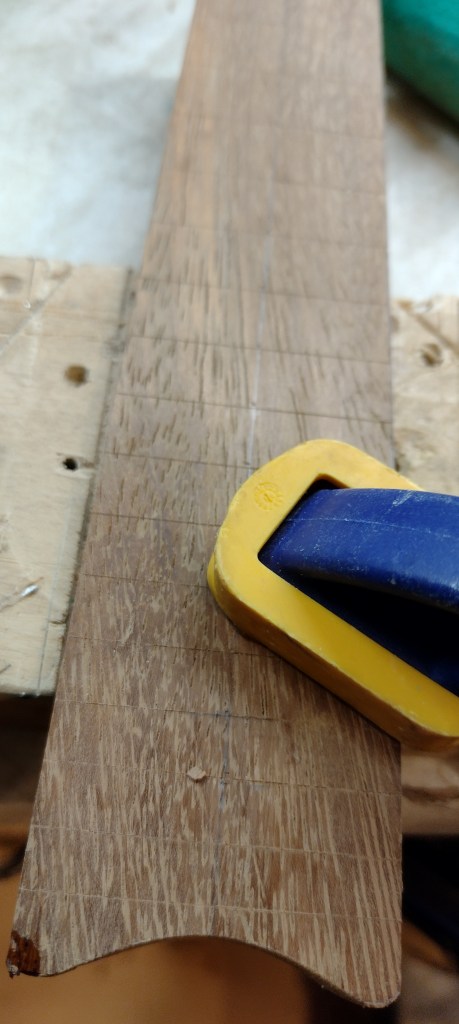
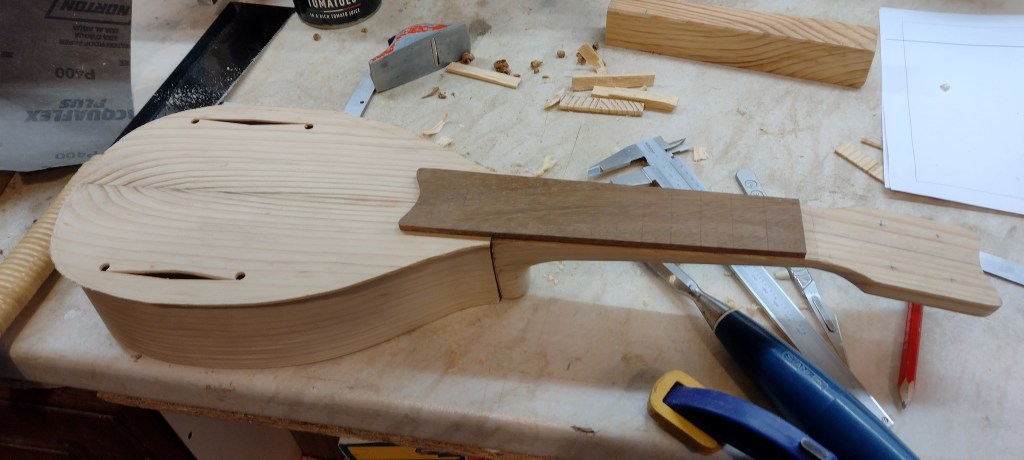
I used the fret calculator at StewMac. This is nice as it includes the amount to add to the measurement from the 12th fret to the saddle. I marked the positions using a scalpel – hopefully this will give something for the saw to follow – but this does mean you’ve got to be right first time. I am discovering that as time goes on the risks get higher – an accidental slip with knife or saw could ruin weeks of work.
Shaping the end of the fretboard (with sandpaper wrapped round a rod) caused a slight chip at one corner. I glued the 1×1.5×0.5mm chip back on with CA glue and the damage is now invisible.
I think the order of assembly needs to go like this:
- Cut the neck joint – much easier to do without the soundboard in place.
- Fit the soundboard and neck – the neck (without fretboard) should be flush with the soundboard. Finish the joint to the body so it all looks nice.
- Fit the fretboard to the neck and finish the neck to size.
- Cut the fret slots and fit the frets. I don’t want to fit the frets until the fretboard is glued on as otherwise it might distort.
- Make the bridge and fit it – I need to clamp it on before the bottom is fitted.
- Fit the back and trim to size.
- Hope that it all works ok…
Anyway, next step was getting the neck onto the body.

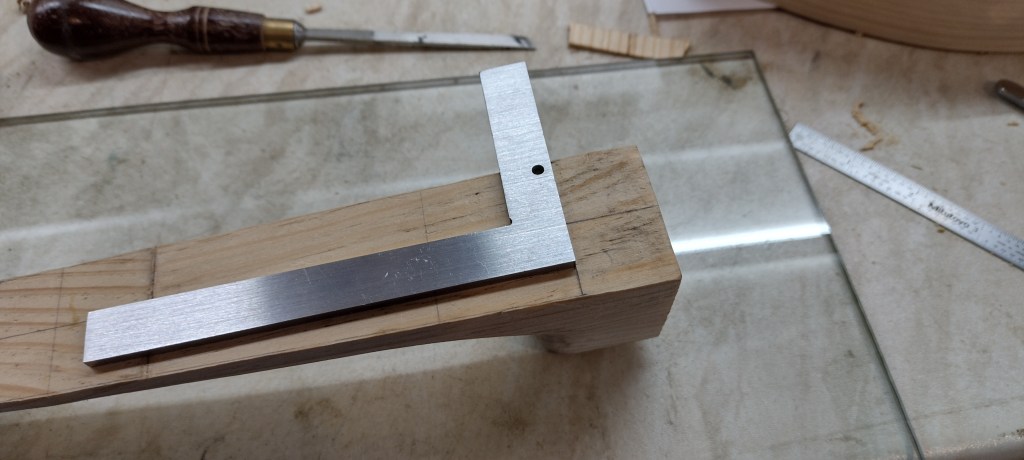
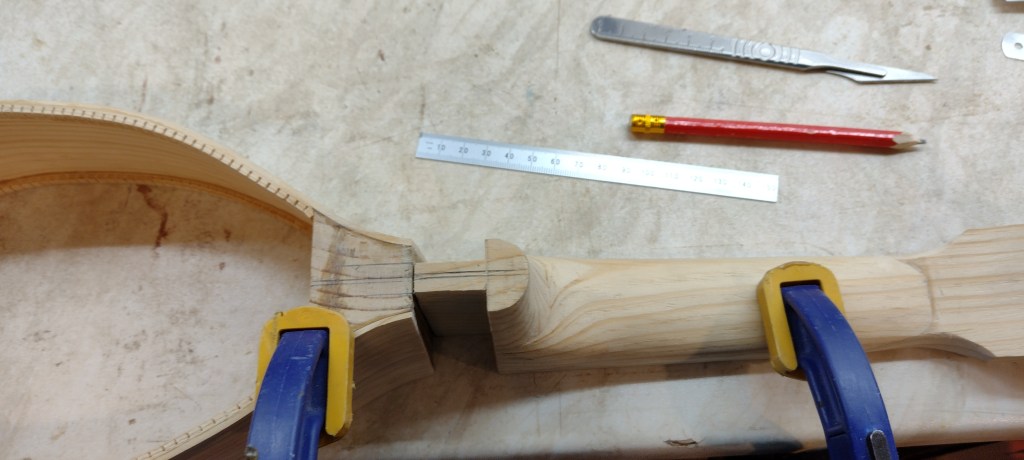
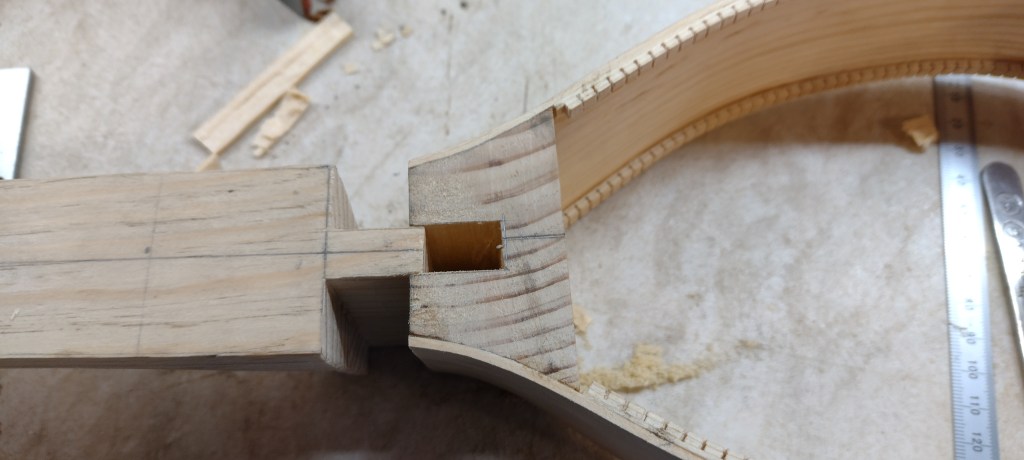
I had to be careful not to push the neck into the neck block too hard – it would be so easy to split the neck block. The fit is snug and seems to put everything in the right place.
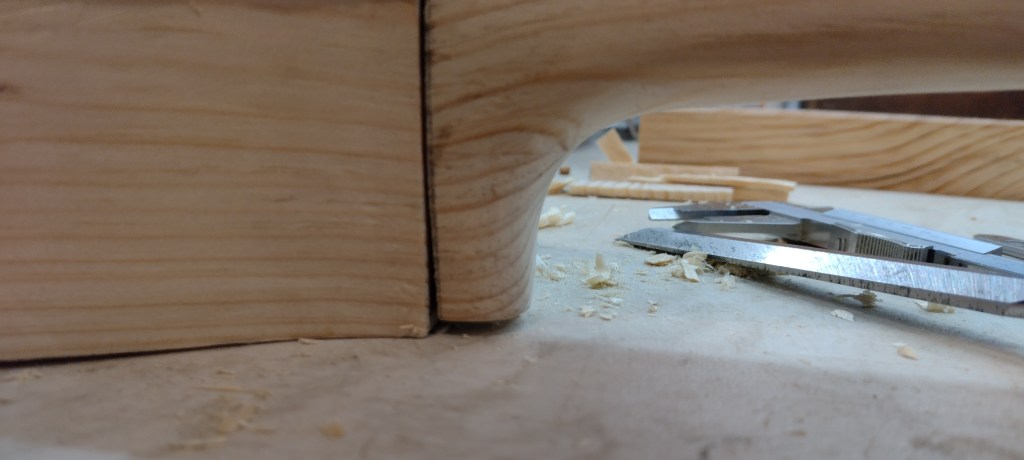
Note to self – don’t cut the heel of the neck down next time – instead leave it until it is fitted to the body! I think there is enough material in the sides to blend the joint together but having a bigger heel would be less stressful.
