
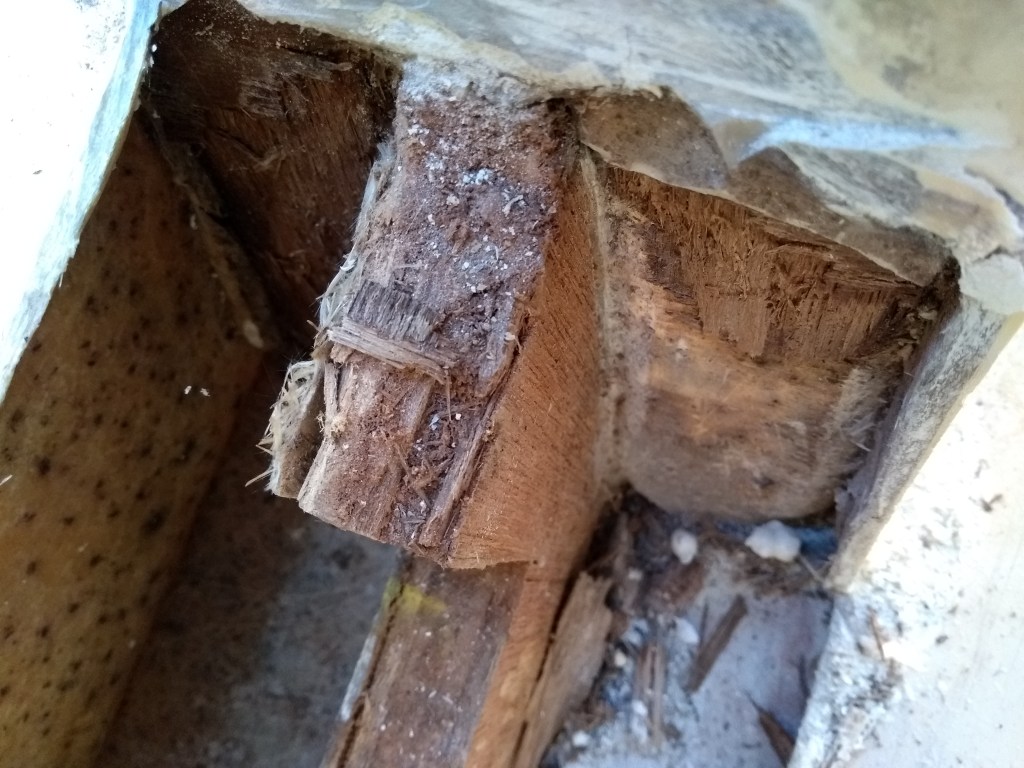
Making progress. I cut down the GRP a lot more, then removed the old tabbing holding the central ply in place.

The plywood doesn’t look too bad. There is definitely damage in the frontmost section but this isn’t structural.
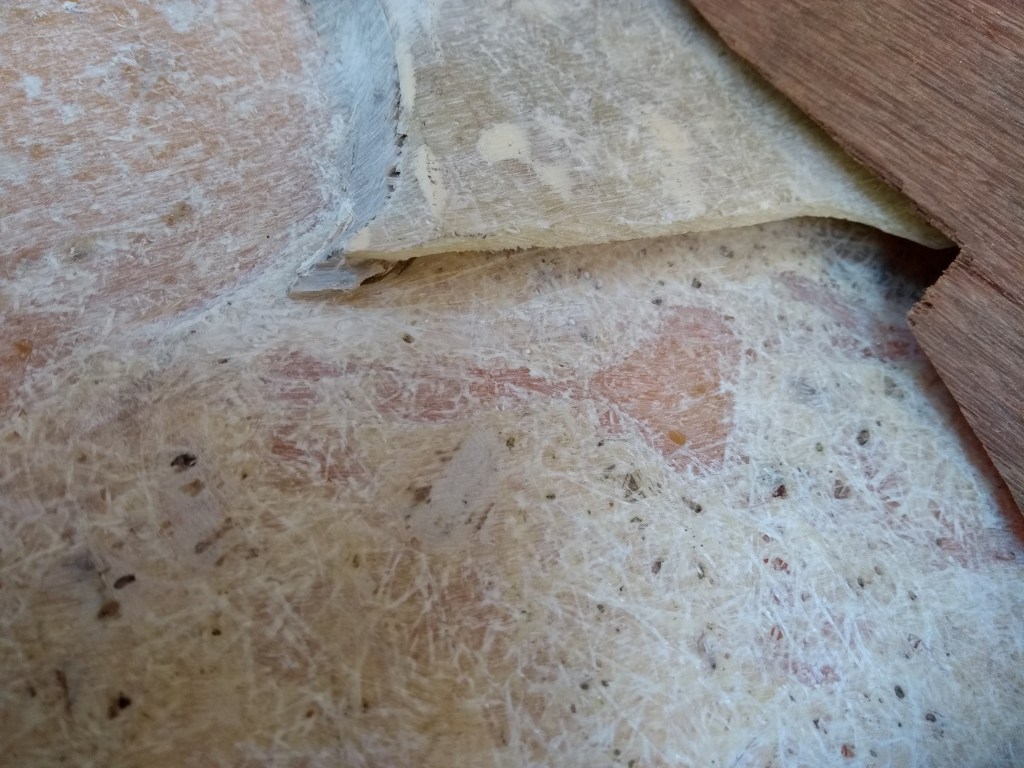
There were the traces of wood left on the front of the centreboard GRP section at the right of the picture above.
I started making cardboard rib templates and grinding back the GRP where the new ribs will sit.

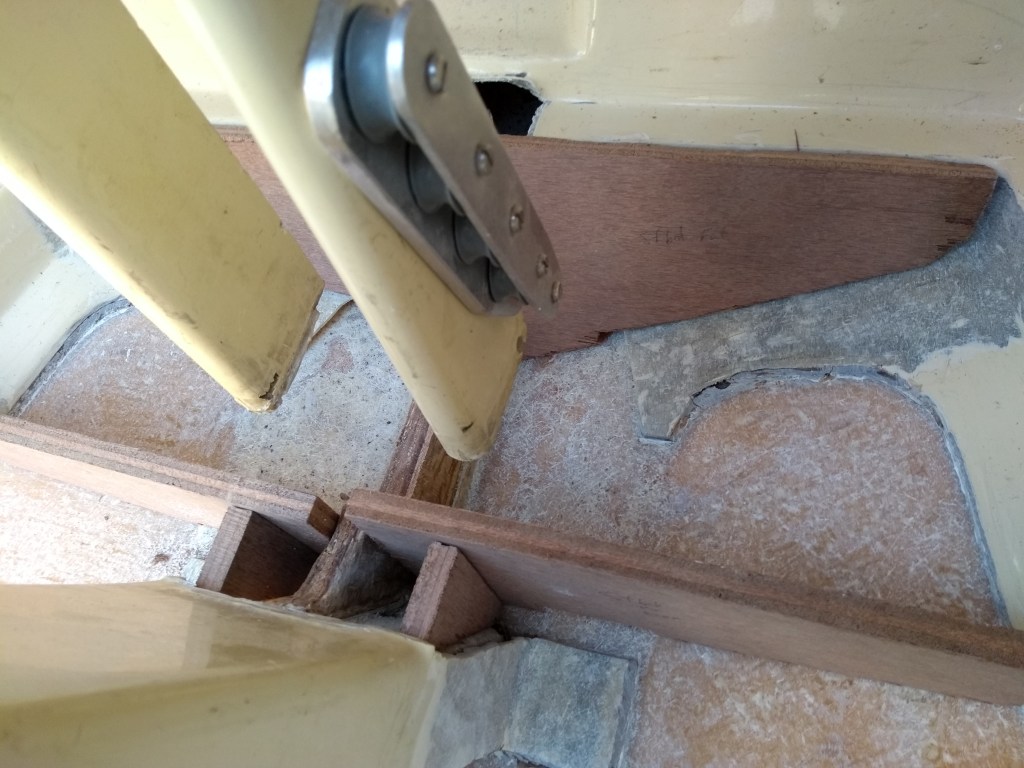
However, I needed to make the buoyancy compartment airtight so I figured I would grind back the GRP attached to the floor until I reached the structural adhesive that joins the interior of the boat to the hull.
Seeing as there was only a few mm of adhesive I removed the interior GRP completely in this area. This also helps explain where the water was getting in – there were plenty of cracks that went right through so water inside the boat would just run in. Interestingly the other side of the boat had plenty of adhesive so either a different person did each side or maybe the tube of glue was running out!
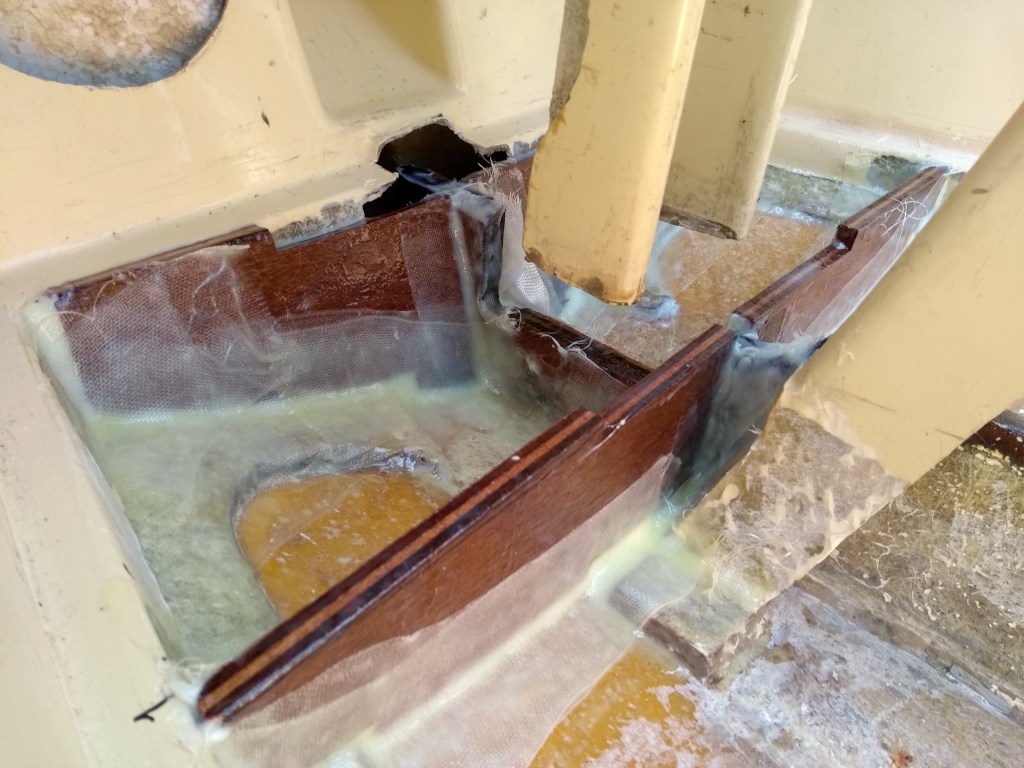
So now we’ve got this:
Still to do:
- Cut notches in the top of the ribs to locate the flat plate the mast will sit on.
- Paint the ribs with epoxy to seal them.
- Glue the boat back together to rejoin the interior to the hull where there are cracks.
- Cover the central plywood in epoxy and probably some glass tape, and tab it back onto the boat.
- Figure out how to make the buoyancy compartment airtight.
- Attach the ribs to the boat with thickened epoxy. Then add thickened epoxy in the corners to round them off to making taping easier.
- Tab all the ribs into place.
- Make the bit that fits in the middle that supports the mast.
Update: got the ribs in:
Not the most beautiful job but it should be strong enough.

Pingback: Wanderer Dinghy – Mast Step Repair – Part 1 | Martin's Blog