
Some progress on the conversion.
Pedal Sensor
I’ve made a new pedal sensor rotor and sensor mount. I wanted a bigger rotor so that the sensor could be positioned outside of the radius of the tandem eccentric bottom bracket. Not knowing exactly how the sensor worked I kept the same distance between magnets, so the rotor now has 16 magnets instead of 12. The rotor is made from Tufnol as I had some, it is non-magnetic and glues well.
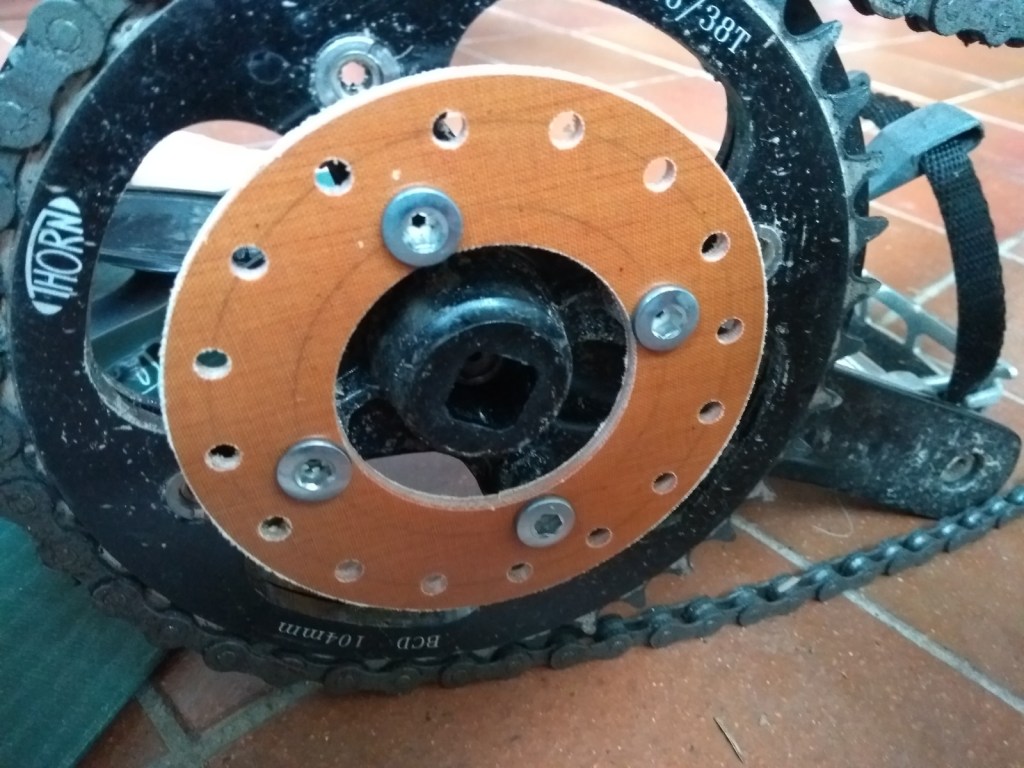
The rotor bolts onto the drillings for the inner chainring. Most bikes will either have an inner chainring fitted or (for a tandem) a simple crank arm. The triplet tandem is probably unique here. I’m not sure if it makes any difference but I did make sure that the magnets are the same way round as the original rotor.
There is also a bracket to mount the sensor onto the frame.
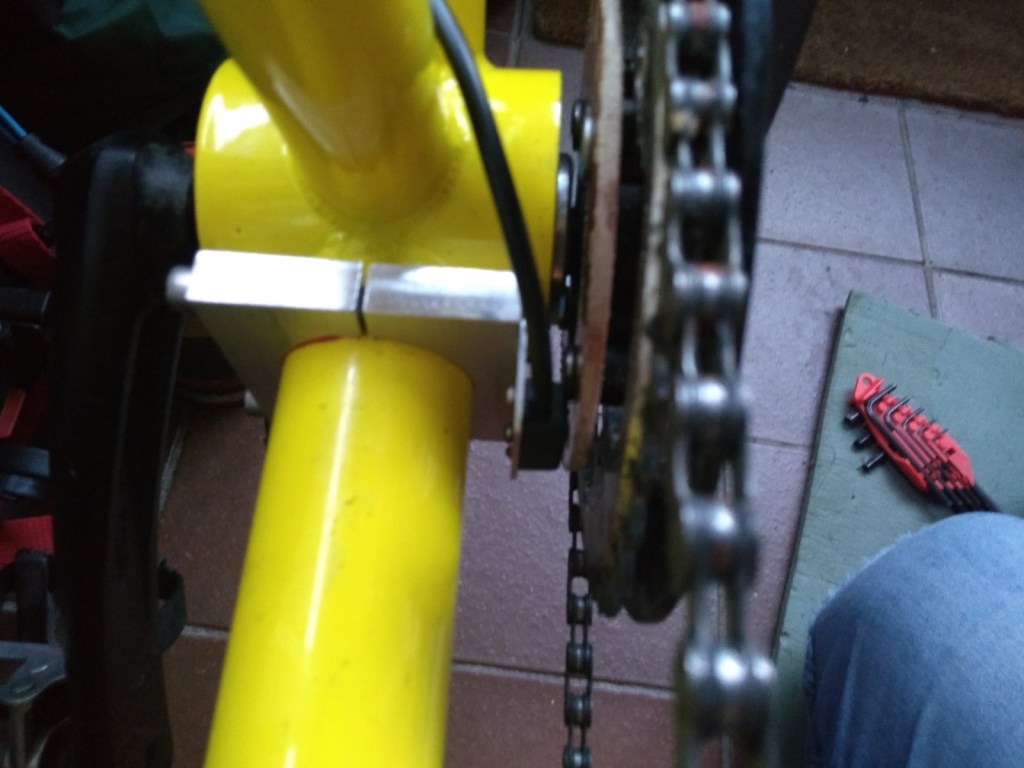
The sensor is directional, so it must be mounted the same way round that it would be mounted on the original bracket.
Front Forks
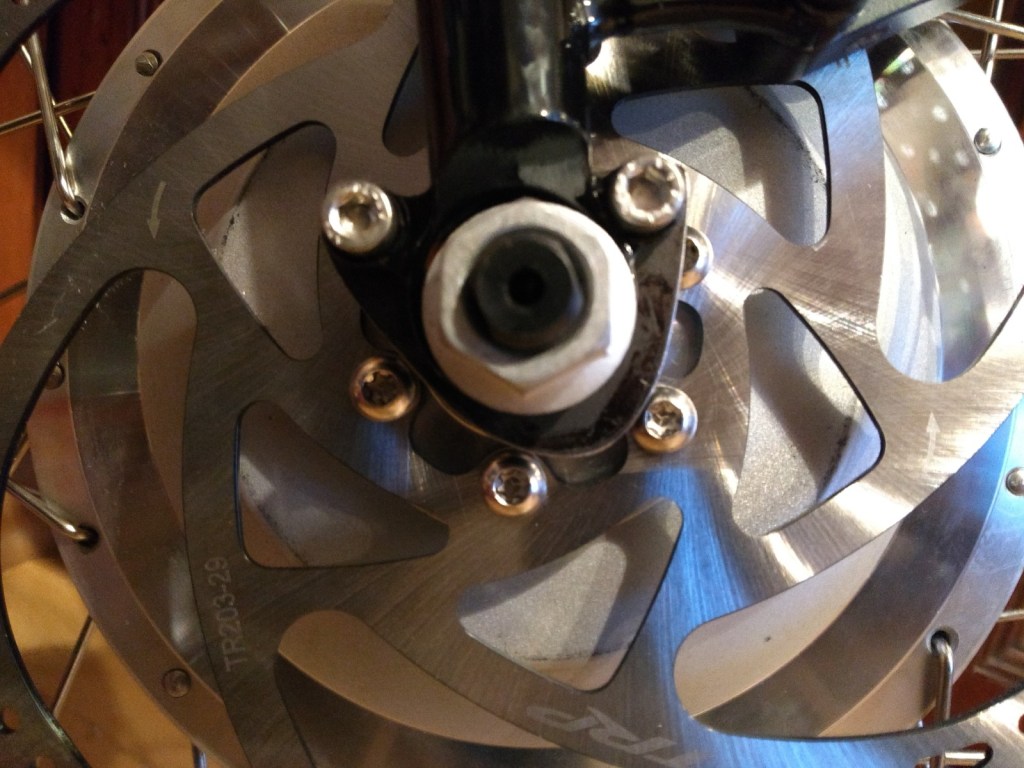
I decided to upgrade the forks on the bike from the original rim-brake forks to disk-brake forks. The original forks are lovely things – light, springy and very elegant. However gut feel suggests they might be a bit minimal for the loads of the motor. The disk forks are made by Thorn specifically for the bike to take the huge asymetric forces of a front disk. They are much more solid but have a some downsides:
- I needed to replace the brakes with front disk etc;
- They won’t give any spring or vibration absorbtion to the front. It will be interesting to see how much difference this makes.
However the extra strength is reassuring. The dropouts alone are 6mm thick plus a rib that takes the total width to around 10mm – very solid indeed.
Despite the strength of the dropouts I still wanted torque arms to take the drive load to avoid spreading the dropouts. I suspect the dropouts would be strong enough on their own but I wouldn’t know that I’d got it wrong until the fork was wrecked, so torque arms (or plates) were made.
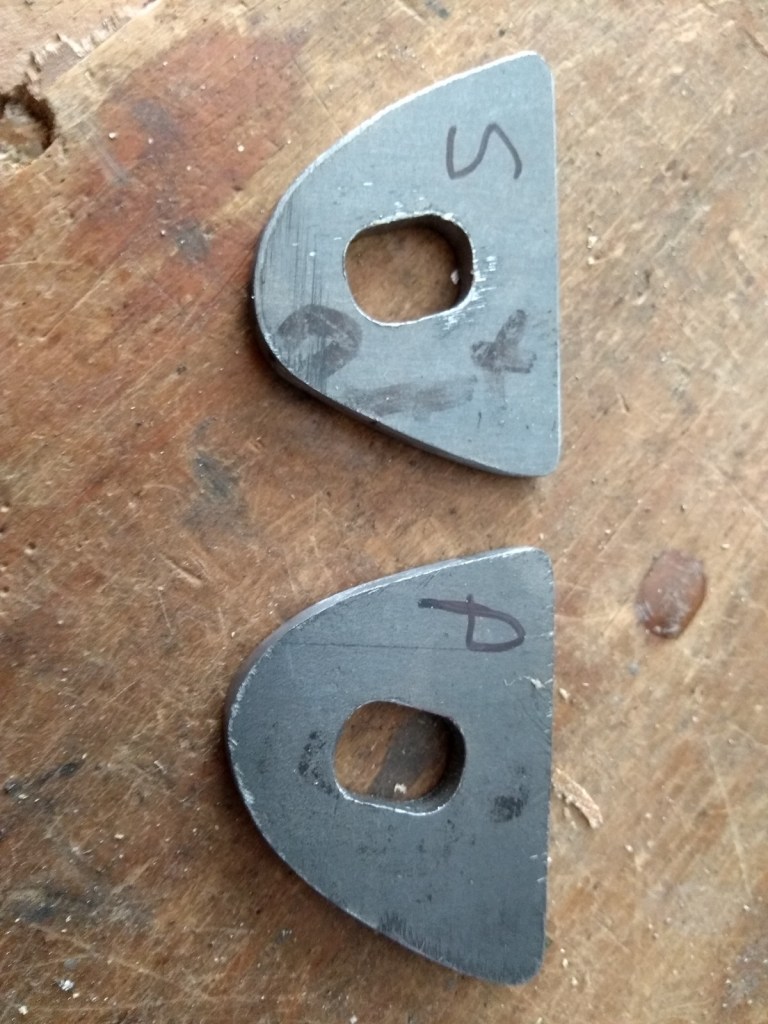
The torque plates bolt onto the mudguard/rack eyelets near the dropouts and fit between the forks and the hub. This makes for a very neat installation.
I had to file the dropouts from 9mm to 10mm to fit the BPM hub axle. This took ages and was very dull. However I got it done in the end. I also had to drill out the threads in the eyelets to allow the torque plates to be clamped to the forks.
Testing the system
I’m still waiting for a couple of bits to fit the fork – star nut and brake cable – but I was able to fit the battery, connect up the wires and see if it worked.
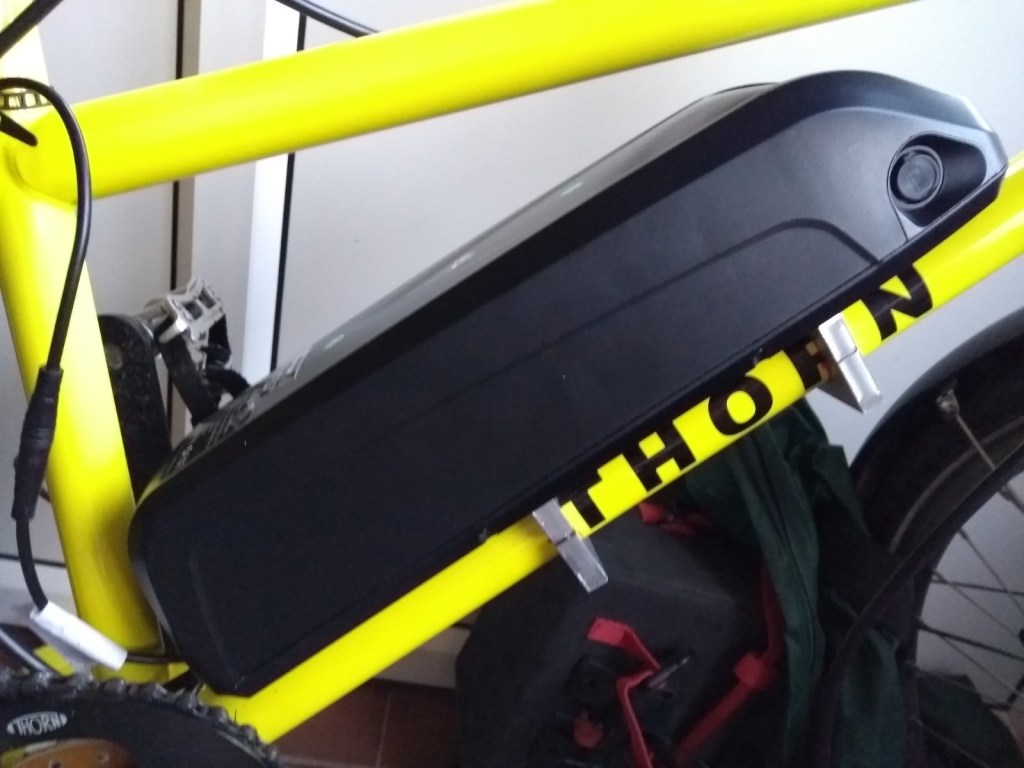
Fortunately everything worked ok. The throttle worked fine, although this will have to be removed on the road as it is probably illegal. The pedal sensor worked nicely – triggering the system when pedalling forwards and not when pedalling backwards.
It was interesting to note that the motor won’t start if there is any load on it. I suspect this is because there isn’t any feedback from the motor to the controller providing motor phase information. This doesn’t really matter for the intended use, although help starting the bike up steep hills would have been useful.
Once I’ve got the bits I’ll swap the forks over and see how it works.
I do need to tidy things up – the brackets really need to be trimmed down, rounded off and polished – but this can wait until I’ve got time to do it. I’ll get the system working first, enjoy the nice weather and take it apart again in the winter.
