
One option to get fitter, reduce car costs and reduce carbon emissions is to:
- Drive myself and the kids to school in the car;
- Get bike out of the car boot and cycle home;
- Cycle back in at pick up time, dismantle bike and put it back in the boot of the car;
- Get kids and drive back in the car.
I discovered that a bike my dad bought me for school will fit in the boot of the car with its wheels off. It is a nice bike – great fun to ride. However the freewheel was free in both directions and the paint was coming off, leading to rust.
First stage was to strip off the old paint. I was going to get the frame shot-blasted and powder coated. However I couldn’t find anyone locally to do this – most calls went unreturned – and I didn’t want to put the frame in the post due to the risk of damage. For this bike I don’t really care what it looks like – the paint needs to stop rust and if it looks rough it is less likely to get stolen.
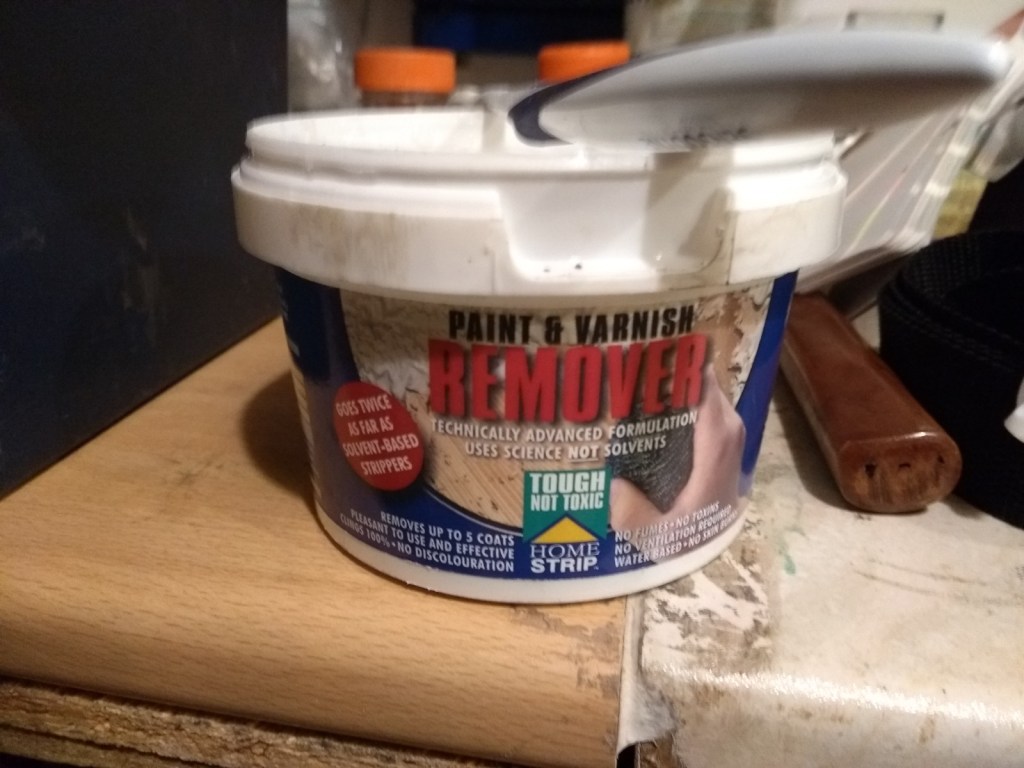
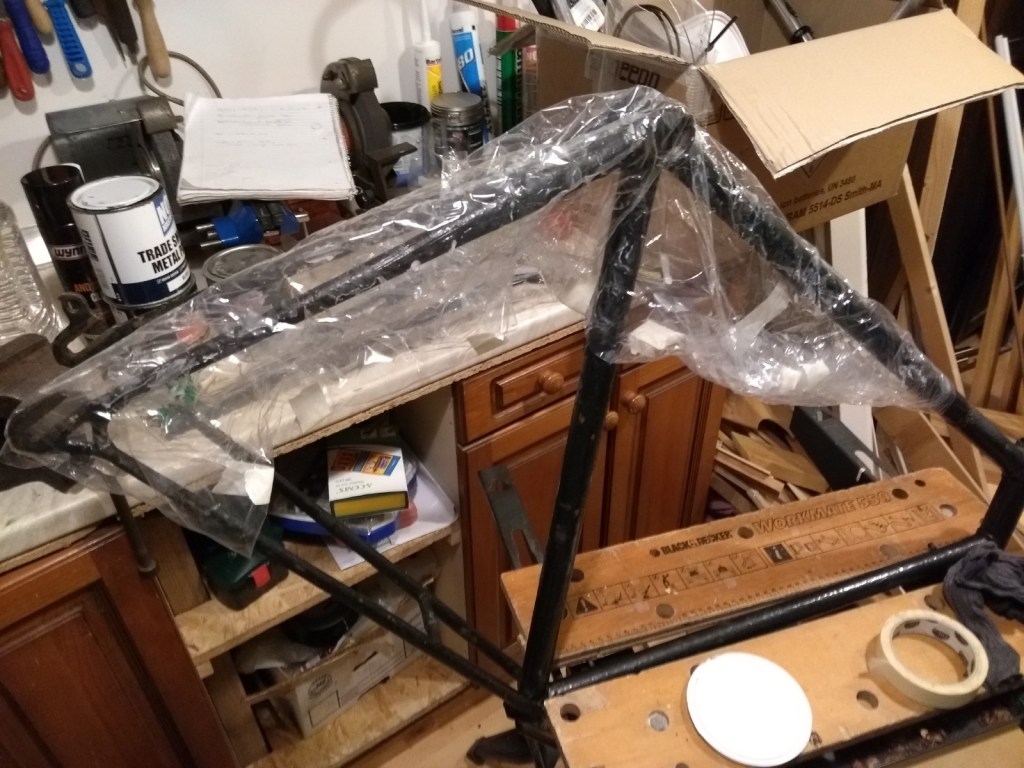
This stuff shifted the existing Hammerite ok – although it did take a while to soften it. I had to wrap the frame in plastic to stop the stripper drying out.
BTW I don’t like Hammerite – it was a lousy paint finish, lumpy and didn’t stop the rust mostly due to pores and air bubbles.
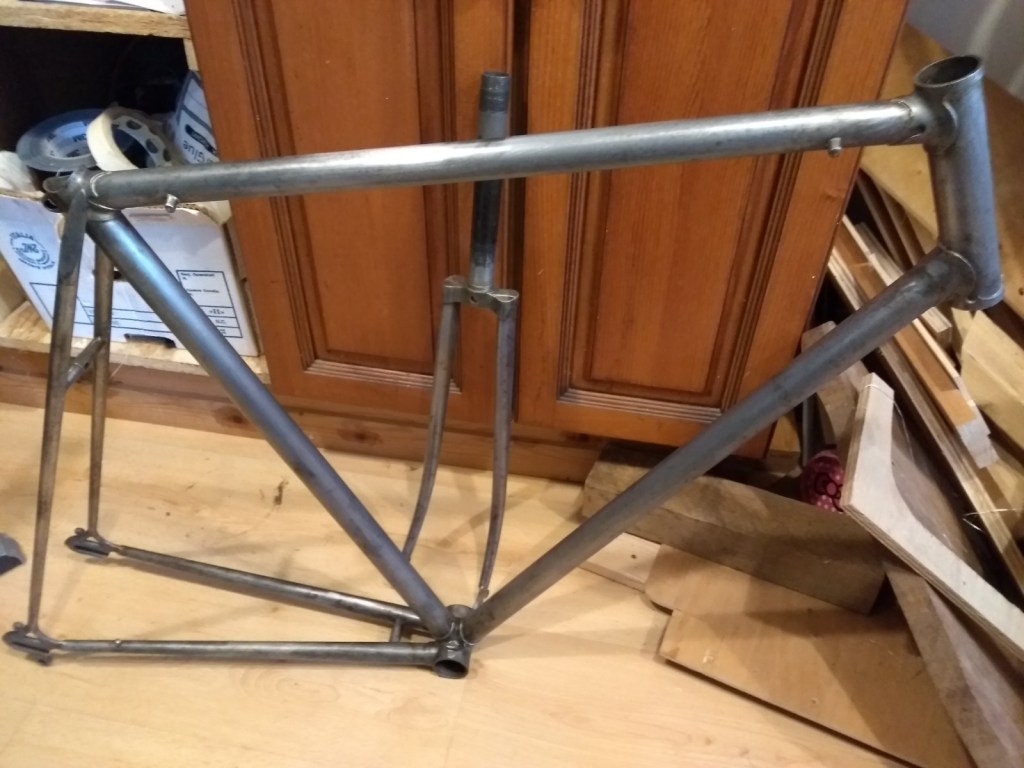
I love the look of the clean frame – bare steel with brass brazing on the lugs:
I then phosphated the frame with Jenolite and then painted with Jenolite primer. This gave a lovely finish.
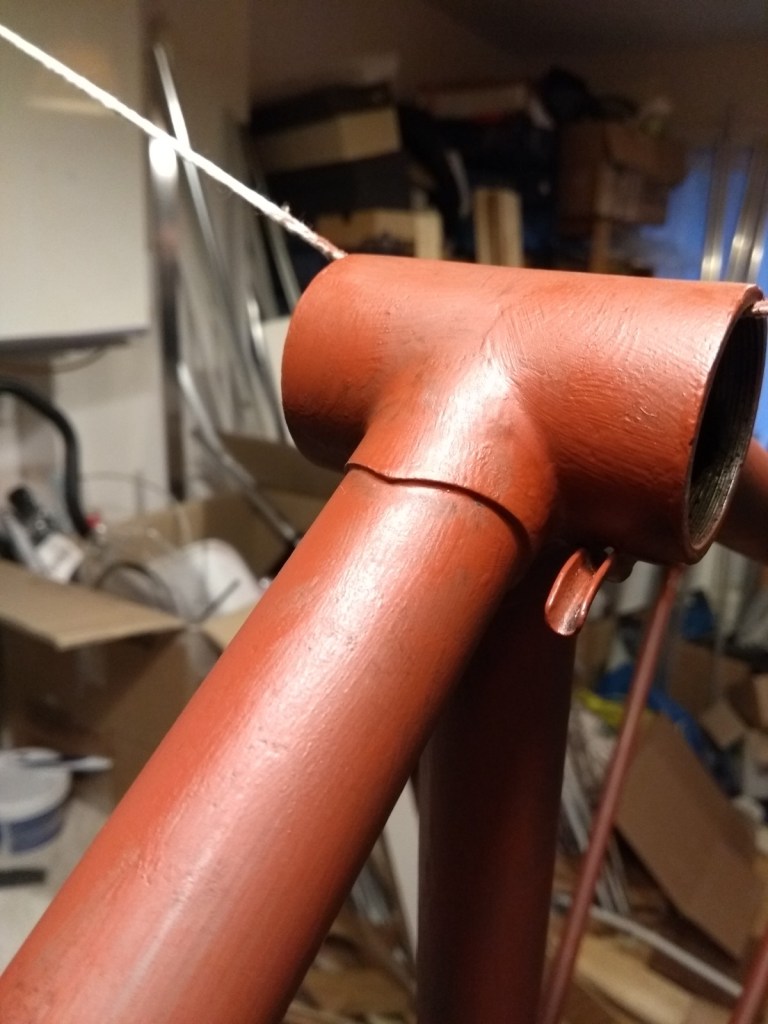
Unfortunately the top coat doesn’t look so nice so I won’t give pictures of that! Brush painting has its limits. However it looks ok from a distance.
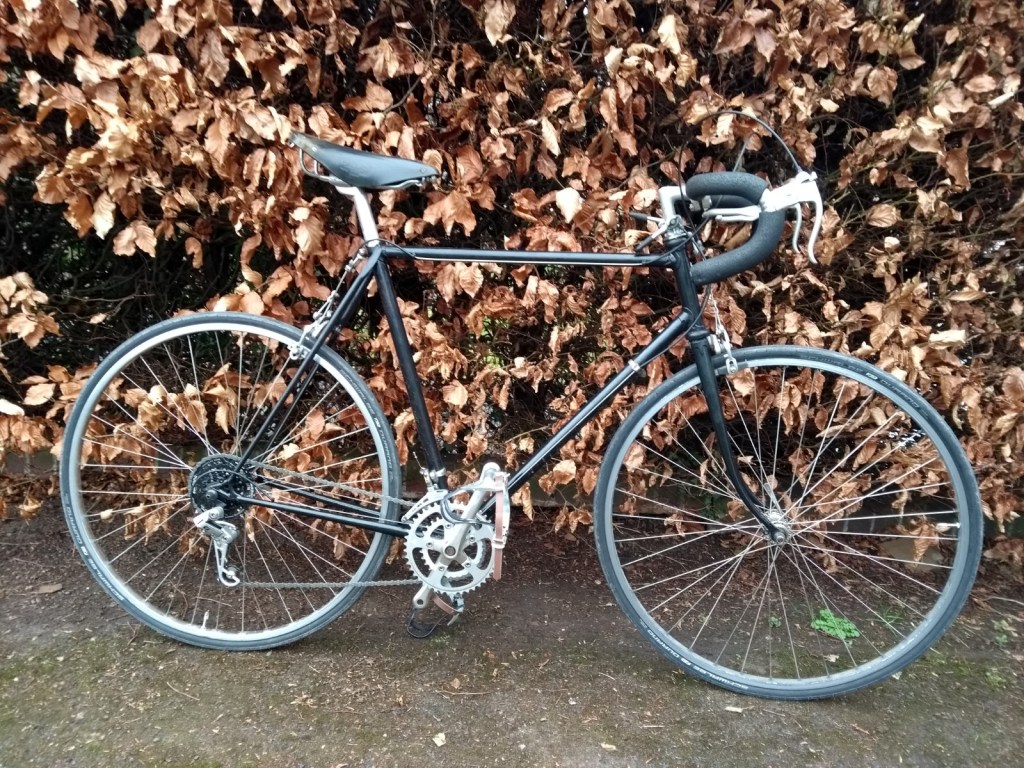
I rebuilt the bike in the late 1980s – which was when I applied the horrible Hammerite paint – so some bits are original (about 1980 I guess) and some date from then. The rear derailleur is interesting – a Shimano RD-M700 with Super Plate System. I was sold this on the basis that it was “the best derailleur ever made”. It is certainly nicely made but I don’t think it actually works very well – the extra joint can lock down away from the cassette resulting in a big gap between the top jockey wheel and the cog. This makes gear changes rather imprecise.
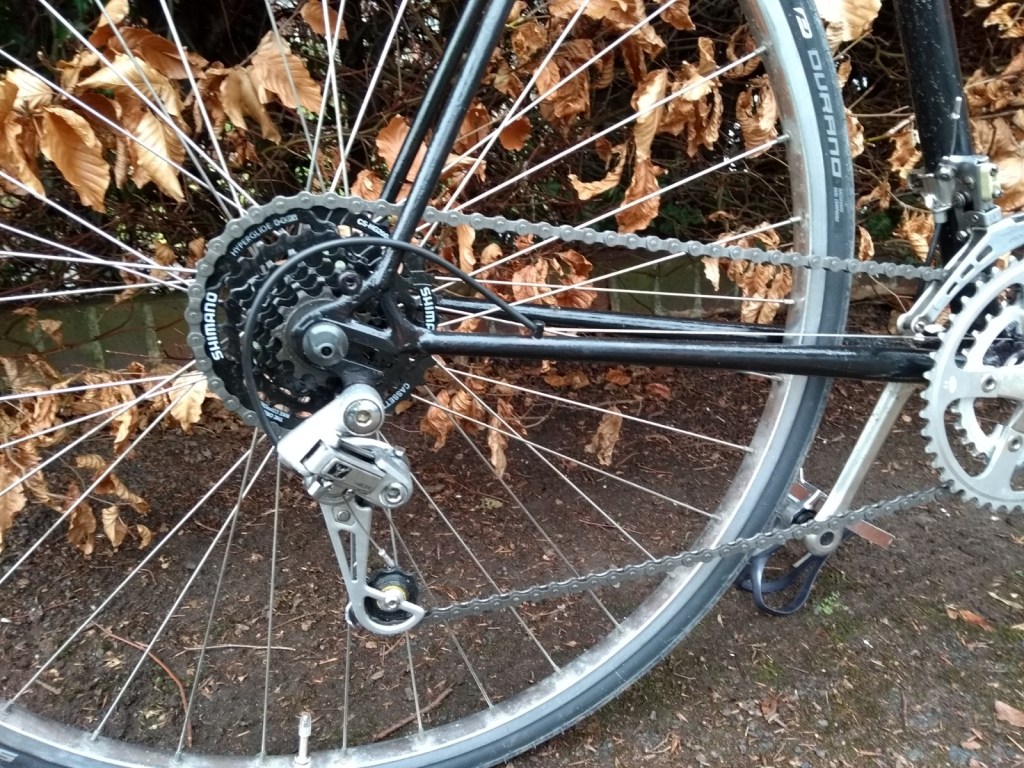
I changed the gearing for the hills round here. Originally the bike had a corn-cob freewheel – useless for hills. I replaced it with Shimano 105 freehub with Uniglide 6-speed cassette (cutting edge in the 1980s). I’ve updated the freehub to hyperglide compatible with a 7-speed 12-32 cassette. The chainset was changed from a Stronglight 101 to Stronglight 100 so I could fit a 30T/44T front pair of chainrings and still use the original Shimano 600 front derailleur.
Overall it seems to work. I would like to fit mudguards but then the bike wouldn’t fit in the boot of the car. I’ve had some trouble with the gear cables slipping – eventually I noticed that it wasn’t at the derailleur clamp but the downtube clamp moving!
The bike is lots of fun to ride – I’ve missed it over the last 25 years or so!
Update: I had lots of problems with the gear alignment – I thought the cables were slipping where attached to the derailleurs. However it wasn’t this – I hadn’t tightened the clamp around the downtube and it was sliding towards the pedals, scraping the paint off in the process.
This is where I was very glad I had a brush painted finish! If I’d paid £150 for a shiny paint job I’d have been upset; as it was I just slapped some more paint on for an invisiible finish!

Pingback: Giant Halfway Folding Bike Review | Martin's Blog