
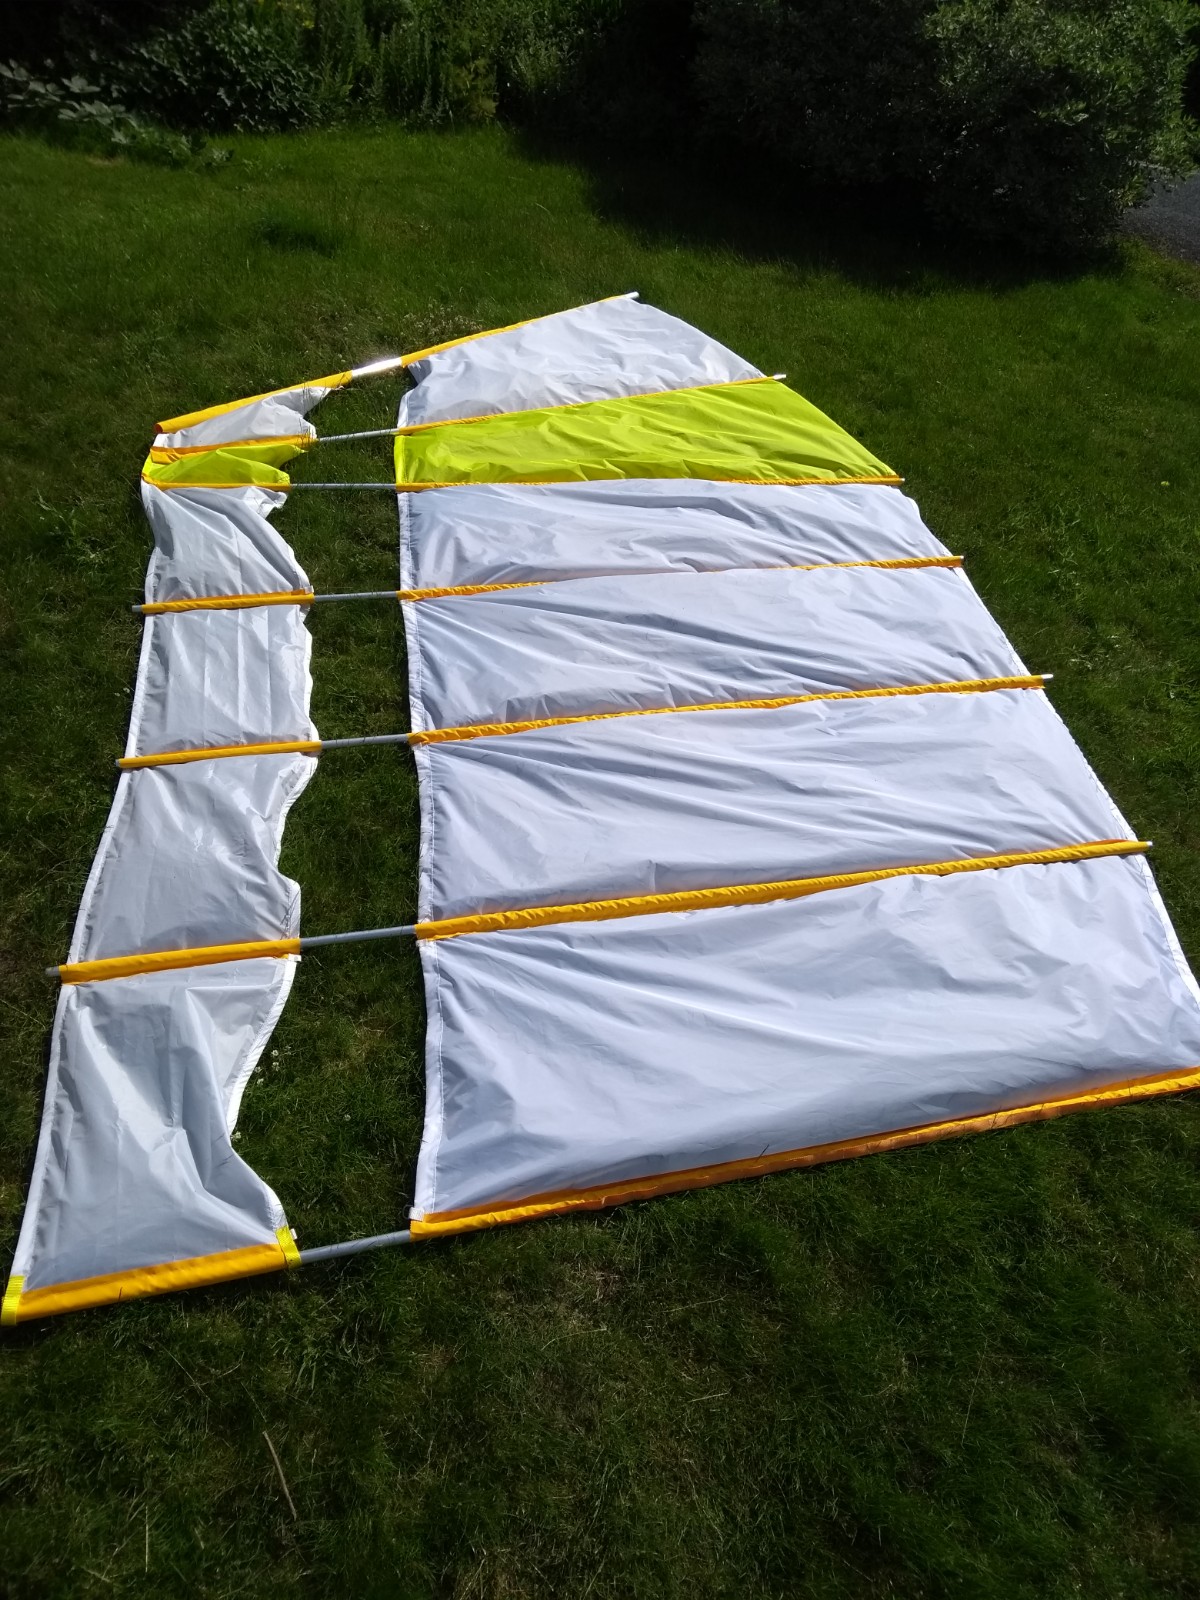
I did have an oh hell I’ve got to redo it moment when I saw the angle of the jiblets didn’t match up at all with the angle of the mainlets. Eventually I realised this was due to the angle of incidence of the jiblets making them appear wider at the leach. Phew – happiness restored!
Topological impossibilities and other conundrums
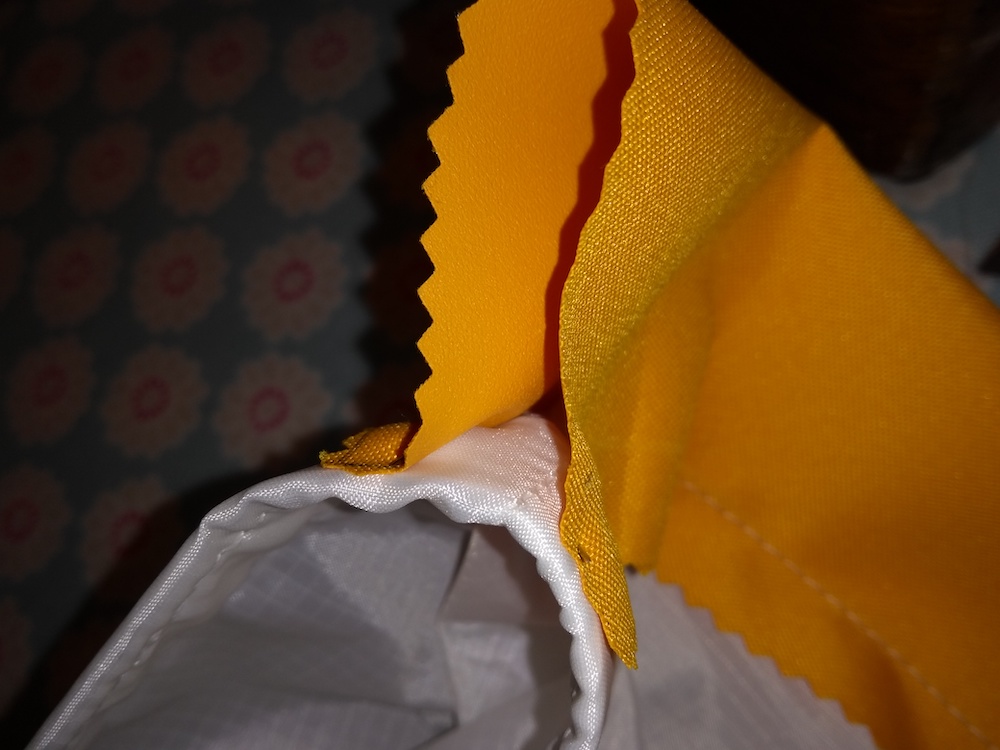
There is a topological impossibility at the end of the batten pockets. The batten pocket is sewn onto the hemming allowance of the panels as per Arne’s batten pocket method B (figure 5.5 page 17). However the end of the hemming allowance looks like this:

The batten pocket really needs to be attached to the tape at the sail edges for strength and to hold the leading and trailing edges correctly. This is how I resolved it. The batten pocket is attached along the panel seam as far towards the end as possible. There is then a gap, and the batten pocket is sewn directly to the luff & leach tape.
As with Owl the halyard is held in place by the yard pocket. I don’t want to drill holes at the most highly stressed point on the yard so a soft system for holding it located is better. We’ll see if it works on this new sail.
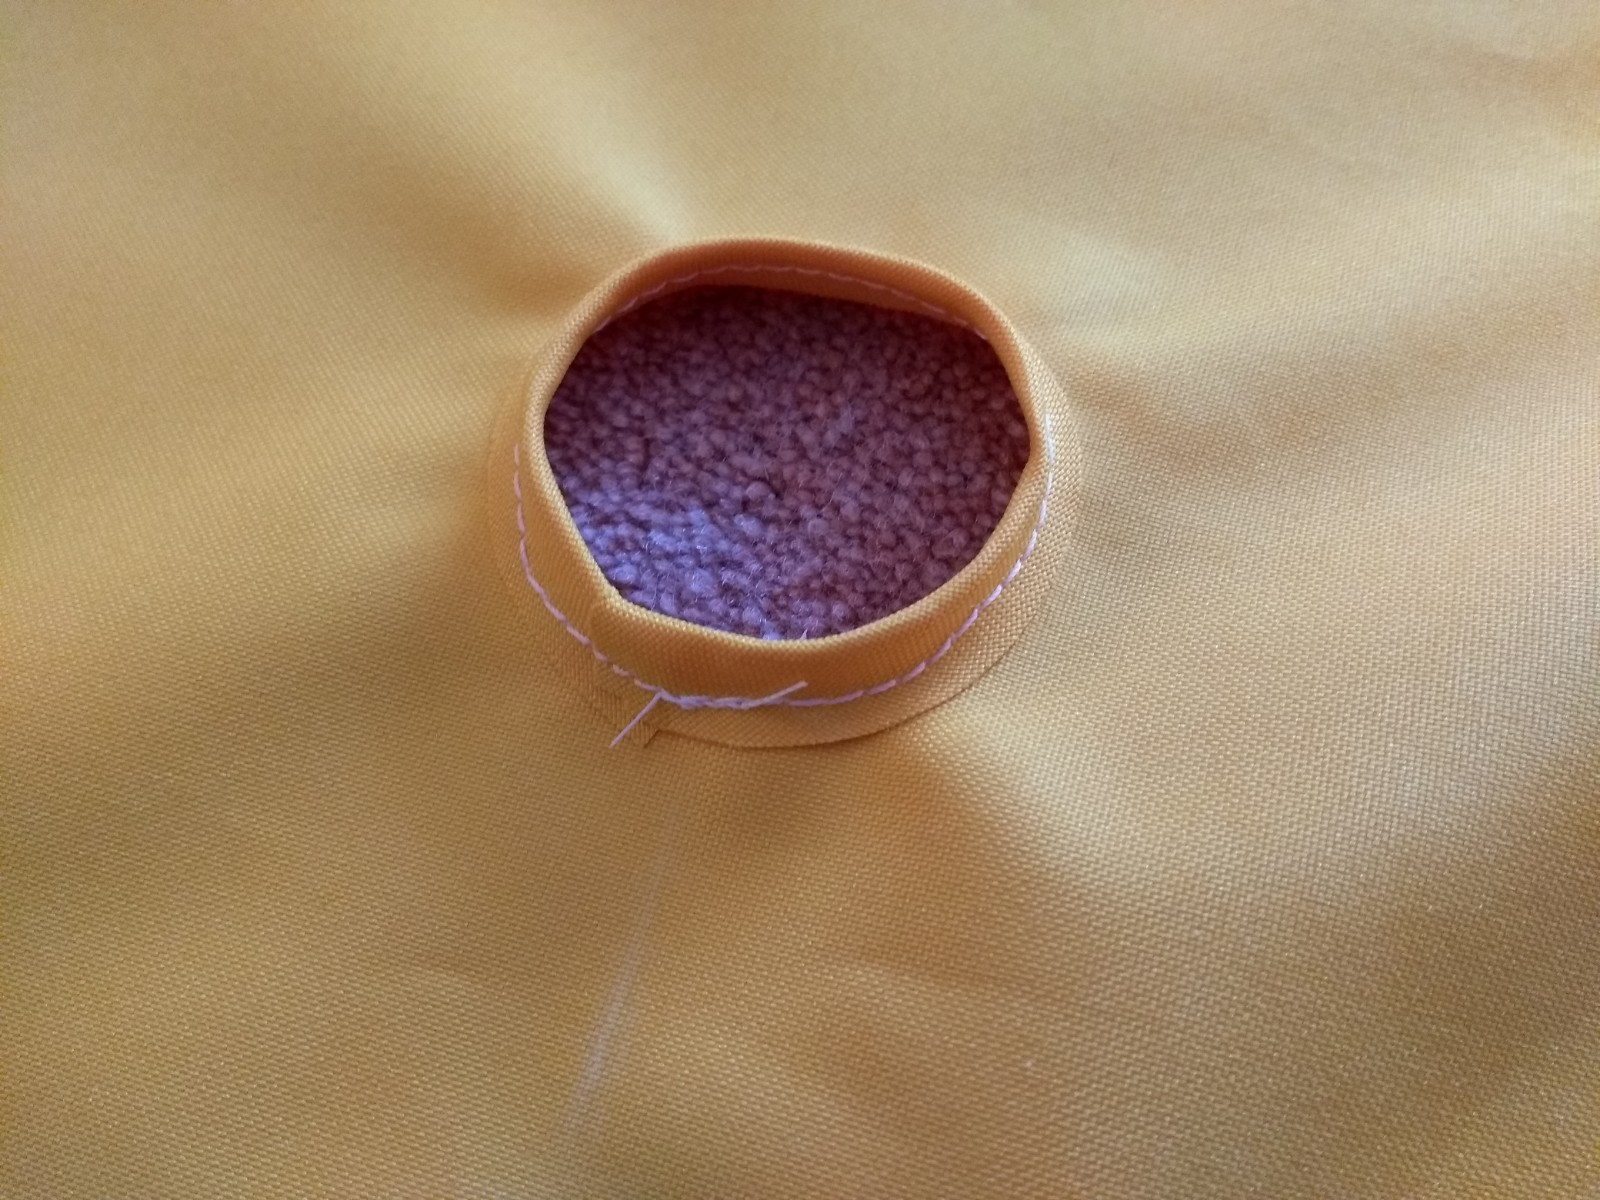
I tried using edging tape but this was far too rigid to go round the hole. So I cut a scrap of batten pocket fabric on the bias (diagonally) to make it really stretchy, and it went round the hole easily. Looks nice too. The sling around the yard will be rope this time as it fits the batten pocket and the halyard block better.
I had a few changes of mind about how to hold the battens in place. I was going to close the end of the pockets, then I was going to use bolts through the tape with nylock nuts inside the batten. This resulted in a lack of planning of the ends of the batten pockets, so now it is together and I’ve decided to go back to the original design of sewing the pockets closed at the ends it isn’t perfect. We’ll see how it goes.
