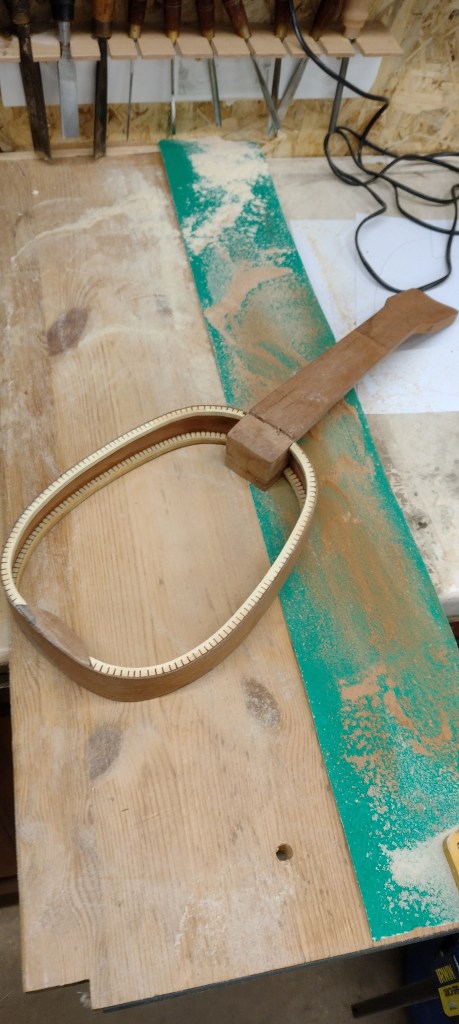
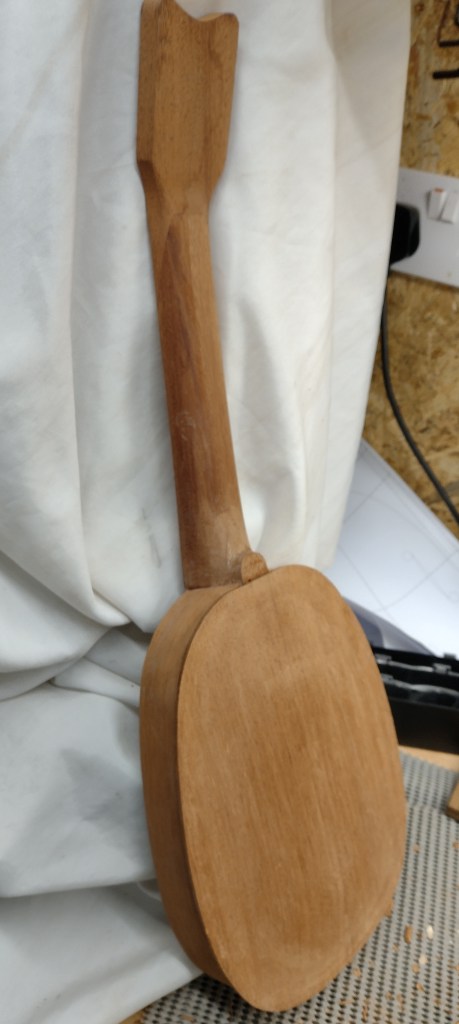
Lots of progress on this project recently. The sides have been glued into the slots into the neck.
I made the kerfing from some straight grained quarter sawn spruce (construction lumber). They were about 6mm (1/4″) square, cut through to leave around 1mm thickness.

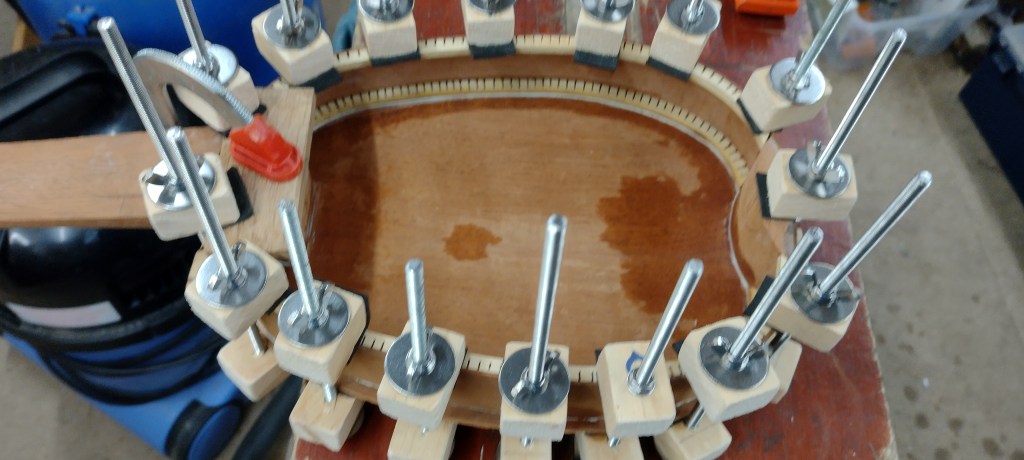
They need bending with heat and water to get them to the right shape – I left them clamped in place to dry before gluing them.
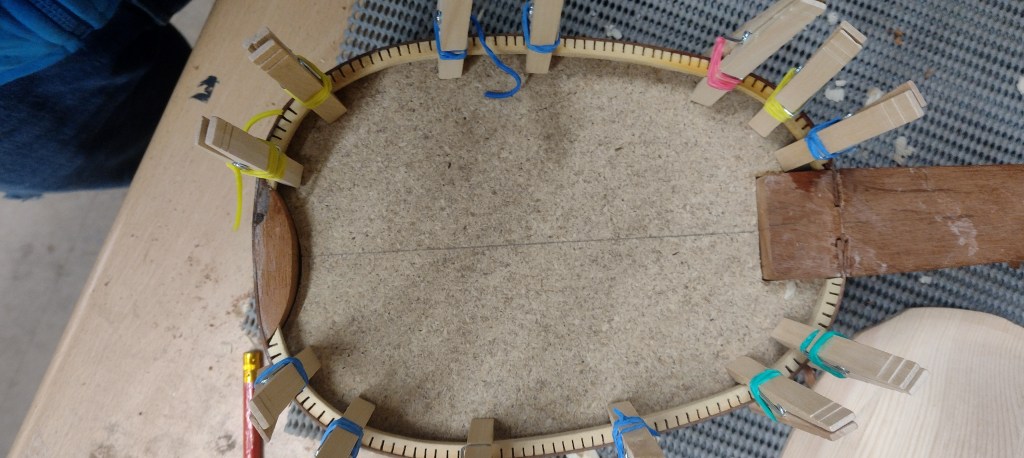
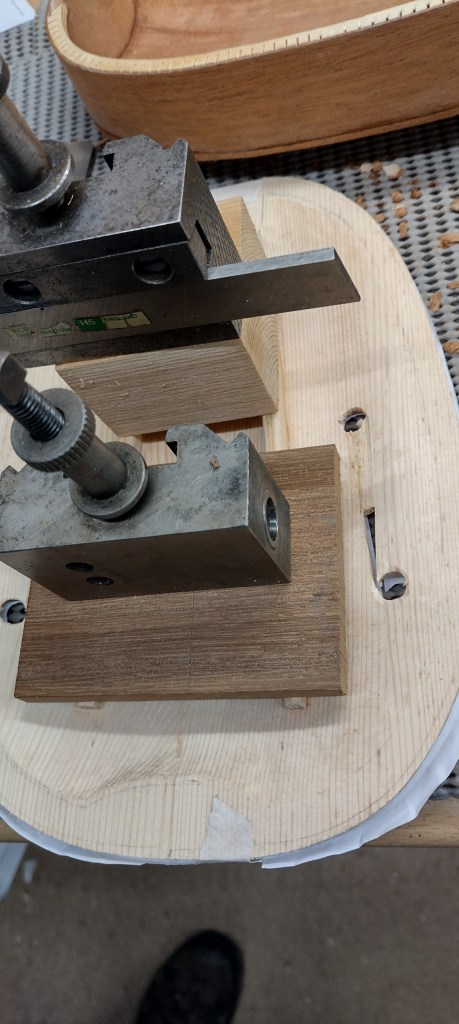
With my simple mould I could only do the top kerfing before removing the mould. However it all went smoothly. Note the bottom block – this is necessary to take the end pin for attaching the tail piece as this is an archtop – the strings are attached to the tailpiece rather than the bridge.
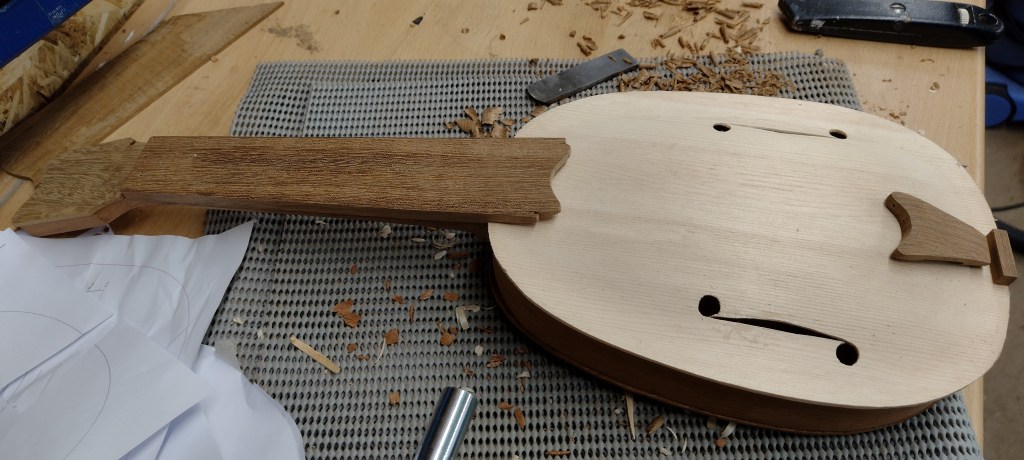
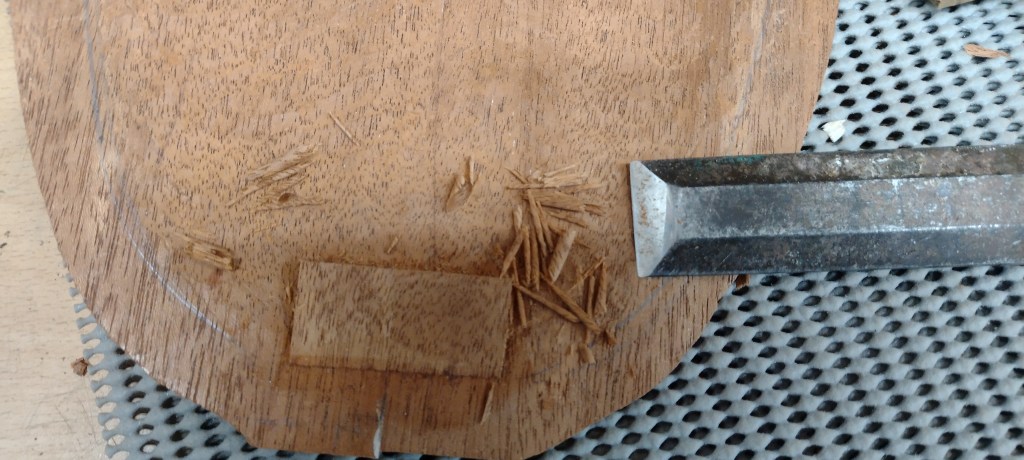
The top and bottom plates were only roughed out. I’d managed to get the outside more-or-less ok with the 3018 CNC before I abandoned it, but the insides of the plates needed carving by hand. This was much more fun than I expected – I really enjoyed this process. A big learning curve.
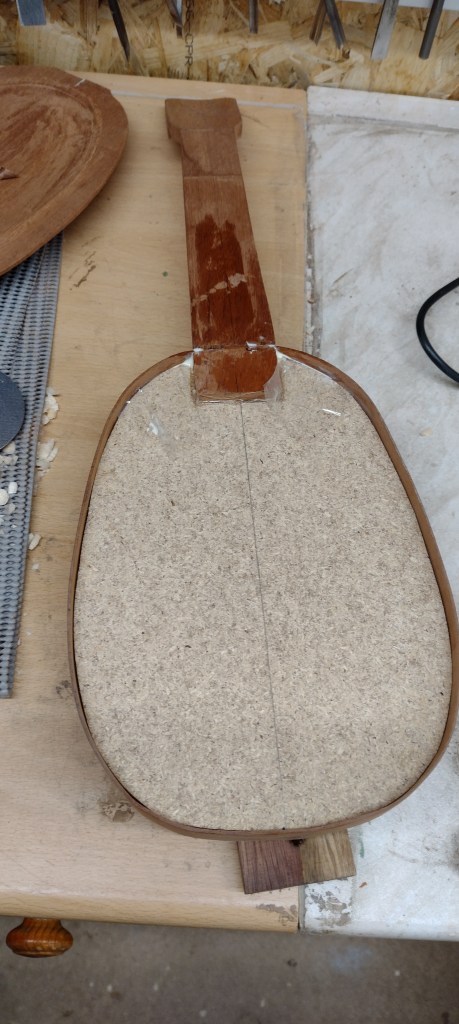
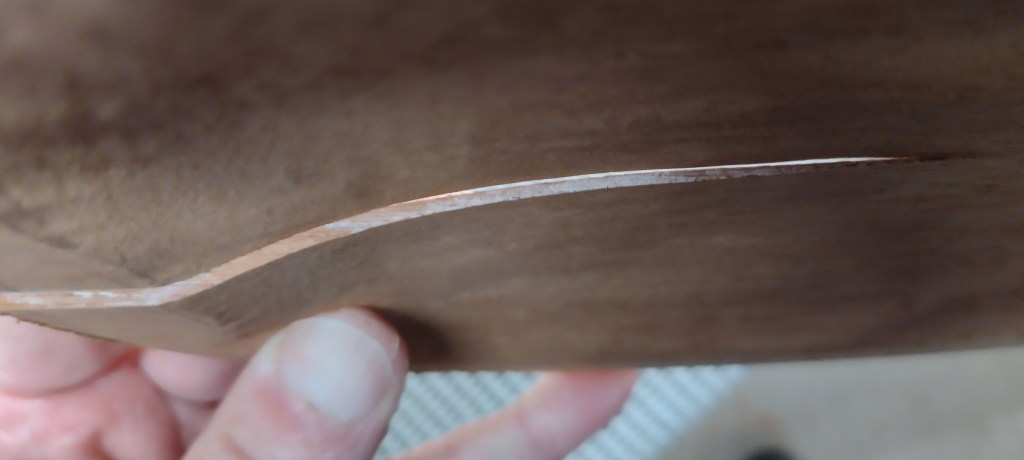
I had to add a wedge to take the neck block in the bottom plate as this wood had been removed during earlier experimentation. Unfortunately the plate split along the join line and I had to glue it back together. This was interesting as it revealed that I had gone a bit too thin in the centre. Seems ok though and the glue line is much stronger now – I think it was too cold when I originally glued it. One of the problems of working in an unheated shed.
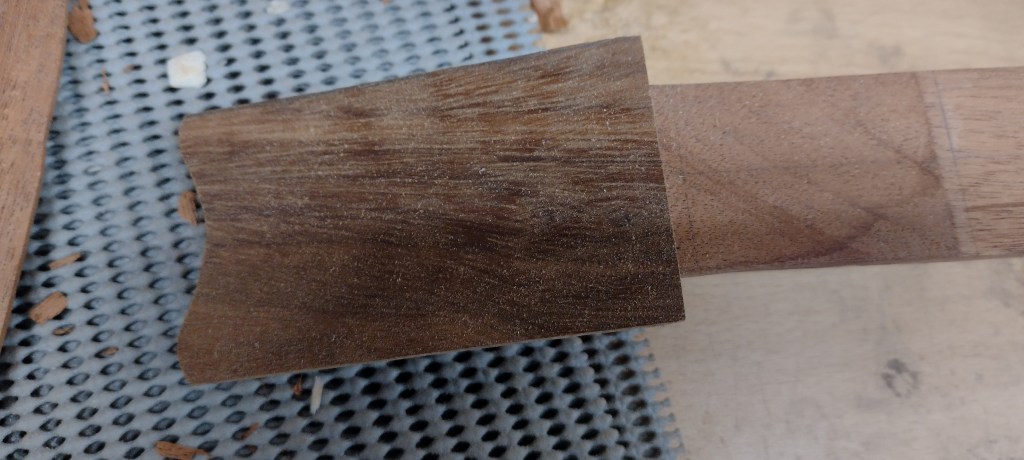
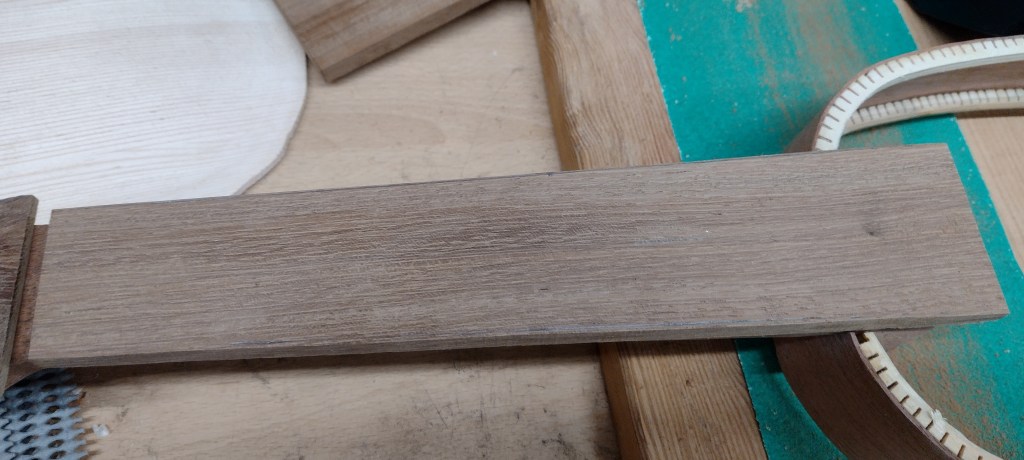
I have cut some Iroko for the peghead veneer, fretboard and tailpiece. I’ve chosen Iroko as (a) it is hard wearing (b) looks nice when oiled (c) has good acoustic properties (d) I’ve got lots of it left over from kitchen worksurfaces. It is reclaimed wood – it was originally school chemistry lab worktops complete with graffiti, burn marks and chewing gum.
Update 13 April 2024:
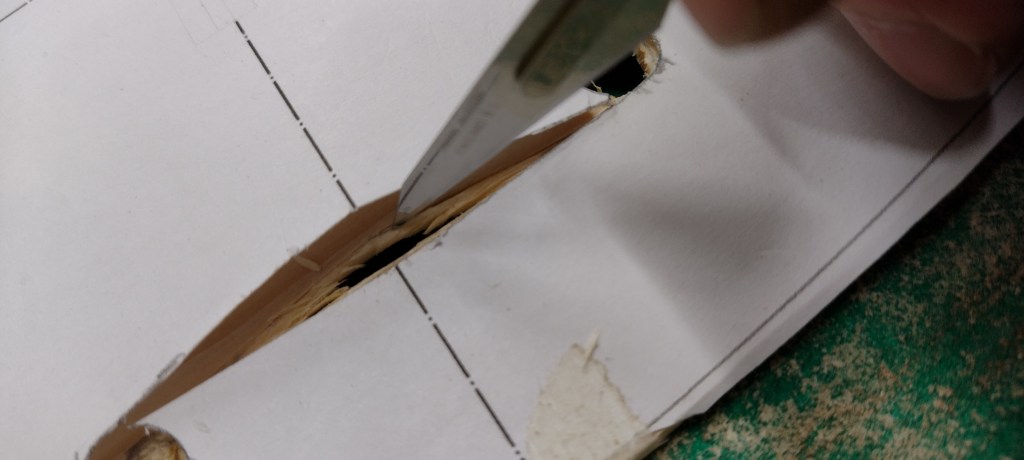
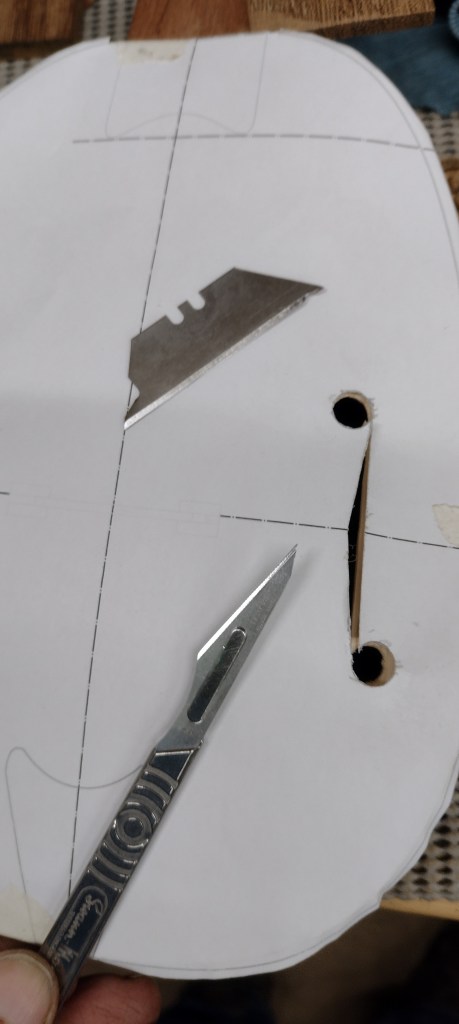
I’ve got the f-holes cut out. Did these with a scalpel.
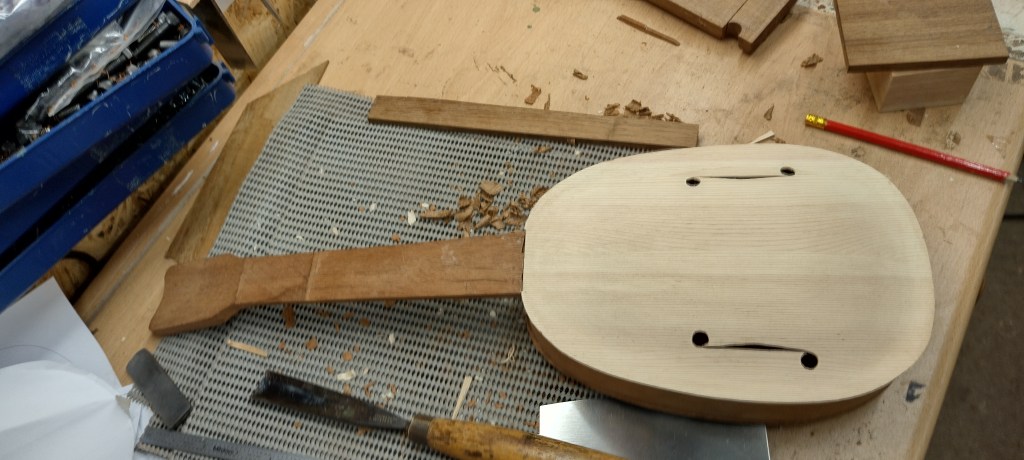
Update 15 April 2024:
Got the tailpiece made. Not sure if it is correct – may need to do it again. But looks good anyway.