
We had to enlarge the holes in the peghead to take the machine heads. This is properly done with a tapered reamer. I bought a StewMac reamer for the pegs that hold the strings to the bridge and started enlarging the holes with that, but it wasn’t big enough to finish the job.
The reason for using a reamer is that it is less likely to split the wood than a drill. Eventually I realised that a tapered hole drill would do the job, so we set to work.
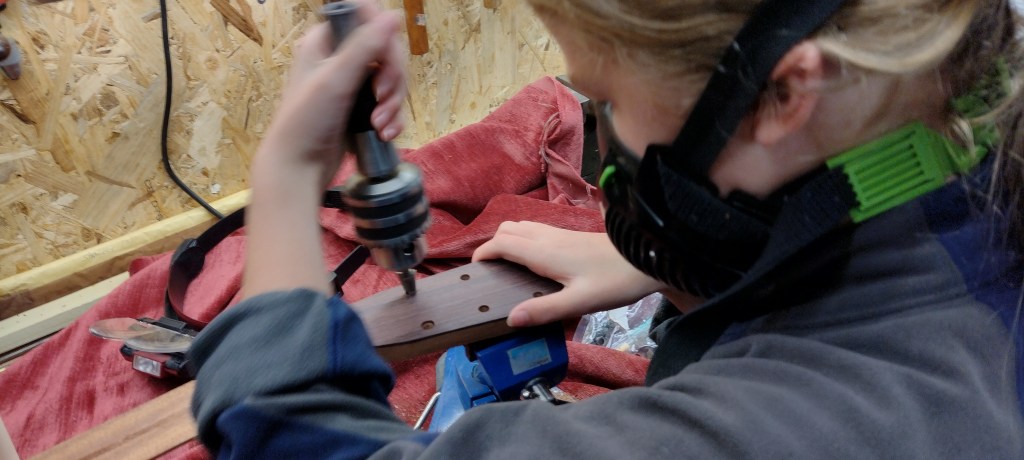
Once the outside of the hole was the right size it was simple to use a normal drill to enlarge the hole to the right depth without splitting anything.
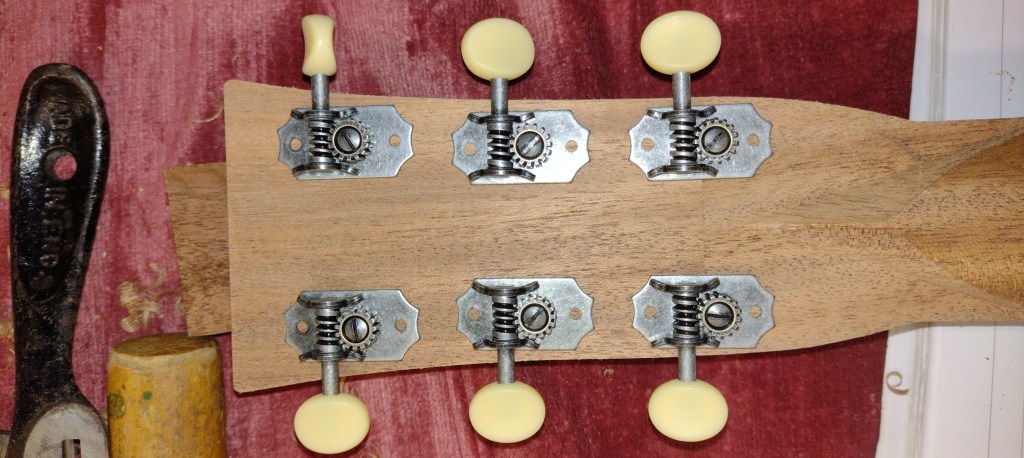
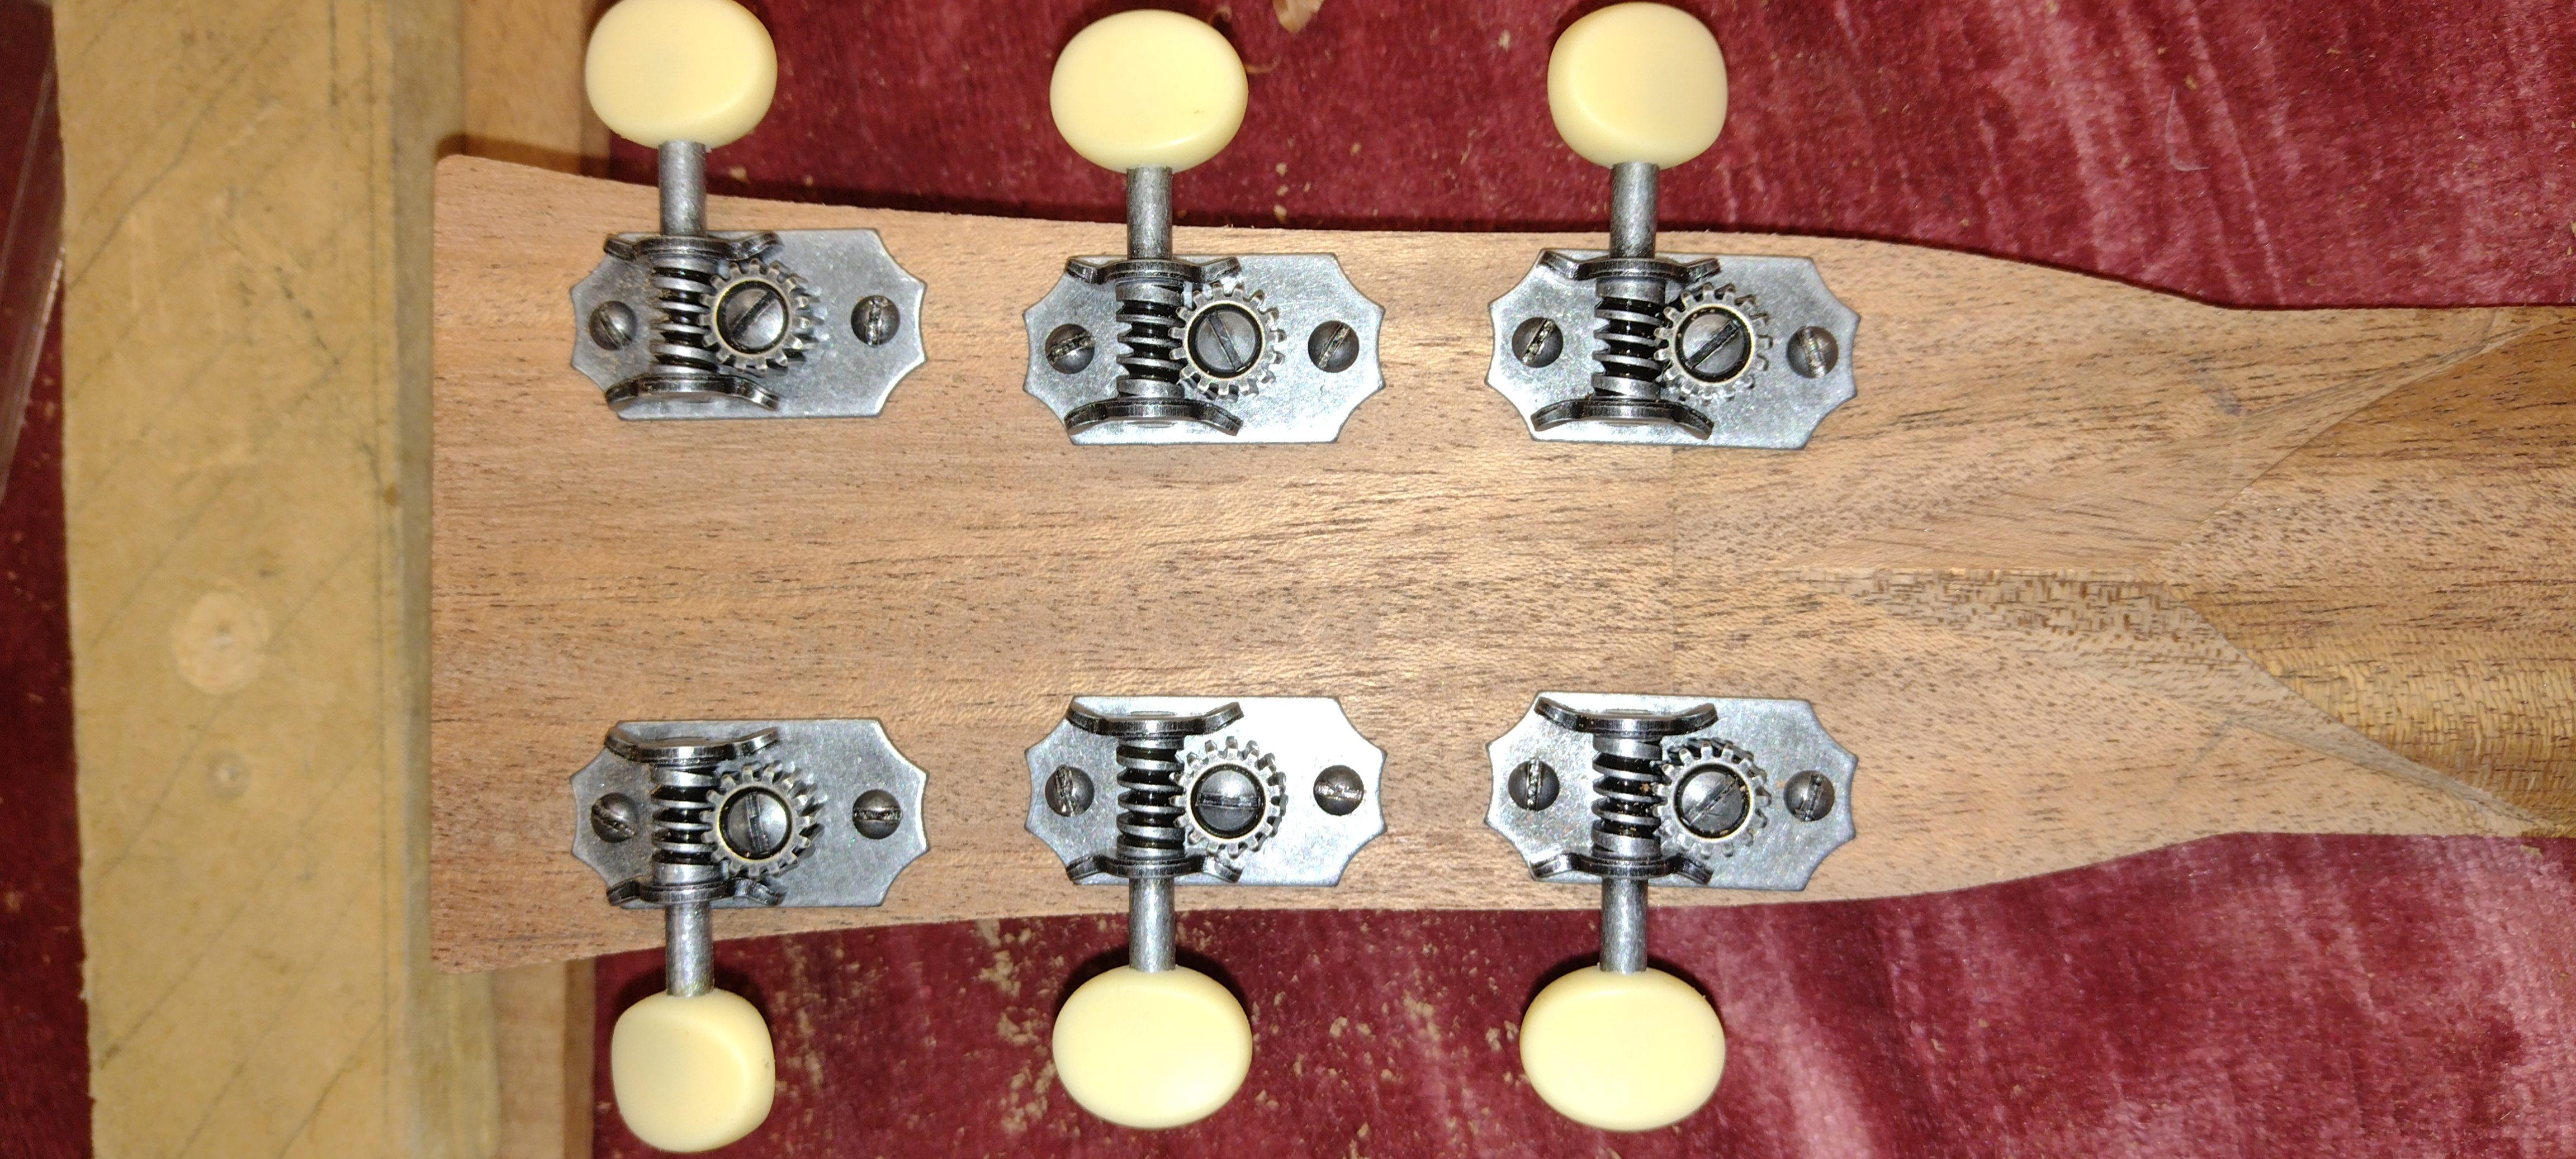
On trial fitting the machine heads I found that the variable distance from the hole to the edge of the peghead made the adjusters look strange – they stuck out different amounts. So in an effort to make it look nicer I trimmed the sides of the peghead in a curve to get the same distance from the bit you turn to the the peghead. I find it a pleasing shape.
The instructions say the next step is to insert the frets and glue the fretboard onto the neck. However, a comment on the StewMac site suggests that this can make fitting the neck to the body very hard, so I figured that getting the fit basically right would be a good next step.

The neck doesn’t go into the mortice fully, so it needs to be trimmed anyway. I had to sort out a slight slant to one side and I’ve still got to get the depth and angle right.
Update 14 September 2023
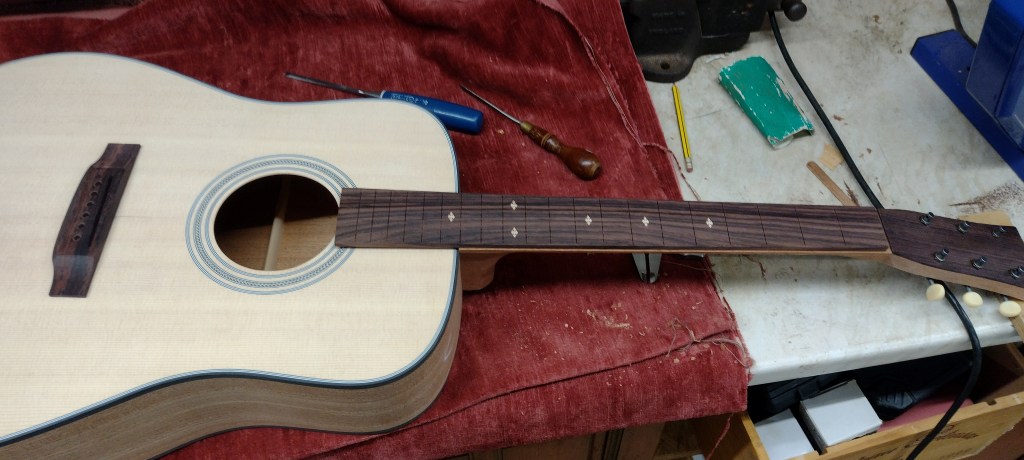
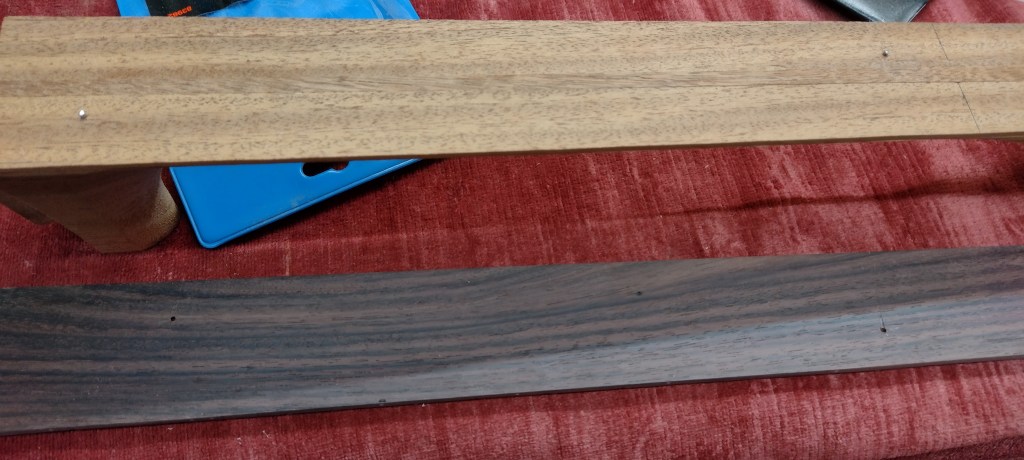
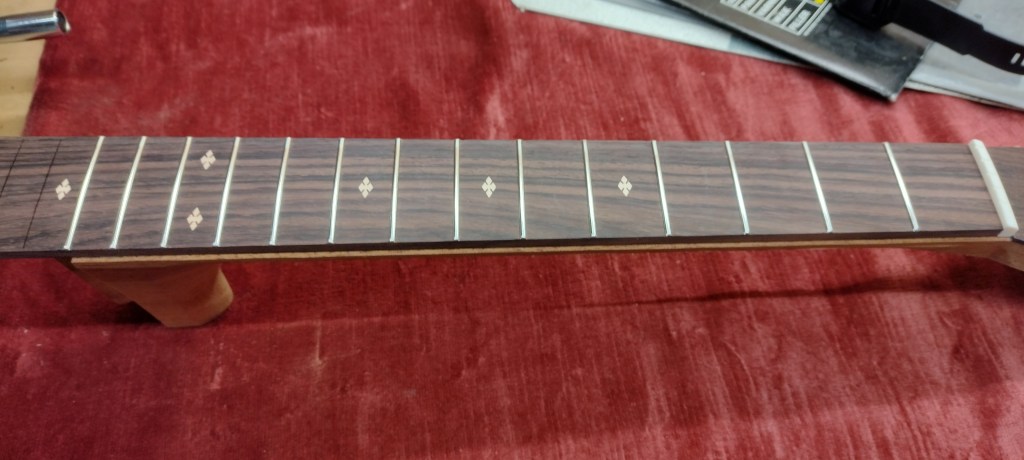
I’ve been sorting out the fretboard, adding frets and filing the ends.

The frets go in very easily – the frets are nicely cut and the slots are the perfect width. Using end-grain oak to push them in seats them well and doesn’t damage the frets.
When gluing the fretboard on it tends to slide in every direction but the right one. To avoid this I follow Jerry Rosa’s instructions and push a small nail into the neck, cut it off to a short length, then drill a hole in the fretboard to match. This provides an accurate location for the fretboard and is quick to do.
The next job is to do more fitting of the neck to the body – with the fretboard on I can judge the angle precisely. Once I’m happy I can glue the fretboard in place, do any final alignment of the neck and glue the neck onto the body.
Update 19 September 2023
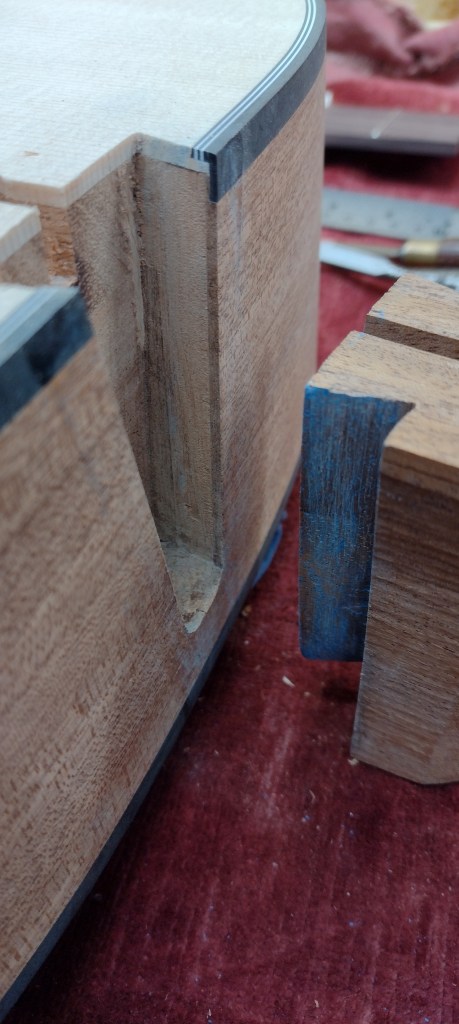
I’ve always found tennon and mortice joints hard as you cannot see what is going on – which bits are loose and which need to be trimmed. So I tried using chalk on the joint – a bit like using engineers blue on metal bits to be fitted together. Works well – particularly the blue colour as this is easier to see. Trim off the bits where the colour rubs on and refit – eventually you end up with a very tight fit.
With the neck a good fit I’ve glued on the fretboard.

I tried the rubber band as provided with the kit but this didn’t pull the fretboard against the neck strongly enough so clamps were required.
