
The hole through the foot of the mast was too tight for the stainless steel rod, so I ground the end of the rod as a quick and dirty reamer to make the hole the right size.

This worked well. However, on assembling the system in the boat a problem became apparent: when in the boat the rod wouldn’t go through as it wasn’t aligned perfectly. Boats are never straight and the mast wasn’t at right angles to my new mast step.
I solved this with three approaches:
- Adjust the alignment of the metalwork with washers under one side;
- Barrel the centre of the rod so the mast could move from side to side without jamming;
- Put a big handle on the rod to help in applying force to get the rod in or out.

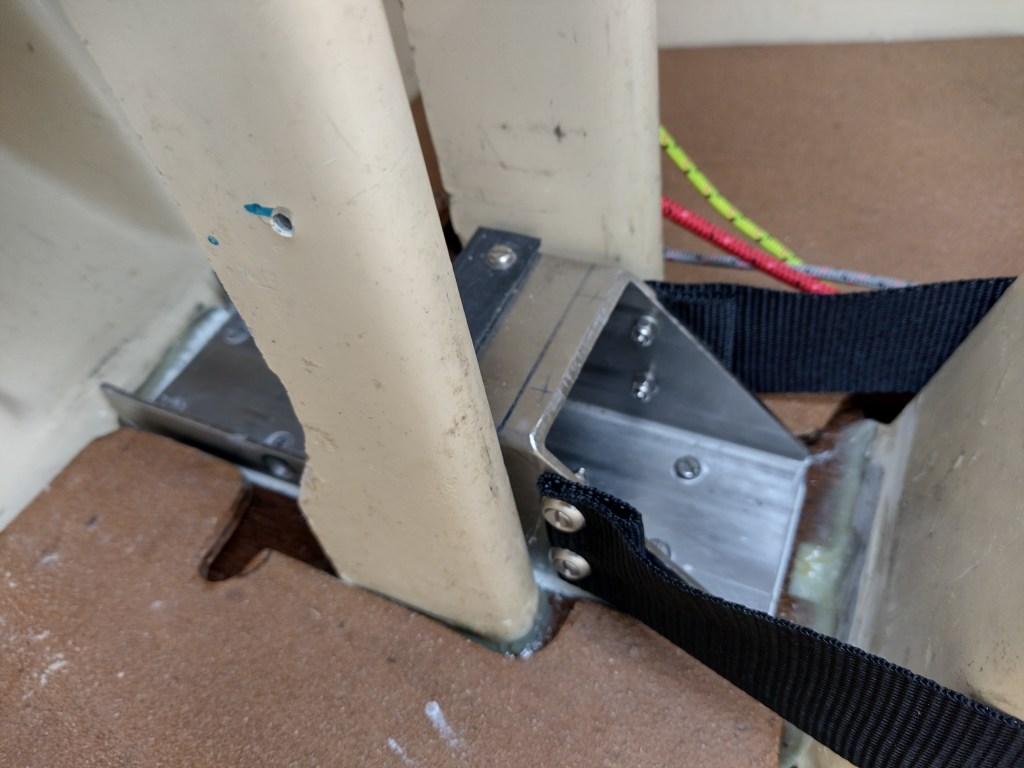
Assembled it looks like this:

The extra two holes at the back of the metalwork are for the footstraps.
I renewed the footstraps having had visions of what would happen if the old one broke 🙂
I’ve also done a couple of minor changes.
Traveller cleats
The original traveller cleats were clamcleats with a fairlead. These grip the rope ok but the fairlead means the rope tends to catch rather than run through freely. I replaced them with CL217/218 with side entry – the same ones I used on the halyard cleats. With these the rope can easily be removed from the cleat which means no inadvertent jams, while retaining the benefit of the fairlead when necessary. They also have exactly the same mounting holes as the old cleats so no new holes necessary.
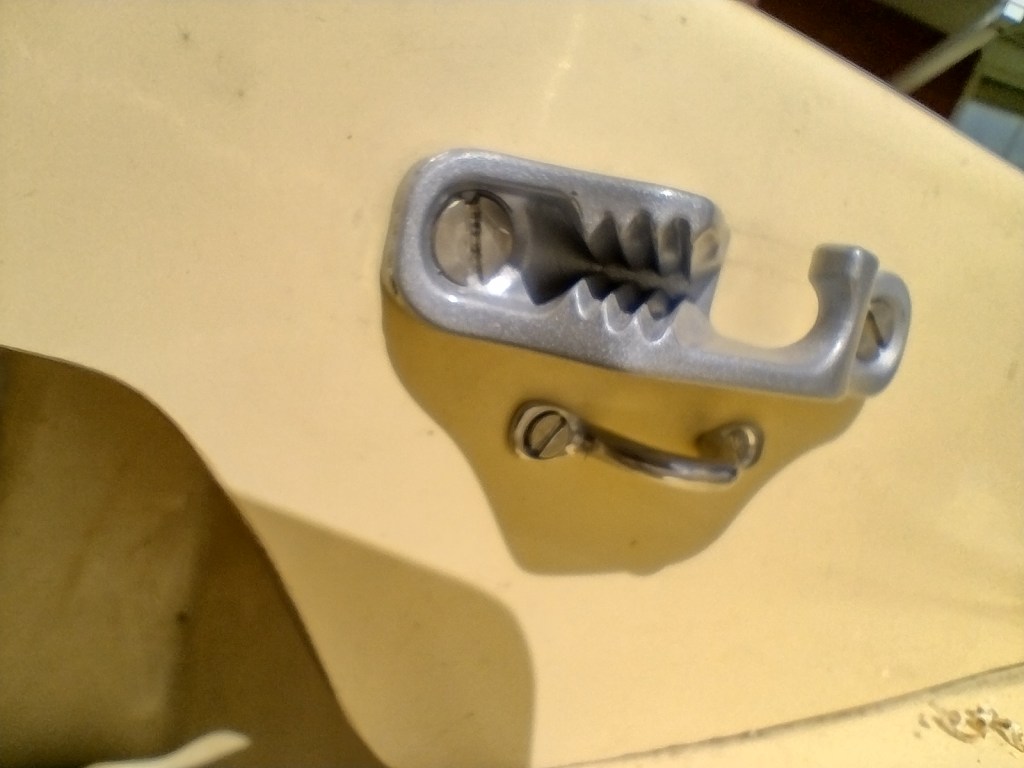
I also wanted a cleat on the inside of this deck section to take a string from the scupper hole (more on why in future). The old traveller cleats were held on with self-tapping screws which meant there was a sharp point inside the box. So this is what I came up with:

The rope through the scuppers is held by a cleat directly attached to the plate. The traveller cleat and bungy loop screws go through the boat into tapped holes in the plate. Nice and neat, largely invisible, strong and no sharp points to make holes in hands or ropes. I used Tefgel to avoid corrosion between the stainless screws and the aluminium.
The rudder bungy loops just hold a length of bungy cord that I can hook over the tiller to hold it in place when necessary. Very useful sometimes!
Sail cover
In Norfolk a couple of years ago I spent hours putting the sail on and taking it off again. There are a lot of ropes and straps to connect up. So I’ve finally made a sail cover which should reduce this time to seconds.
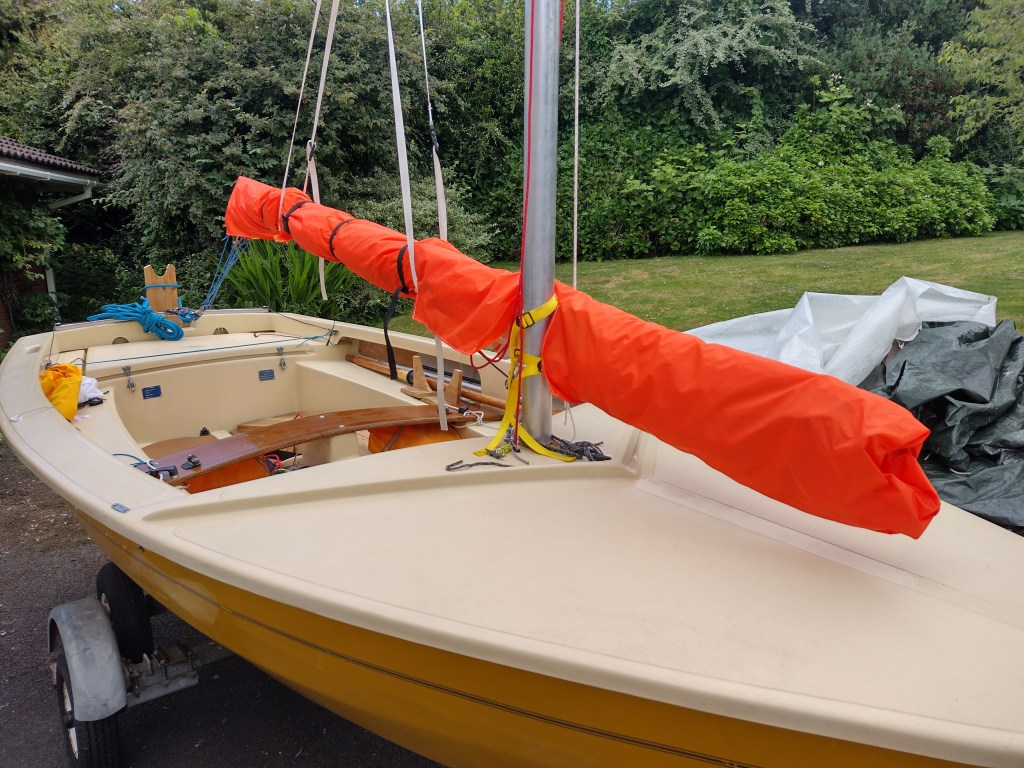
There is a bag at the front to hold the jiblets. The rest of the cover is open at the bottom to let air circulate a bit. The material is scrap left over from making the cover used when transporting the sail.

Pingback: Wanderer Dinghy – Mast Step Repair – Part 1 | Martin's Blog